Navigating the 3D Toolbar
The 3D toolbar allows you to perform all 3D operations including, placing the cloth, simulating, changing avatars, digitizing, stitching, etc. The 3D toolbar is dynamic according to specific actions in 2D, for example, you will only be able to place the cloth if a PDS file is opened.
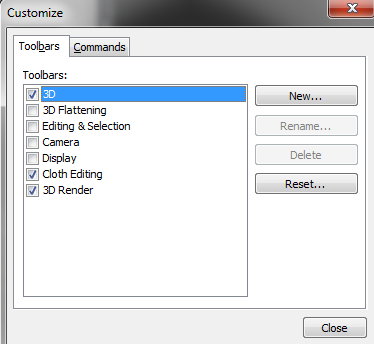
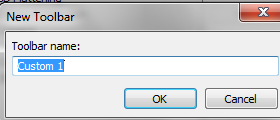
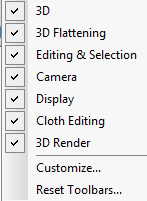
You can customize the toolbars, for example if you want to move the location of a toolbar.
![]() To customize
the toolbars, click here
To customize
the toolbars, click here
Note: You can always click Reset Toolbars to return to the default view.
To navigate the 3D Toolbar:
Open PDS.
Make
sure the 3D window is displayed (go to View>
3D Windows> Model).
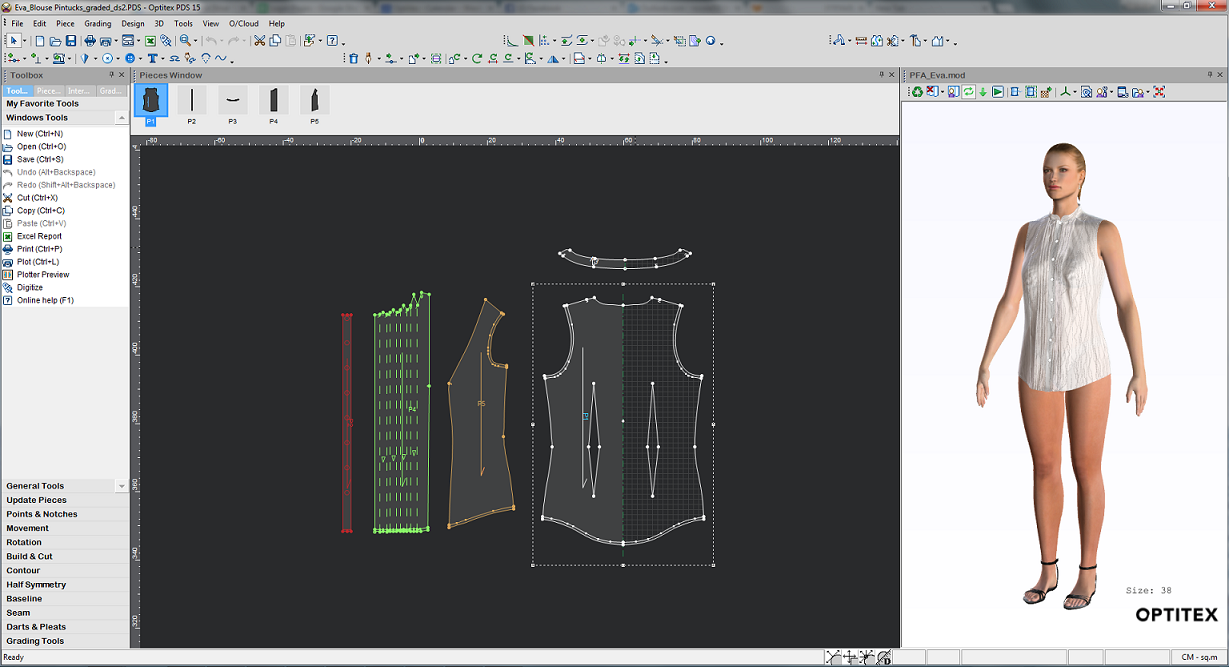
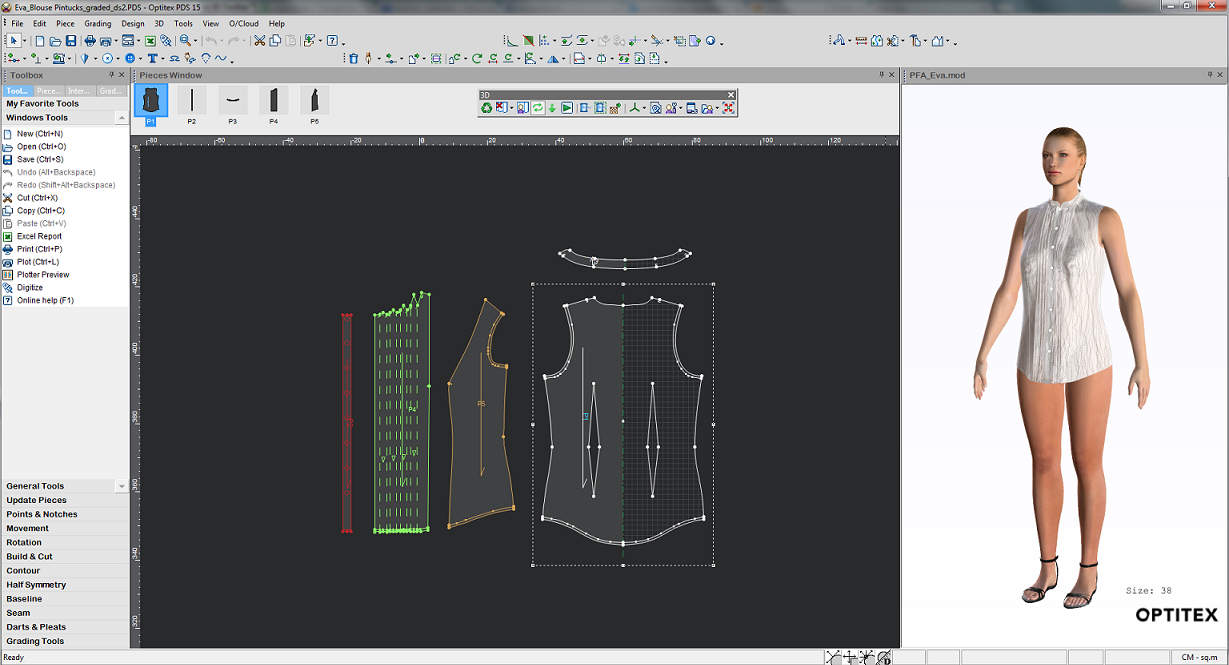
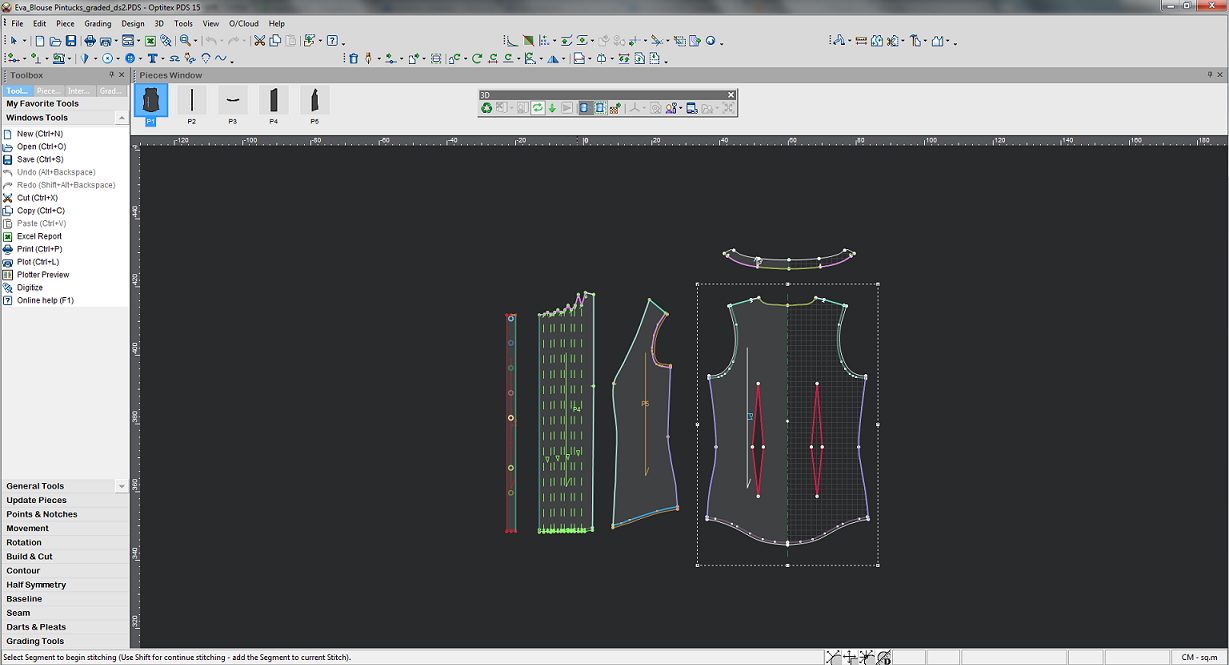
The 3D toolbars are located at the top of the 3D window:
The toolbars are divided into the following groups to help make your work
easier and more organized:
3D

|
Button |
Description |
|
|
Allows you to refresh any changes that were made to your pattern. For more information, see Refresh. |
|
|
Allows you to remove the cloth from the 3D window. For more information, see Clear Lines. |
|
|
Allows you to remove all non-cloth items from the 3D window, i.e. Flattening lines, Tape measurements, Circumference disks, 3D text etc. For more information, see Clear Lines. |
|
|
Allows you to clear all content from the 3D window. For more information, see Using the Clear 3D Window Tool. |
|
|
Allows you to place the cloth in the 3D window. For more information, see Place Cloth. |
|
|
Turn on Dynamic Updates. When turned on, the 3D window updates according to changes that are made in 2D. For more information, see Continuously Perform 2D to 3D Dynamic Updates. |
|
|
Click on Update Now, if Dynamic Updates is off and you want to update changes in the 3D window that were made in 2D. For more information, see Update 2D to 3D Now. |
|
|
Allows you to simulate the pattern. For more information, see Simulate Draping. |
|
|
Allows you to stitch your pieces together using the 3D Stitch Tool. For more information, see 3D Stitch. |
|
|
Allows you to stitch multiple pieces of different lengths together, so you can maintain a proportional division between all stitches. For more information, see 3D Multi Stitch. |
|
|
Allows you to select the stitches using the Select Stitch tool. For more information, see Select Stitch. |
|
|
Allows you to move the texture on your pattern in the 3D window. For more information, see Move Texture. |
|
|
Allows you to select and move pieces in the 3D window. For more information, see 3D Move Piece. |
|
|
Allows you to rotate selected items such as pieces,circumference disks,clt items, modelsand model parts, i.e., shoulder pads in the 3D window. For more information, see 3D Rotate Piece. |
|
|
Allows you to scale avatars, rigid parts, models, etc. in the 3D window. For more information, see3D Scale Model. |
|
|
Allows you to stretch or shrink pieces in the 3D window, for initial positioning. Once you simulate, the piece will go back to it's original size. For more information, see 3D Scale Piece. |
|
|
Allows you to move or rotate objects or pieces in the 3D window, either by relative or absolute values. For more information, see 3D Transform Piece. |
|
|
Allows you to use the 3D digitizer. For more information, see 3D Digitizer. |
|
|
Allows you to view the model properties options. For more information see, Model Properties. |
|
|
Allows you to measure between two points on pieces/3D objects in the 3D window. For more information, see Tape Measure. |
|
|
Allows you to measure the circumference of the avatar in the 3D window. For more information, see Add Circumference Measure. |
|
|
Allows you to use a bounding box to measure the height, width and depth of 3D objects. For more information, see Bounding Box Measure. |
|
|
Allows you to add a description which points to a certain spot on the 3D model or cloth. For more information, see 3D Text. |
|
|
Allows you to view the Simulation Properties. For more information, see Simulation Properties. |
|
|
Allows you to load models/3D objects that are supported by Optitex. For more information, see Load Model. |
|
|
Allows you to save content of the 3D window in a 3D file format that is supported by Optitex. For more information, see Save Model. |
|
|
Allows you to save a cloth file (CLT) A CLT file contains the cloth, shaders, textures, etc. For more information, see Save Cloth. |
|
|
Allows you to send the content of the 3D Window to a printer. For more information, see Print Model. |
|
|
Click to view the 3D window in full screen mode. To move out of full screen mode, press Shift Ctrl F on your keyboard. For more information, see Full Screen. |
3D Flattening

|
Button |
Description |
|
|
Allows you to draft lines directly on the 3D object. For more information, see Draw Path. |
|
|
Allows you to create a notch on a pin or on a line drafted on the 3D object. For more information, see 3D Notch |
|
|
Allows you to add a button on a patch area on a 3D object. For more information, see Using the 3D Button Tool. |
|
|
Allows you to create symmetry of the drafted lines. For more information, see Using the Mirror Lines Tool. |
|
|
Allows you to set the 3D baseline. For more information, see 3D Baseline. |
|
|
Allows you to move a flattening pin and to reshape a curve line between two flattening pins. For more information, see Using the Edit Pins Tool. |
|
|
Allows you to use the build patch tool. For more information, see Build Patch. |
|
|
Allows you to transform 3D objects into 2D patterns. For more information, see Flatten All. |
|
|
Allows you to transform 3D objects into 2D patterns. For more information, see Flatten Whole Mesh. |
|
|
Allows you to view the Flattening Options dialog. For more information. Using Flattening Tools. |
Editing & Selection

|
Button |
Description |
|
|
Allows you to add a vertex. For more information, see Add Vertex Tool. |
|
|
Allows you to build a bridge. For more information, see Bridge Tool. |
|
|
Allows you to combine surfaces. For more information, see Using the Combine Tool to Combine Surfaces. |
|
|
Allows you to weld. For more information, see Using the Weld Selected Object Tool. |
|
|
Allows you to flip the normals. For more information, see Flip Normals. |
|
|
Allows to you to select a 3D item. For more information, see Selection Tools. |
|
|
Allows you to select 3D items using the paint brush. For more information, see Selection Tools. |
|
|
Allows you to view the 3D Selection options dialog. For more information, see Selection Tools. |
|
|
Allows you to use the View Reference Mode option. For more information, see View Reference Mode. |
Camera

|
Button |
Description |
|
|
Allows you to reset the camera in 3D and bring the content of the 3D window back to the default position. For more information, see Home. |
|
|
Allows you to focus on the selected mesh (3D avatar/pieces) and change the center focus of the 3D rotation. For more information, see Frame Selected. |
|
|
Allows you to zoom-in the selected vertex on the 3D garment, see Look at Selection. |
|
|
Allows you to turn the model around the Y axis continually. For more information, see Auto Rotate. |
|
|
Allows you to lock the front facing view rotation. For more information, see Tilt Camera. |
|
|
Allows you to view the front view of the content in the 3D window. For more information, see Camera Buttons. |
|
|
Allows you to view the rear view of the content in the 3D window. For more information, see Camera Buttons. |
|
|
Allows you to view the left view of the content in the 3D window. For more information, see Camera Buttons. |
|
|
Allows you to view the right view of the content in the 3D window. For more information, see Camera Buttons. |
|
|
Allows you to view the bottom view of the content in the 3D window. For more information, see Camera Buttons. |
|
|
Allows you to view the upper view of the content in the 3D window. For more information, see Camera Buttons. |
|
|
Allows you to save different camera views so you can reuse them. For more information, see Custom View. |
Display

|
Button |
Description |
|
|
Allows you to either Show/Hide Model. For more information, see Using the Show/Hide Model Tool. |
|
|
Allows you to view the pattern and avatar in X-ray display mode. For more information, see X-Ray Display. |
|
|
Allows you to view the pattern and avatar in wireframe display mode. For more information, see Wireframe Display. |
|
|
Allows you to view the pattern in springs mode. For more information, see Show Springs. |
|
|
Allows you to view each 3D cloth piece in a unique color. For more information, see Display Unique Colors. |
|
|
Allows you to inspect simulated cloth objects via a colored map depicting amounts of stretching, tension and distance between the cloth and the model. For more information, see Using the Tension Map. |
|
|
Allows you to apply the background of the fabric on the 3D model. For more information, see Use 2D Background with Shader. |
|
|
Allows you to display the XYZ axes in the 3D window. For more information, see Show Center Axes. |
|
|
Allows you to determine which side of a surface is out or in. For more information, see Normals. |
|
|
Allows you to display only selected pieces in the 3D window. For more information, see Show Selected Piece. |
|
|
Allows you to depict depth in the 3D window by casting and obstructing light. For more information, see Display Shadows. |
|
|
Allows you to display a grid in the 3D window. For more information, see Show Grid. |
Cloth Editing

|
Button |
Description |
|
|
Allows you to create and define mating rules. For more information, see Create Mating Rules. |
|
|
Allows you to view and edit defined mating rules. For more information, see Mating Rules Manager. |
|
|
Allows you to use the Magic Glove so you can move pieces on the 3D model during simulation. For more information, see Magic Glove. |
|
|
Allows you to move 3D objects before/during/after simulation and add a pin so you can move the pin to further alter. For more information, see Magic Glove + Pin. |
|
|
Allows you to use the Pin Manipulator so you can pin your cloth and manipulate your pattern in the 3D window. For more information, see Using the Pin Manipulator Tool. |
|
|
Allows you to move the location of a pin that was added using the Magic Glove. For more information, see Move Pin. |
|
|
Allows you to select a single pin and remove it. For more information, see Remove Single Pin. |
|
|
Allows you to clear all the pins that were added using the Magic Glove. For more information, see Clear Pins. |
|
|
Allows you to increase the resolution of the cloth in the 3D window. For more information, see Refine Cloth. |
|
|
Allows you to decrease the resolution of the cloth in the 3D window. For more information, see Simplify Cloth. |
|
|
Allows you to smooth out your pattern after simulation. For more information, see Smooth Cloth. |
3D Render

|
Button |
Description |
|
|
Allows you to view your content in the 3D window in HQR mode (High Quality Rendering). For more information, see Using HQR to View your 3D Sample. |
|
|
Allows you to view your content in the 3D window in PR3D mode (Photorealistic Rendering). For more information, see Viewing Your Model in PhotoRealistic 3D Mode. |
|
|
Allows you to change the lighting presets. For more information, see Modifying the Lighting Via Lighting Editor. |
|
|
Allows you to change the background of the 3D window. For more information, see Edit Background. |
|
|
Allows you to create an image/s of your content in the 3D window by creating a snapshot, according to the active rendering (OpenGL/HQR/PR3D). Saving as a Snapshot. |


