3D Stitch
You can use the 3D Stitch tool when you want to stitch your pattern together. Once you select the tool, the cursor changes into a sewing machine allowing you to select segments. Once you add a stitch, the stitch appears in a color (based on how you defined the stitch color in Preferences) and the stitch is highlighted.
For more information about stitching, see Stitching Your Pieces Together
Note: When stitching, you need to select the pieces in a clockwise manner.
Icon & Location
-

-
Toolbar: 3D
To use the 3D Stitch tool:
Open a PDS file.
From
the 3D toolbar, click ![]() .
.
Notice the cursor changes into a sewing machine: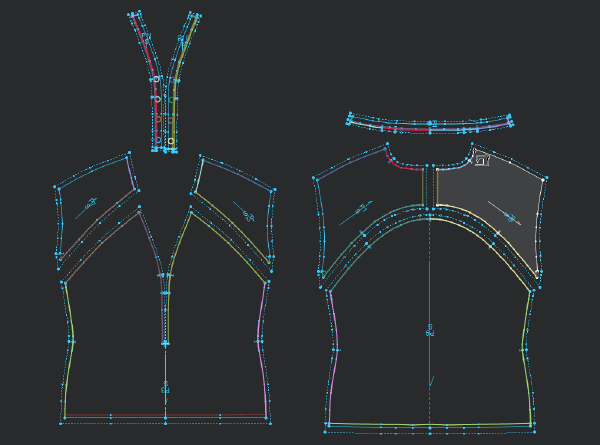
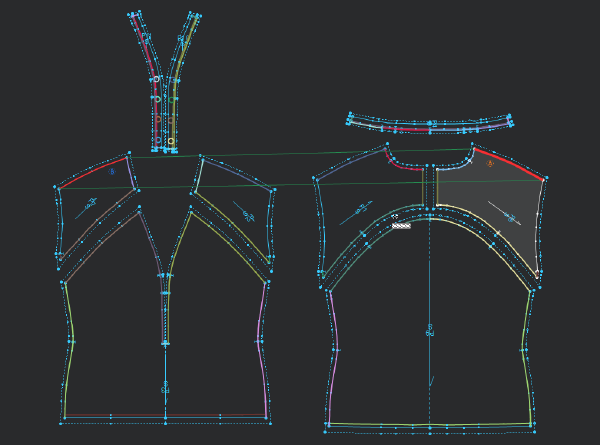
Select
the segment (or points), then select the segment you are sewing together: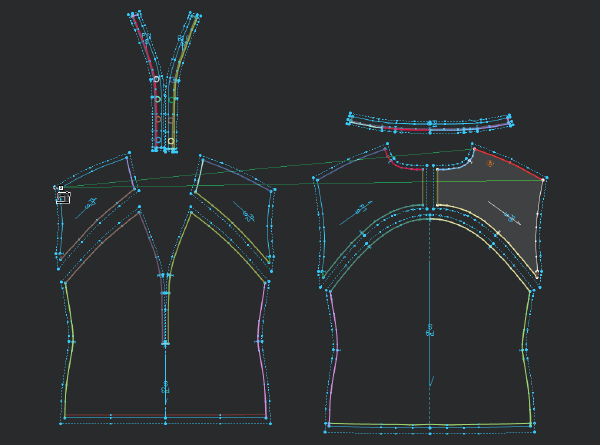
Once you are done stitching, you can see the connection between the two
pieces as follows: