Using Flattening Tools
You can use the flattening tools, when you want to transform a three-dimensional objects' surface into two-dimensional patterns that make up the upholstered object. Any 3D object can be flattened, for example car seats, planes, sofas, yachts, etc.
It is important to prepare the files ahead of time with the correct topology. A file with incorrect topology can cause unstable results.
Click here to see normal UV values and boundary coordinates.
Click here to see an example of inaccurate values and boundary coordinates.
![]() Click
here to view Flattening Guidelines
Click
here to view Flattening Guidelines
To use flattening tools:
-
Open the file. In this example we will use a car seat IGS file.
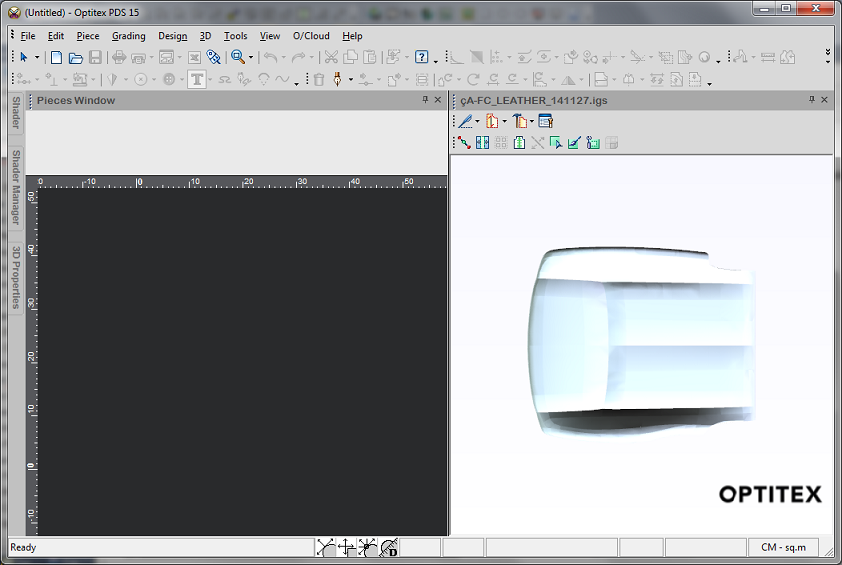
-
Go to Preferences > Colors> Setting.
-
Make sure Fill Pieces is All and that Filling Method is By Piece Name as follows:
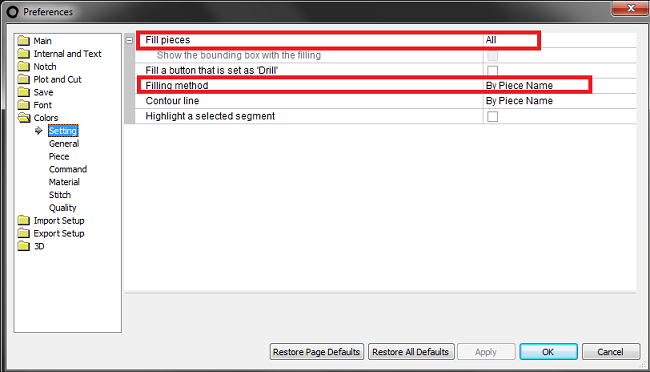
-
In the 3D toolbar, click Display Unique Colors (
 )
)
Notice a message appears at the bottom of the 3D window informing you that you are in Unique Display Color mode: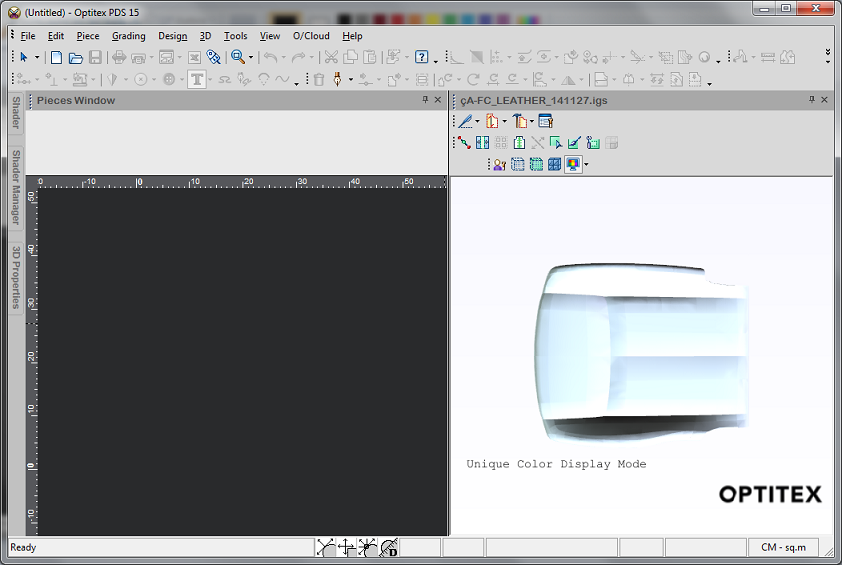
-
In the 3D toolbar, click the 3D Selection icon (
 ).
).
The 3D selection dialog appears: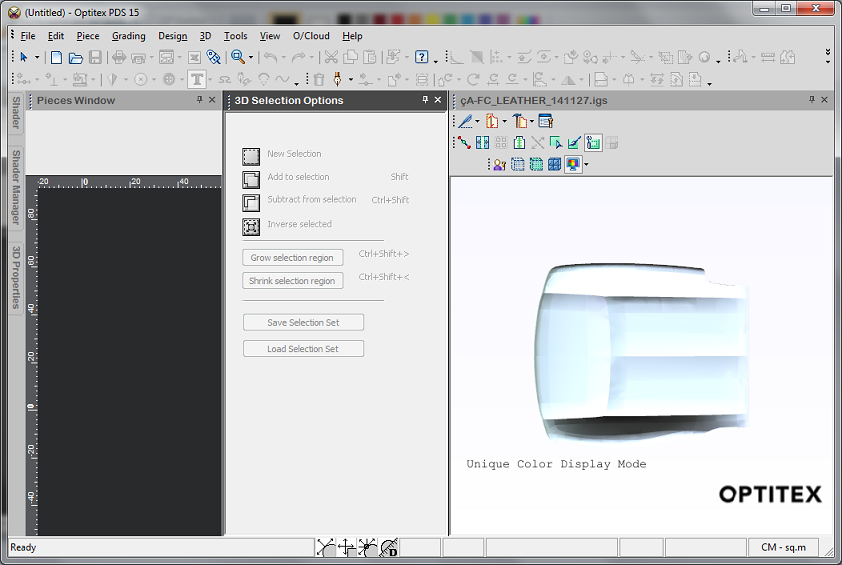
-
From the 3D toolbar, click the Select 3D Items icon (
 ).
).
-
In the 3D Selection dialog, click Add to Selection, then in the 3D window, start selecting the meshes.
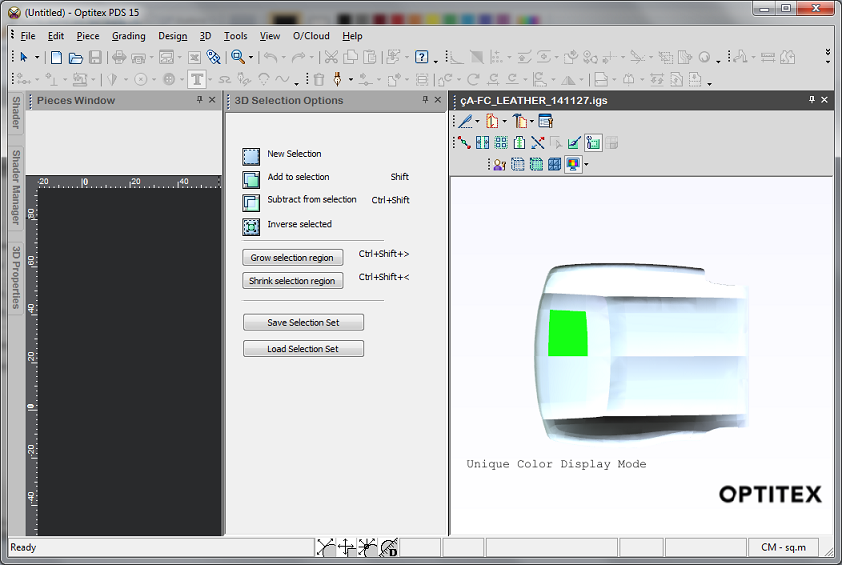
Notice the mesh is colored to show you that it was selected.
When you are done, the car seat should look like this: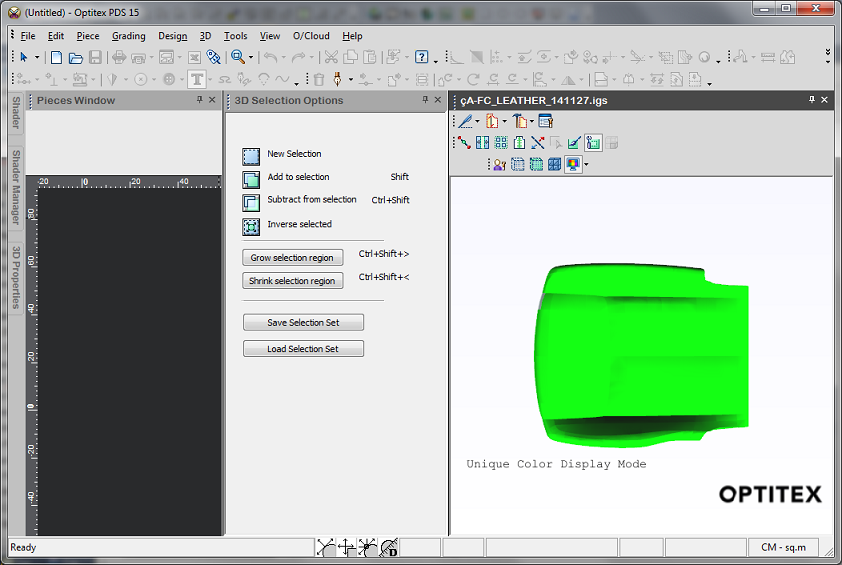
- From the 3D toolbar, click the Flatten
(
 )
icon and from the drop down list, select Flatten
Whole Mesh:
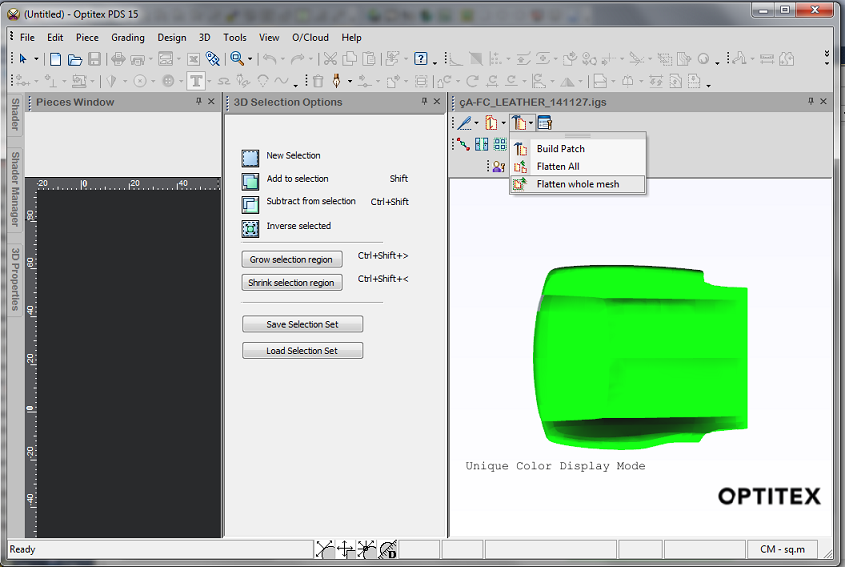
All the pieces are flattened (as you can see each piece has its unique color and are positioned in 2D):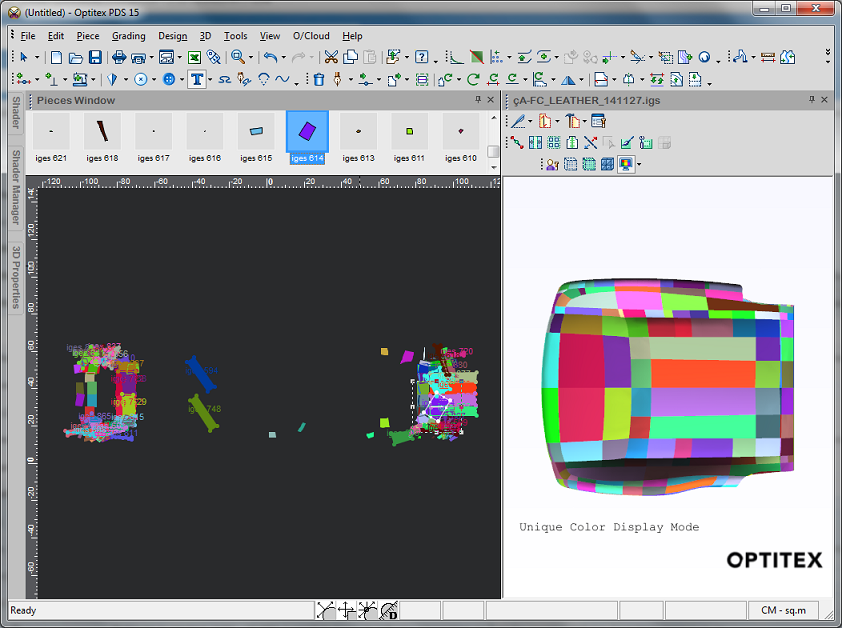
If the surface has holes in it, a piece will be created for the hole. You can then convert the piece to a hole. For more information, see Pieces to Rectangle Holes.