Custom View
You can use the Custom View option when you want to save different views of your 3D sample, so you can get the same view (zoom, rotation, etc.) each time.
You can share custom views by exporting them to a CAM file, which can imported by your collaborator.
Custom views created from version O21.2 or later, can be used without being dependent on the open 3D model and/or garment.
The view you create will always be the same view no matter the 3D model and/or garment that is opened.
Icon & Location
-

-
Toolbar: Camera
To use Custom View:
-
Open a 3D model.
-
With your mouse move the 3D model until you reach the desired position.
-
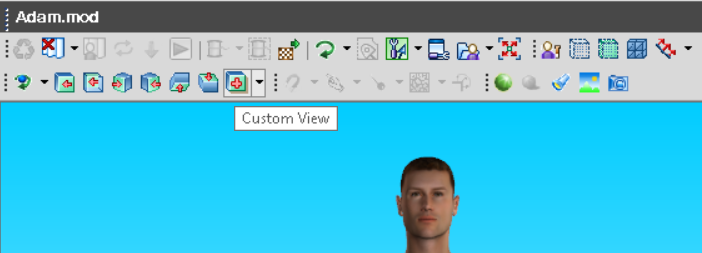
From the 3D toolbar, select Custom View:
If custom views were already defined, the drop-down list will contain all the views.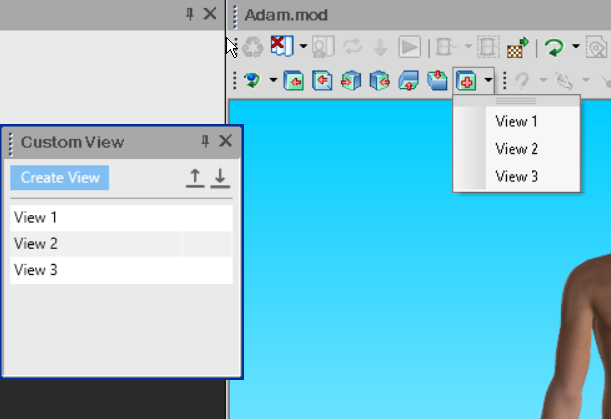
-
Click Create View.
A new row is added to the table. By default all custom views appear with the name: View 1, View 2, etc. -
To change a name, double-click the name. An editing tool box appears.
-
Enter the name you require and then click Enter.
-
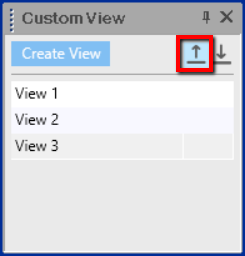
Create as many custom views as you like.
-
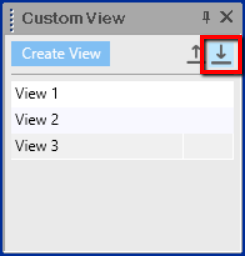
If you want to export all the custom views, click Export. Select the location and name for where to save the file, to be shared with others.
-
If you want to import custom views from another user, click Import. All custom views that were saved in the file appear in the dialog.
-
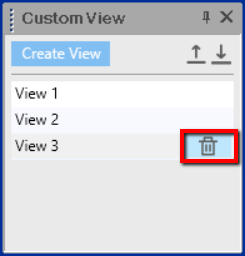
To delete a custom view, hover over the desired row. Click Delete. The selected view is deleted.