3D Multi Stitch
You can use the 3D Multi Stitch tool when you need to stitch multiple pieces of different lengths together, and you want to maintain a proportional division between all stitches. With the 3D Multi Stitch tool you can do the following:
-
Stitch one/multiple segments to one/multiple segments while the proportion is calculated automatically.
-
View all connected stitches.
-
When viewing the Stitches dialog, one stitch appears (for multiple segments).
-
When assigning presets via the Seam & Stitch manager, all segments receive the same preset (one stitch for multiple segments).
-
When assigning shaders, one shader is applied to all segments.
Note: When stitching, you need to select the pieces in a clockwise manner and the pieces must go according to the way they should be stitched (also in a clockwise manner).
If you created a multi stitch and no longer want a multi stitch, rather separate stitches, you can use the Split Multi Stitch tool. To learn more, see Using the Split Multi Stitch Tool.
Icon & Location
-

-
Toolbar: 3D
To use the 3D Multi Stitch tool:
Open a PDS file.
From
the 3D toolbar, select the 3D Multi Stitch tool. You can also click Alt-U
to access the tool. 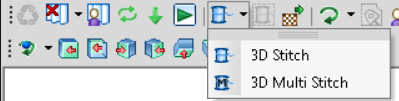
Notice the cursor changes into a sewing machine with an M as follows: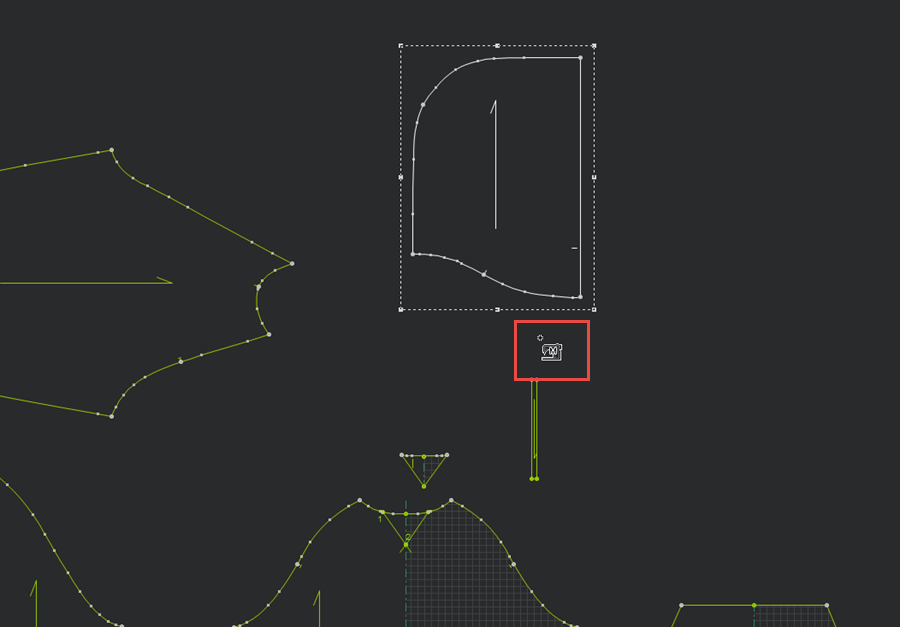
Define
the first group of stitches by selecting a segment. In this example we
are stitching the hood to the front piece first, so select the segment
in the hood.
You can use any of the stitching methods (point to point, segment to segment,
etc.).
Select
another segment
Or
Press Enter to create the first
group.
Notice a number 2 now appears on the cursor indicating you are defining
the second group.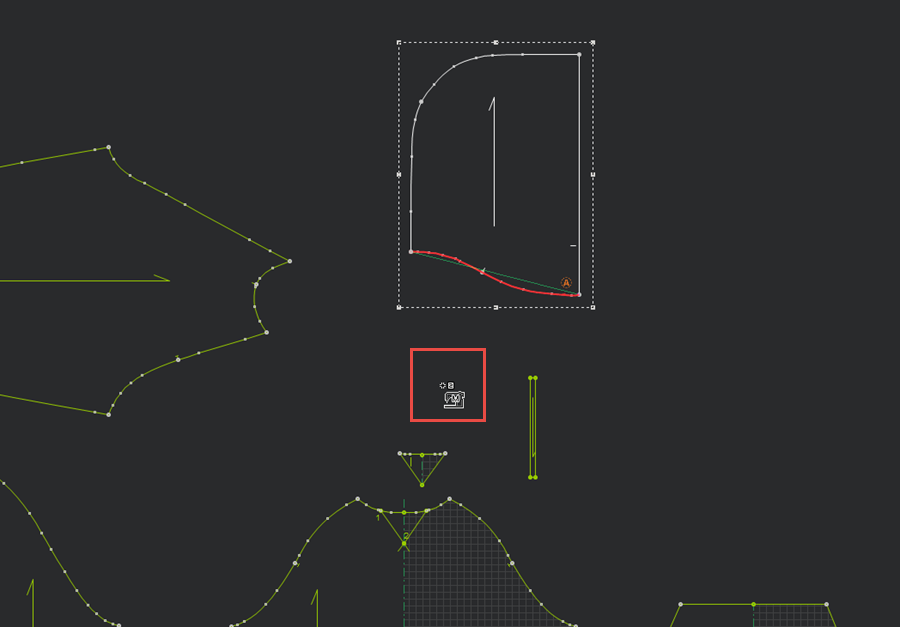
If you are stitching paired pieces to self, and you do not need another
group, press Enter again to create
the multi stitch.
Or
Define the second group of stitches by selecting a segment.
In this example three pieces need to be stitched to the hood: back piece,
front piece and sleeve. Make sure you select the stitches in the correct
stitching order in a clockwise manner.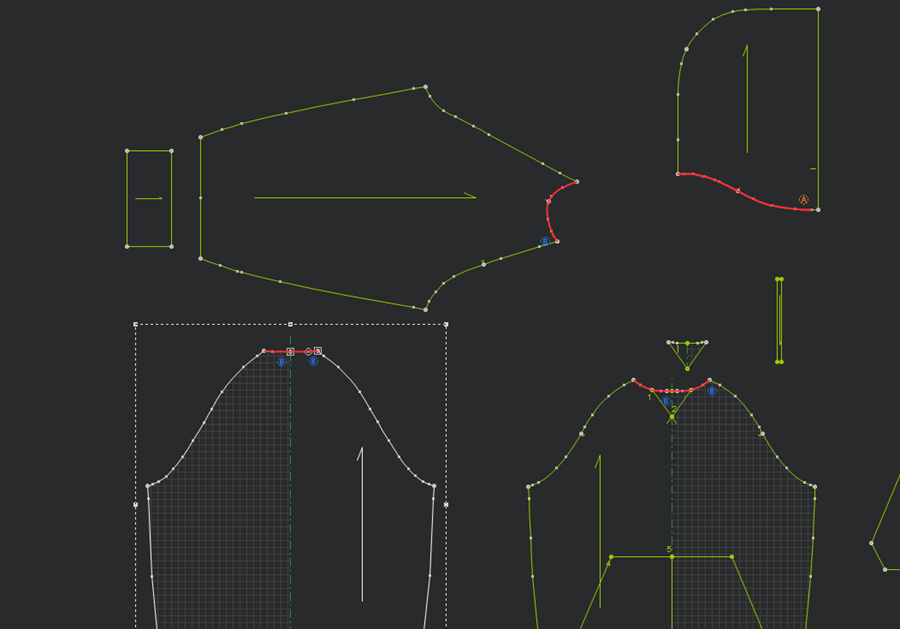
When
you are done, press Enter to create
the group.
The multi stitch is created and all the segments are stitched to the first
group in an equal manner (no matter their length) as follows: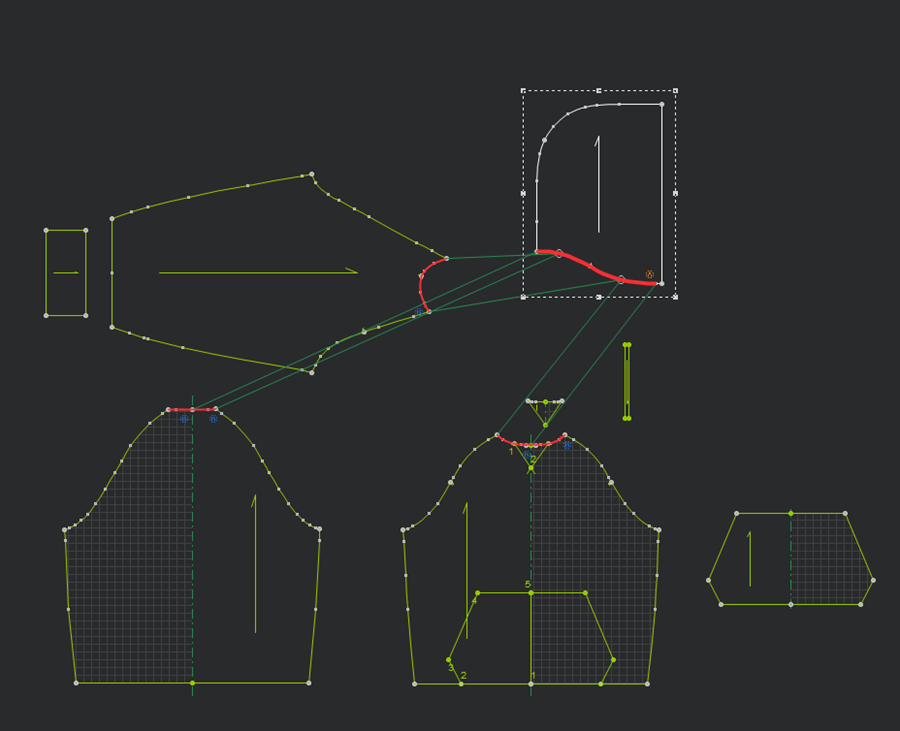
If
you open the 3D window and place the cloth, you can see the stitches were
created: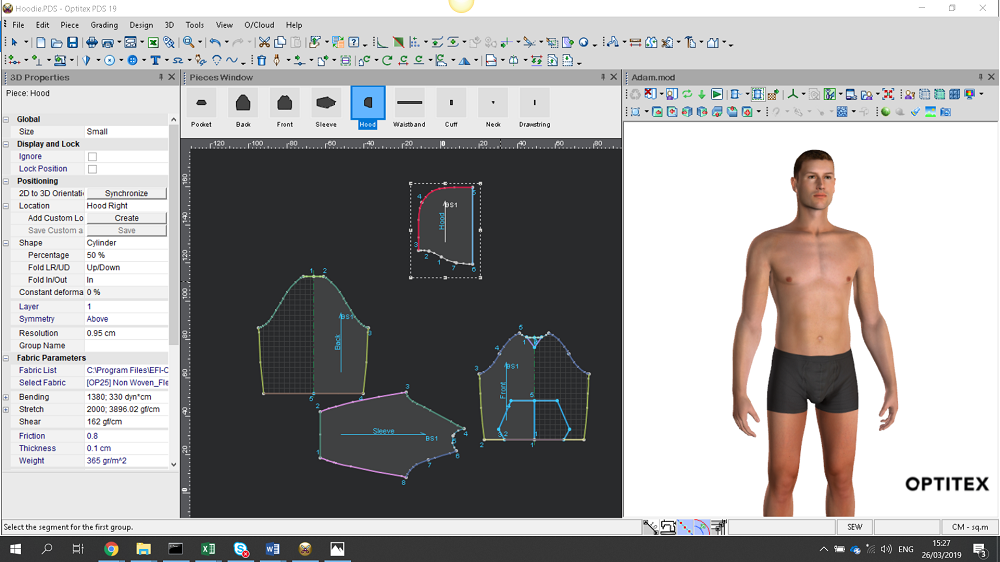
If
you open the Stitches dialog,
you can see that one stitch was created for all the segments as follows: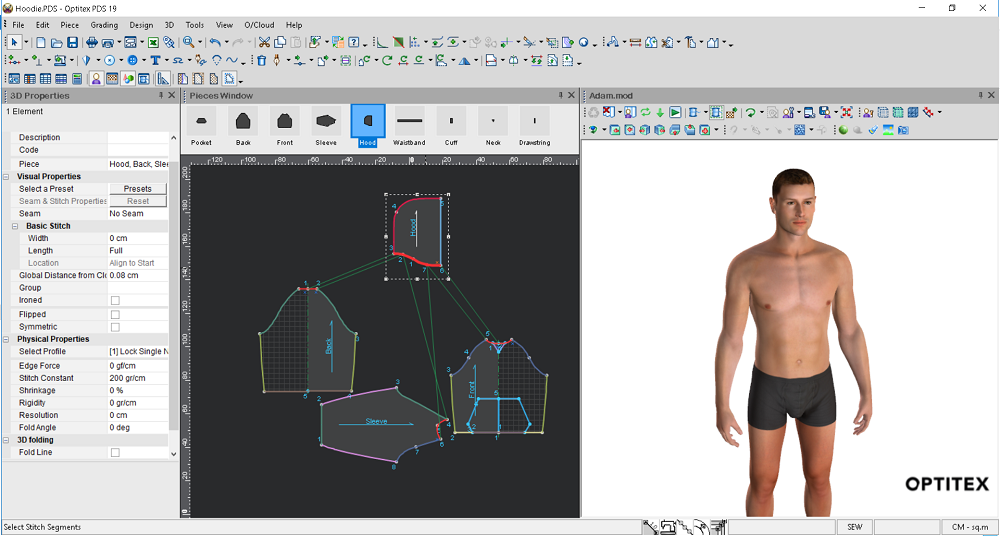
If
you want to assign a visual stitch, open the Seam
& Stitch Manager and apply a preset.
Notice the preset is applied to all the segments in the stitch: