Modifying the Lighting via Lighting Editor
You can change the lighting presets that are used for rendering via the Lighting Editor. This allows you to change the lighting that is used to produce different effects. The lighting presets change according to the type of rendering you are using. For example, if you turn on Photorealistic 3D, the presets will be different.
 Note: If you save the PDS file, the lighting information will be saved with
the file, so you won't have to redefine after you open the file.
Note: If you save the PDS file, the lighting information will be saved with
the file, so you won't have to redefine after you open the file.
To modify the lighting presets:
-
In the 3D window, in the Render toolbar, click
 to open the Lighting Editor.
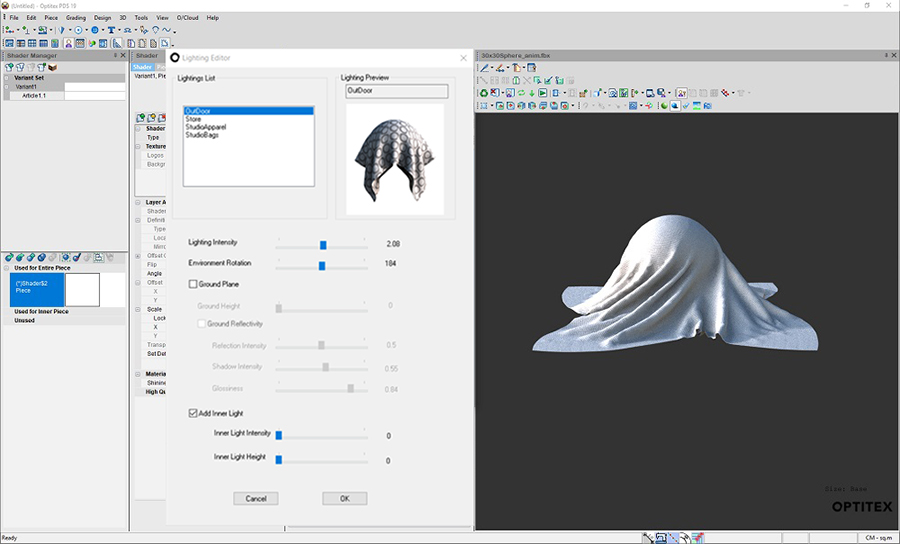
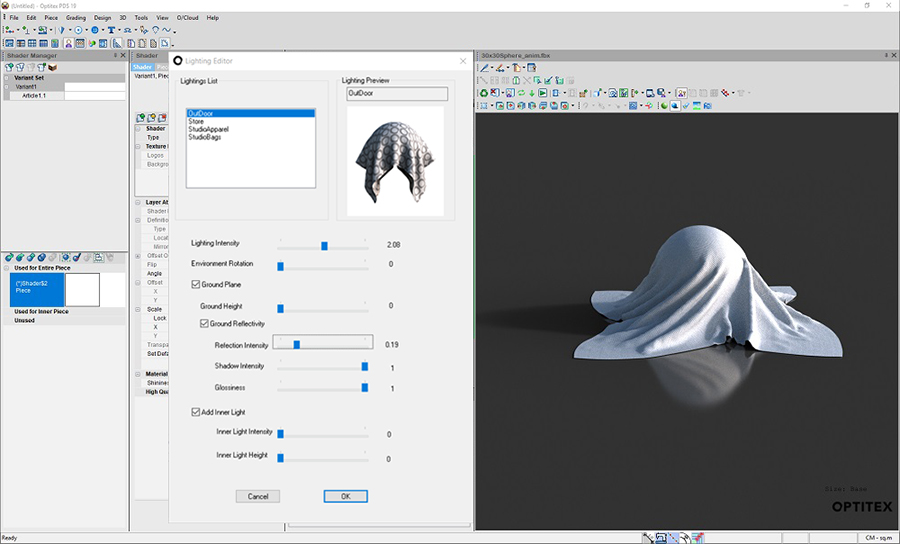
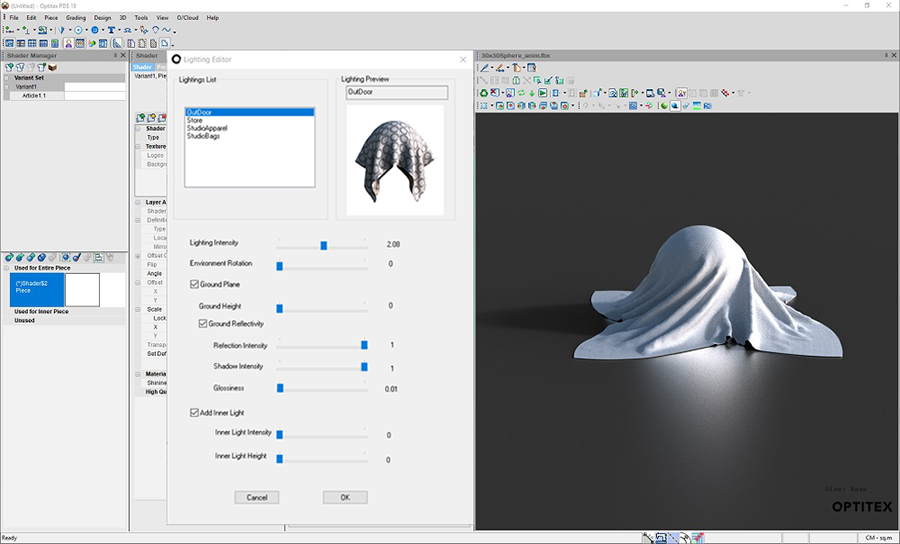
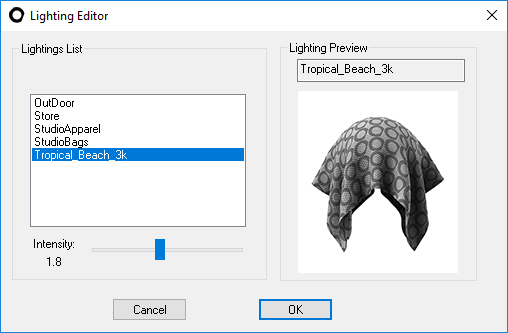
The Lighting Editor dialog appears:
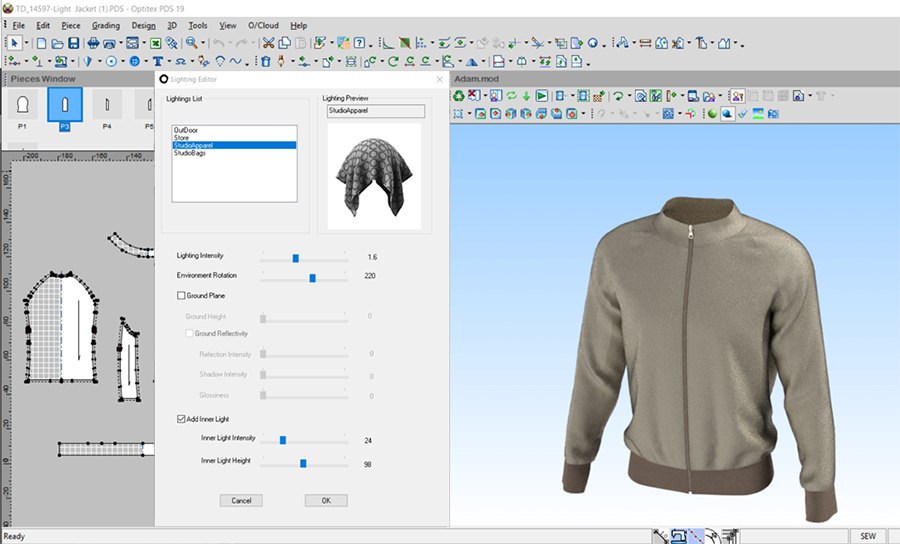
If you are in open GL mode, the dialog appears as follows:
-
In the Lighting List area, select the type of lighting you need:
Note:
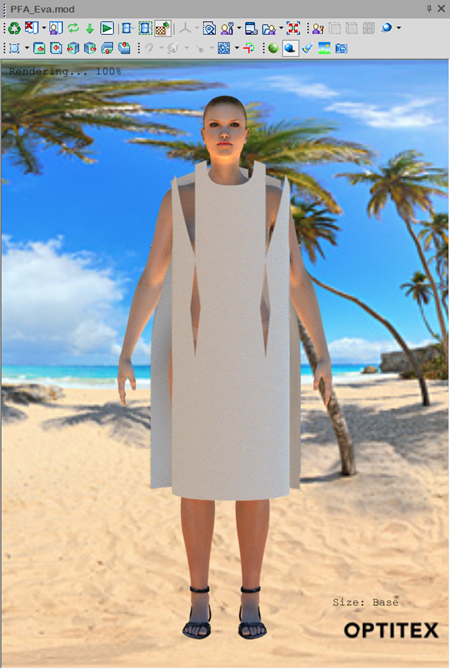
You can see the changes to the lighting in the Preview window,
as well as in the 3D window, before you apply the final changes.
Simple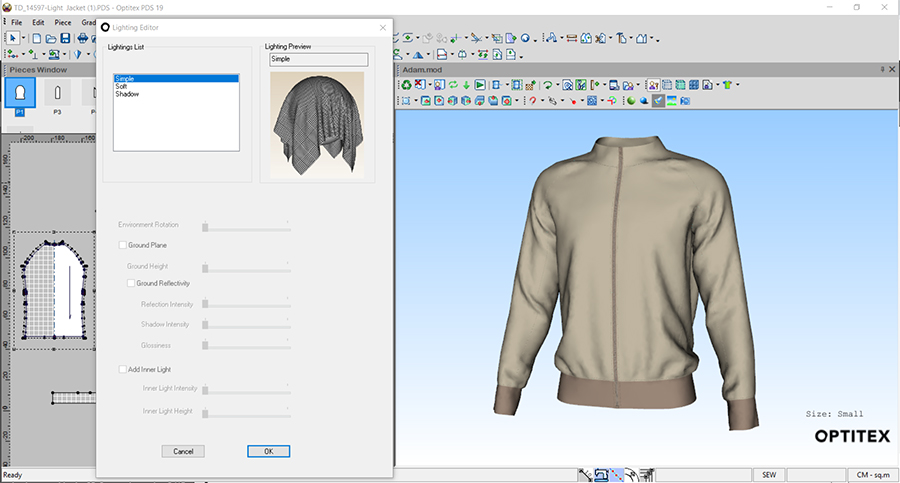
Soft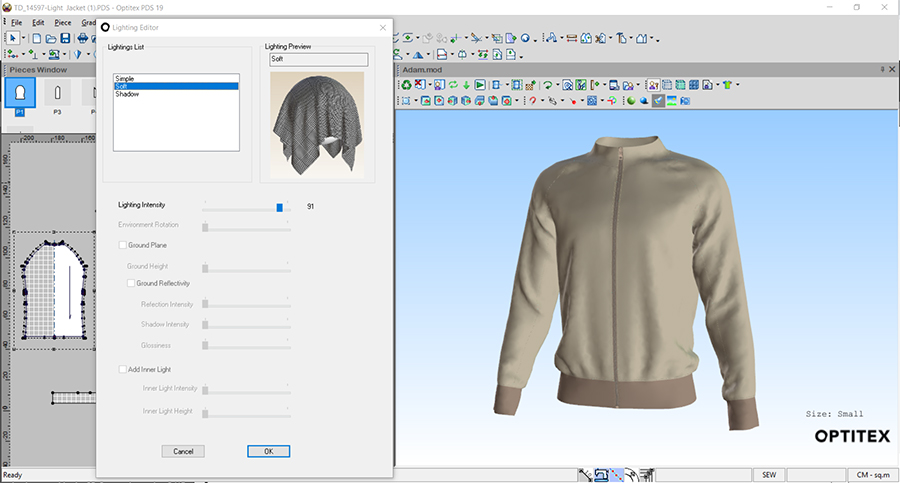
Shadow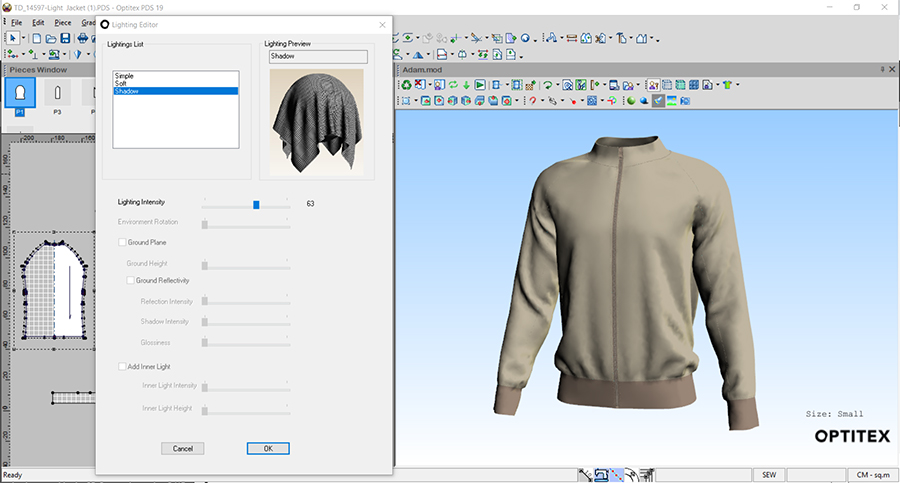
-
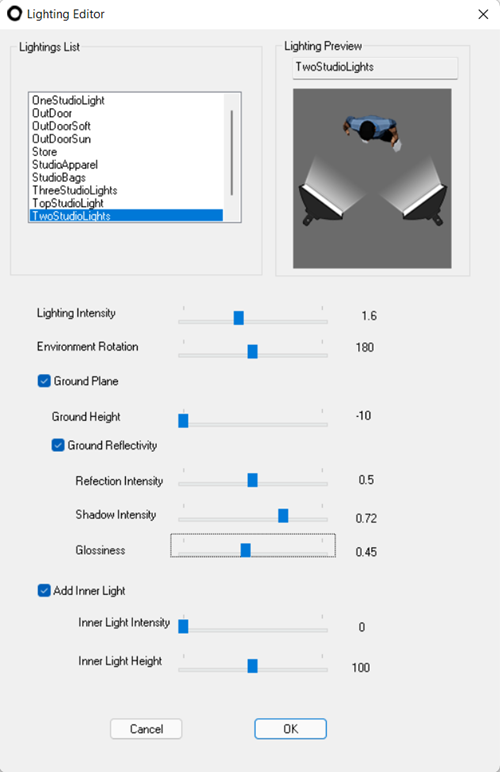
The following lighting environmental parameters are available in the Lighting Editor dialog, if you are using Photorealistic PR3D:
-
Lighting Intensity – allows you to change the lighting intensity in the scene.

-
Environment rotation – Allows you to rotate spherical light around an object.
-
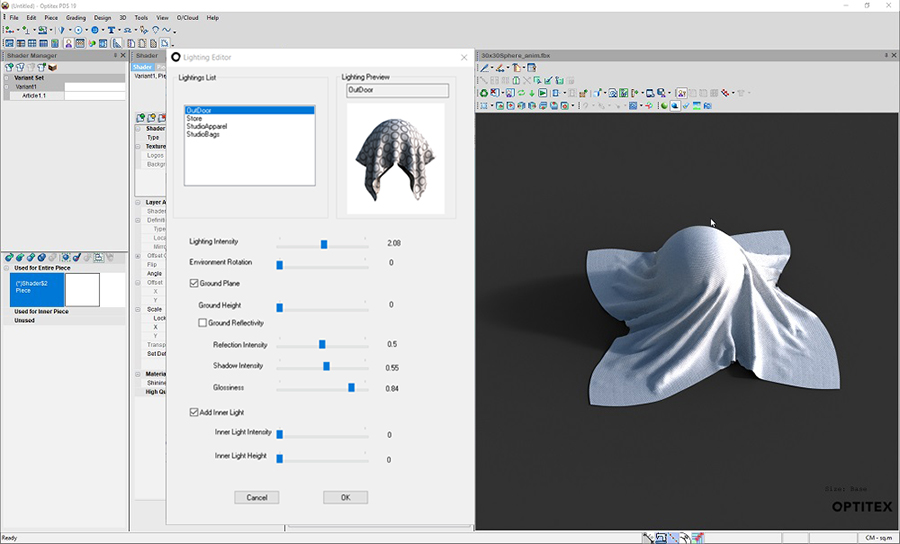
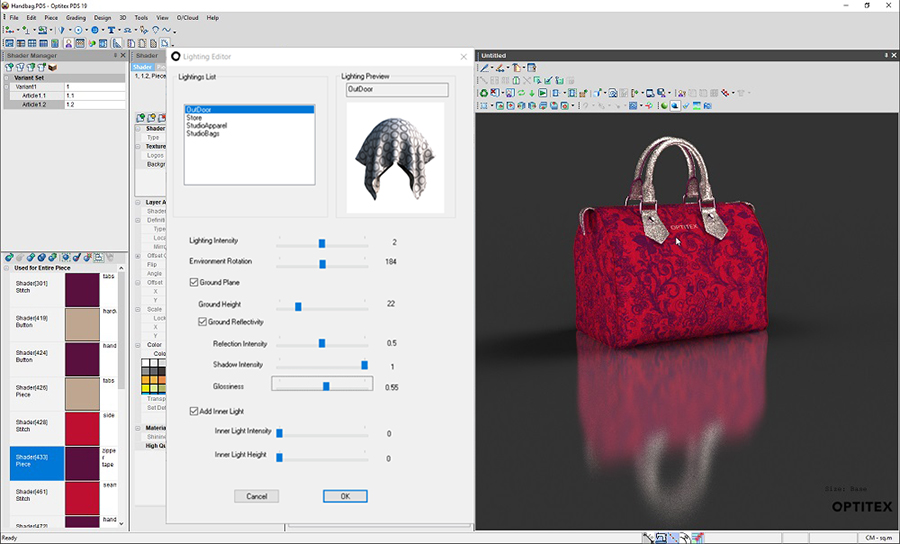
Ground Plane – creates a renderable ground plane that catches shadows and reflections.
-
Ground Height – positions the ground plane from -10 - 90 cm in height.
-
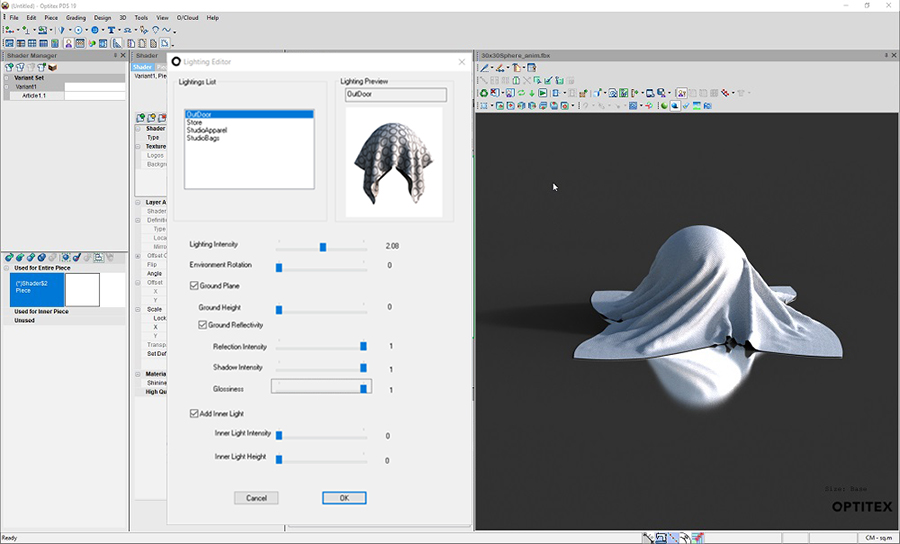
Ground Reflectivity – turns on reflectivity, shadow intensity, and glossiness.
-
Reflection Intensity – changes the intensity of the reflection on the ground plane.
-
Shadow Intensity – changes the intensity of the shadow on the ground plane.

-
Glossiness – changes the sharpness of the reflection on the ground plane.
-
Add Inner Light – creates a light object in PR3D. This helps avoid dark intense shadows inside a cloth when the avatar is hidden. Note that if the avatar is visible and the inner light is turned on, you might experience an unwanted lighting effect.
-
Inner Light Intensity – sets the intensity of the inner light from 0-100. If you do not select the Add Inner Light checkbox, the inner light intensity is set to 0.
-
Inner Light Height - sets the height of the inner light from 0-200cm (from the Ground Pane up to 200 cm).
-
Click Ok when you are done.
Note:
-
All lighting settings adjustments will be saved within the PDS+3D.
-
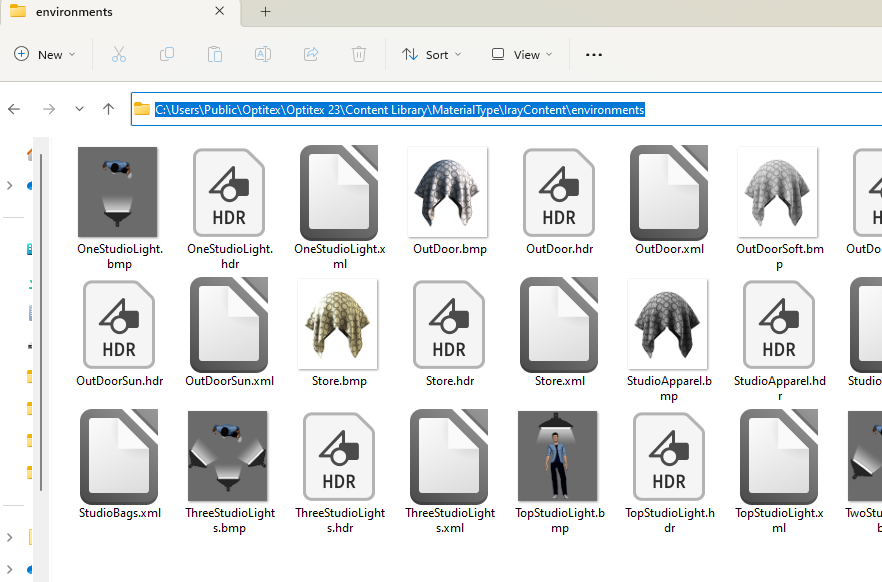
If you require a lighting environment that is not available in the list, you can upload your own, using an HDR file. An HDR file (High Dynamic Range) is basically an image with multiple exposures.
 Click here
to see how to upload your own lighting environment
Click here
to see how to upload your own lighting environment
 See also:Creating Your 3D Sample