Add Circumference Measure
The Circumference tool allows you to measure the circumference while using your mouse.
Note: Starting from version O/18 you can no longer modify the avatar's measurements in the Model Properties dialog, rather you have to modify the Avatar via the Avatar Editor. For more information, see Avatar Editor. You can still use the Add Circumference Measure tool for viewing purposes; however, you will not be able to replace measures.
Icon & Location
-

-
Toolbar: 3D
To use the Add Circumference Measure tool:
From
the 3D Toolbar, click on the Model Properties
icon and from the drop-down list, select Add
Circumference Measure as follows: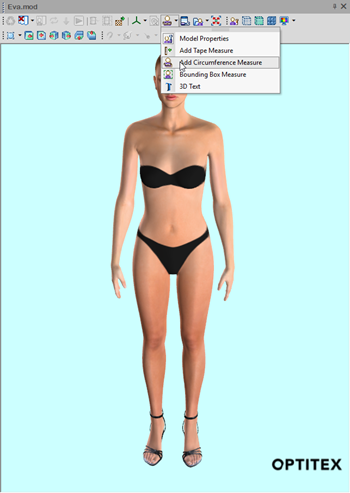
A circumference tool appears near the feet of the model.
To move, hold the CTRL or SHIFT key down and click on the circumference disk to select it.
Move
the tool's position using the left mouse button, while the CTRL
or SHIFT key is still down.
Every time you stop the mouse movement, the tool takes a measure at its
location. A line, extended from the measurement area, displays the measurement
value. This tool can also be useful for verifying body dimensions after
they have been modified.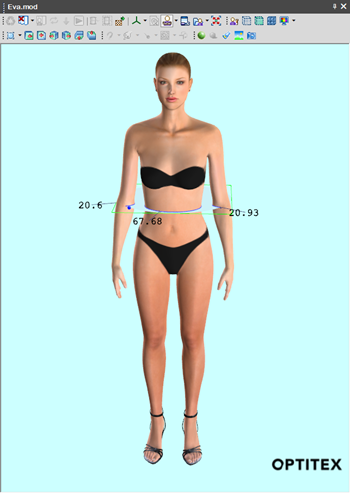
To
edit the circumference properties, while pressing down on Shift,
double-click with your mouse.
The Circumference
Tape dialog appears: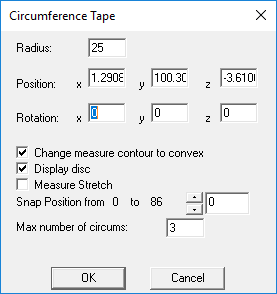
In
the Radius field, enter the radius
of the circumference. For example, enter a higher radius to see how the
circumference enlarges. Here is an example of a radius of 50: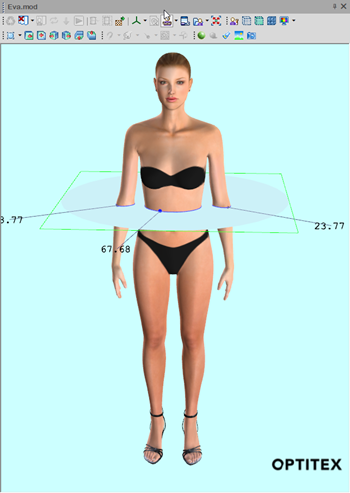
In the Position field, enter the position of the circumference/disk: X= horizontal, Y= vertical, Z=in/out.
In the Rotation field, enter the rotation of the circumference around the axis: X= horizontal, Y= vertical, Z=in/out.
Select the Change measure contour to convex checkbox, if you want the circumference to be closer to the body, not away from the body.
Select
the Display disc checkbox, if
you want the circumference disc to be displayed.
If you clear this option, the circumference appears as a blue line as follows: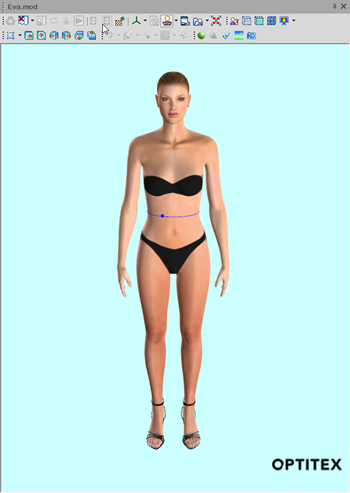
To return to the dialog, click on the blue line.
In the Max number of cicums, enter the highest number of lines that can surround the avatar. For example, enter 3.
Click Ok when you are done.