Move Texture
You can use the Move Texture tool when you want to move prints or repeated patterns in the 3D Window and on the pattern pieces. This allows you to match textures of adjacent pieces or to quickly test print positioning.
Shortcuts
-
Ctrl+Arrows - Move texture (Offset)
-
Ctrl+Alt+Arrows - Scale texture
-
Ctrl+Shift+Alt+Arrows - Rotate texture (Angle)
Use Cases:
-
Stripes don't meet.
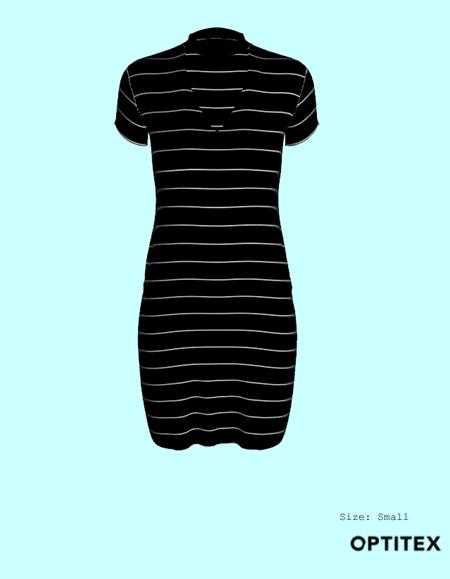
-
Stripes adjusted.
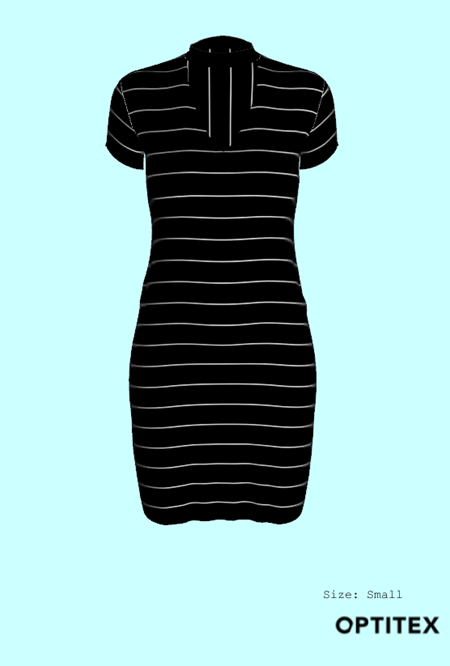
Icon & Location
-

-
Toolbar: 3D
To use the Move Texture tool:
From
the 3D toolbar, click ![]() .
.
Notice that the mouse cursor changes to the shape of a hand.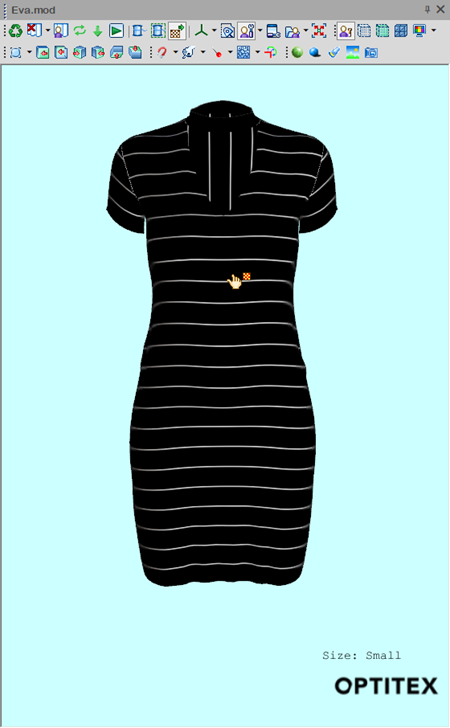
Select the print/texture with left-click and while holding down the mouse, move the print over the piece until you reach the position you require.
If you want to move a piece that is paired,
for example the sleeve and only want to affect the right side, press Alt on your keyboard and while holding
down the mouse, move the texture as required.
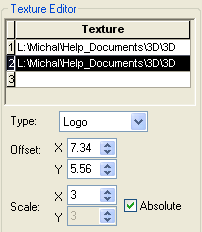
Notice the 3D Properties> Shader Attributes
Symmetry details are updated automatically: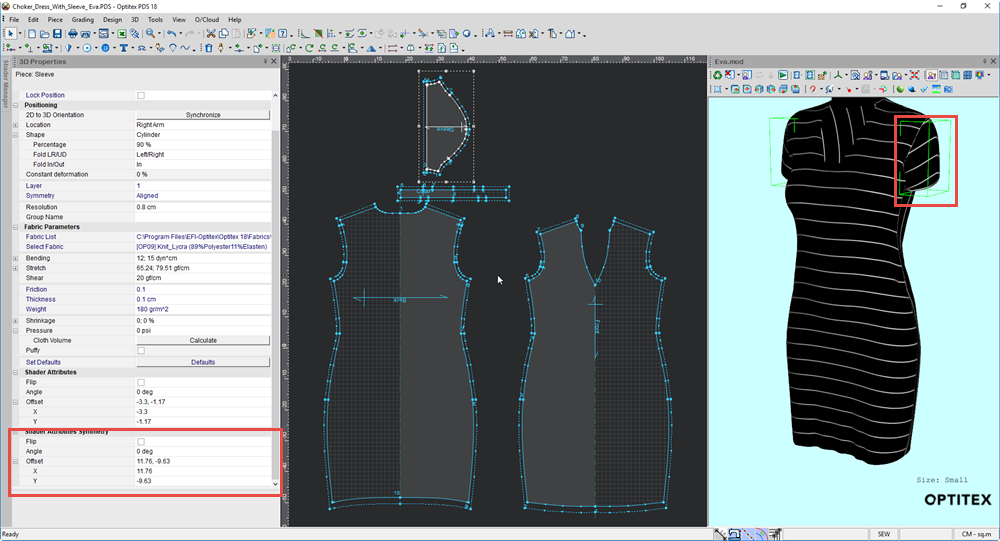
To move the texture on the pattern piece, from the Display toolbar, select the Show 2D Background as Shader.Once you can see the textures on the pattern pieces you are free to move them.
Release
the tool by clicking the tool icon again or by right-clicking the screen.
The texture's position is synchronized
between 2D (pattern pieces on Working Area) and 3D (cloth pieces in the
3D Model window).|
The position of the textures will be updated in the Shader Window as well.