O/19.0
Click below to see the updates in version O/19.0
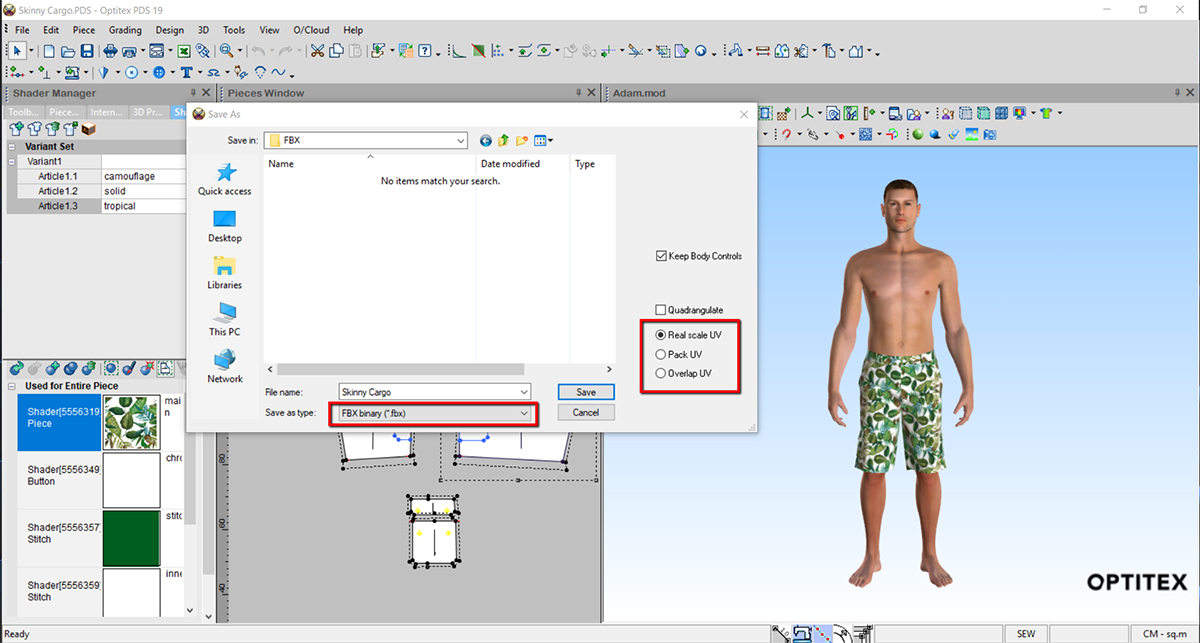
Export FBX with various UV options
Provides various UV options when exporting a 3D garment to the FBX file format.
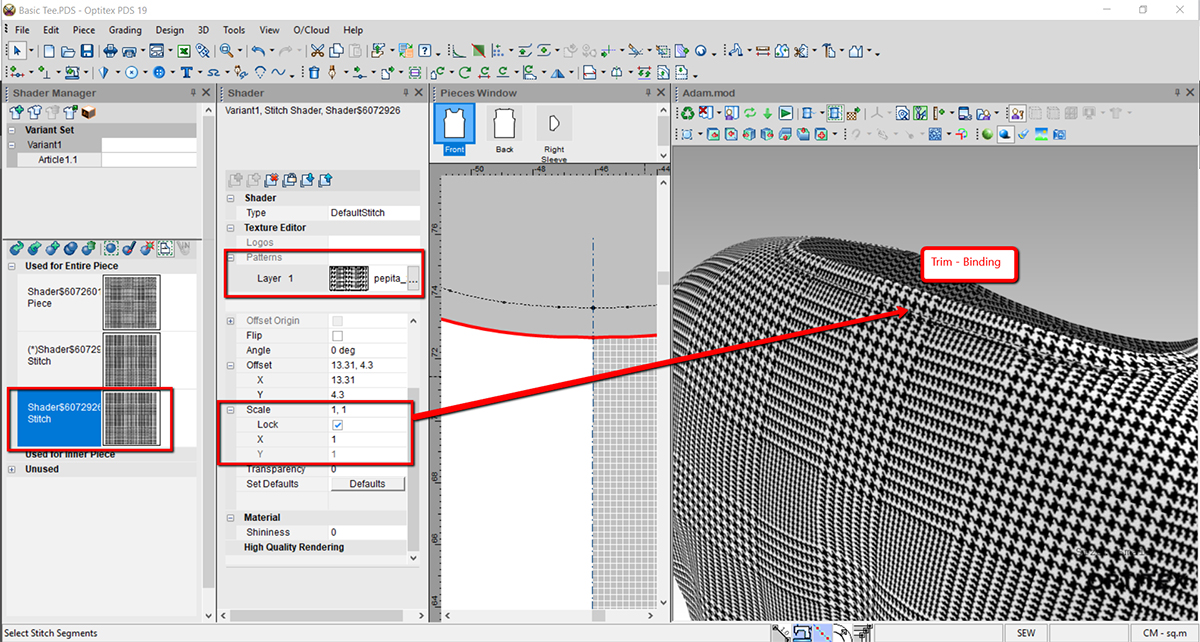
Artwork appears at the same Scale across garment elements
When adding artwork to a shader that is connected to button shapes or stitch/trim/accessory, the artwork will appear in its real scale.
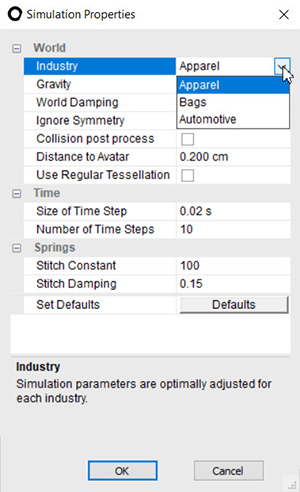
Predefined Simulation Parameters for different industries
Simulation parameters are optimally adjusted for each industry (Apparel/Bags/Automotive).
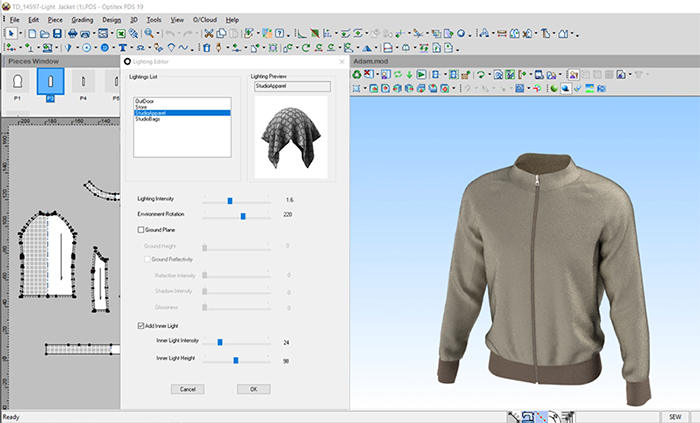
New lighting capabilities to control the Inner Light Intensity and Height in PR3D.
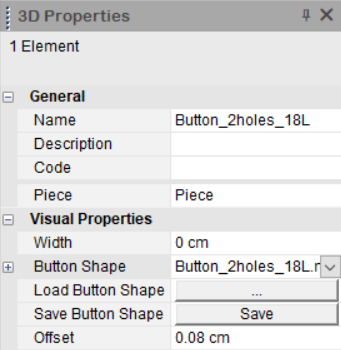
Save an embedded button shape to the local directory.
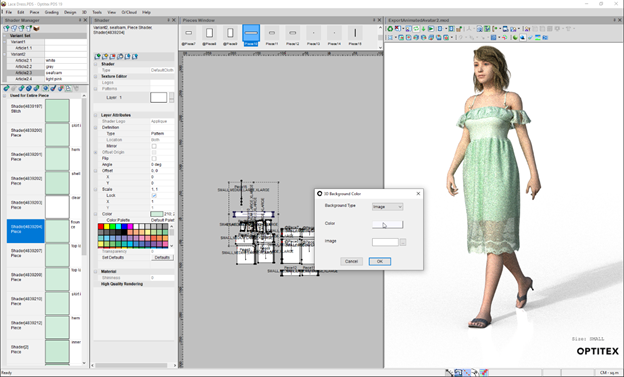
You can now import animated DAZ avatars using the FBX file format. These avatars simplify the avatar creation process.
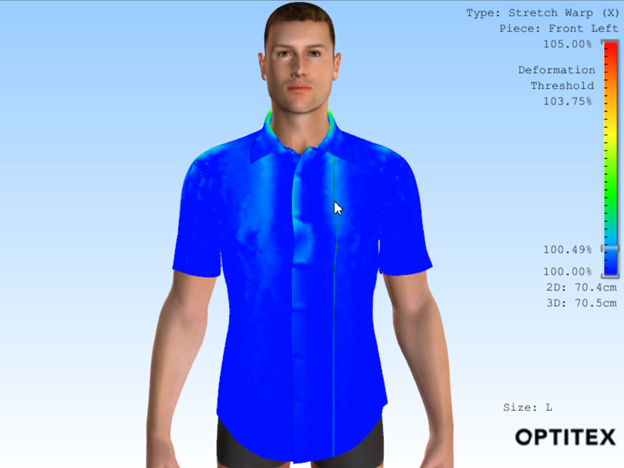
Enables you to identify different fit issues during the development process; for example, pieces deformation and overstretching (measured by FTU). You can also correct the pattern according to the Fit Analysis result.
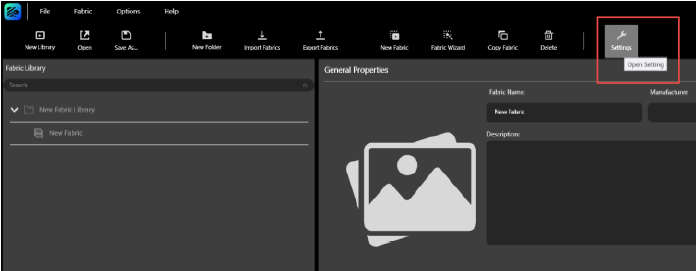
An updated Optitex Fabric Testing User Guide is now available. The guide covers how to operate the Optitex Fabric Testing Unit (FTU), used to measure fabric physical properties and achieve proper garment simulation in Optitex 3D.
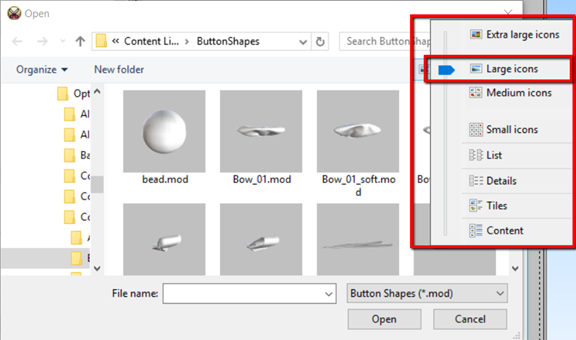
There is a new mechanism for loading and managing button shapes. You can load the samples installed with PDS, or load your own files.
Indicator for Symmetrical Piece Positioning
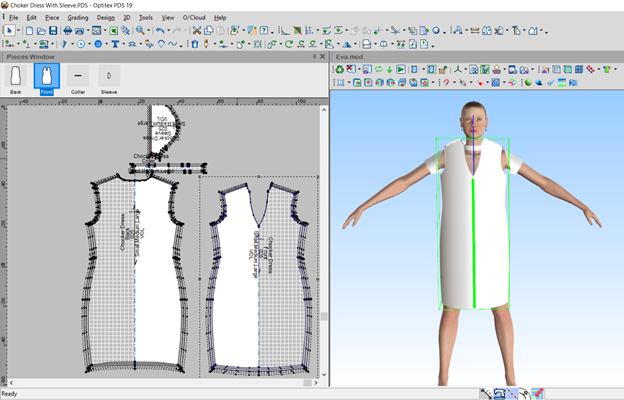
When moving a piece, you can now visualize the symmetry line on the piece and avatar.
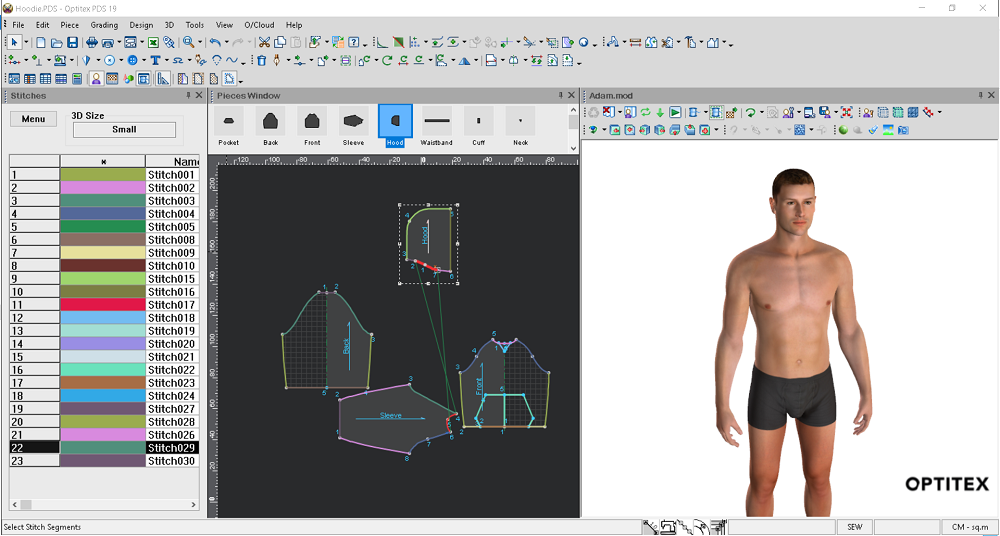
The new Avatar Editor UI provides an easy-to-use, all-in-one
interface with expanded capabilities. You can customize an
avatar to meet your needs by creating sizes, adjusting morphs/accessories,
editing shaders, etc. - and then save the file as an MOD file
for use in the PDS. ![]()
You can now create mating lines directly on a 3D model within the Optitex Avatar Editor. You can create lines, create symmetry, edit lines, and more.
![]()
Support for the new Alvanon licensing mechanism is now available in our all-in-one Avatar Editor. Optitex now supports encrypted Alvanon avatars in our Optitex content-creation products (AvatarEditor, PDS).
A new tool that allows you to save time and prevent stitching errors. You can use the 3D Multi Stitch tool when you need to stitch multiple pieces of different lengths together, and want to maintain a proportional division between all stitches.
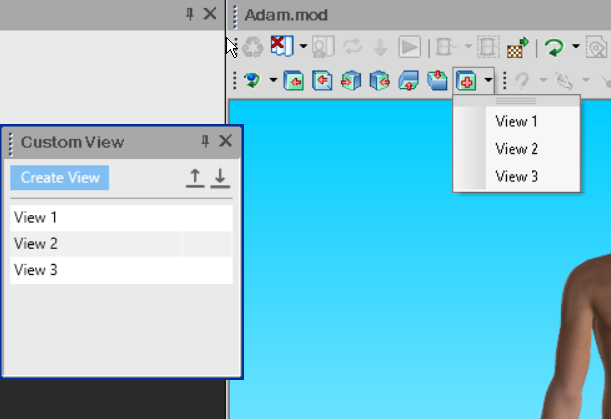
A new tool located in the Camera toolbar that allows you to save different views of your 3D sample, so you can get the same view (zoom, rotation, etc.) each time. You can share custom views by exporting them to a CAM file, which can then be shared with other users via import.
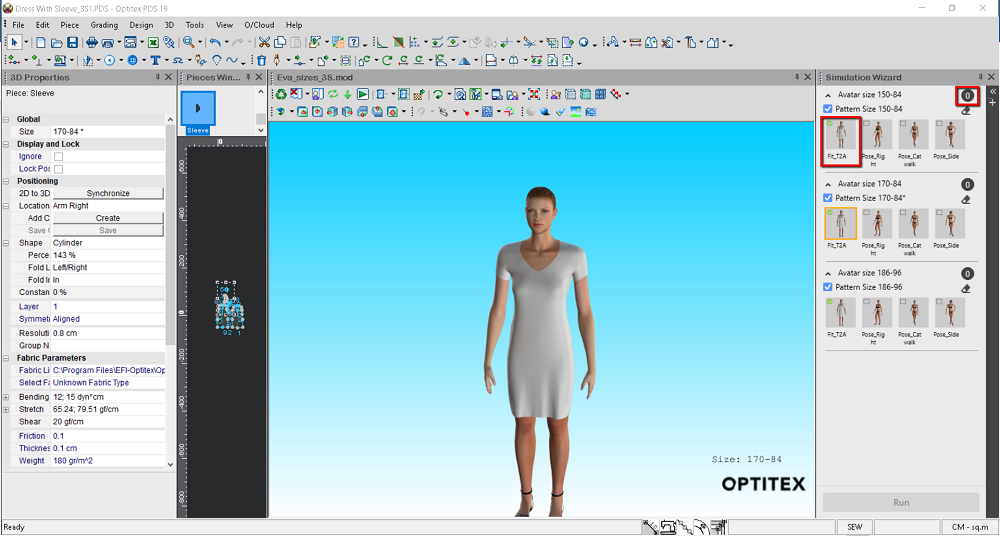
Cross Size Simulation
Allows you to easily simulate and manage your pattern in different sizes on all sized avatars and final poses - in one place. This allows you to see how your pattern looks on all sizes, so you can evaluate fit, positioning, etc.
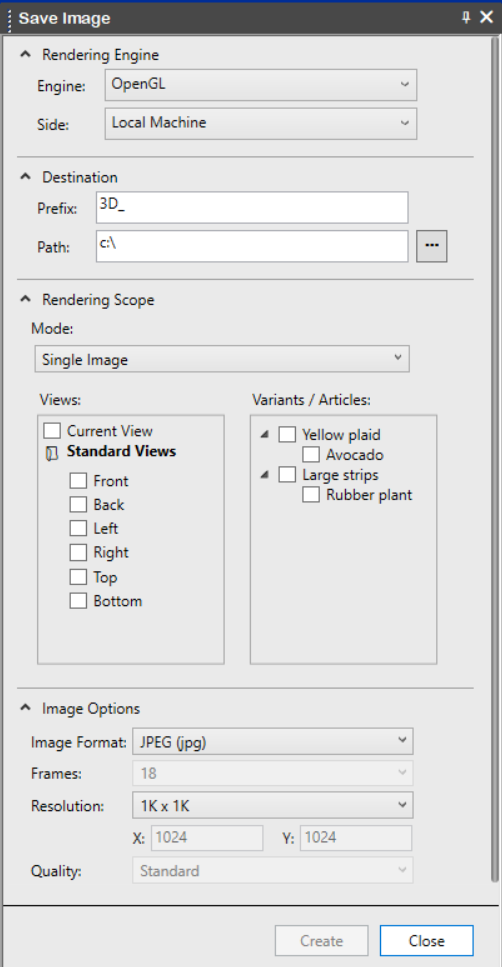
Mass Rendering in Different Views and Colorways
Allows you to create a mass number of images according to
a specific rendering engine, orientation and/or zoom of the
3D model, colorways - either via a local machine or remote
rendering server (for an offline process).
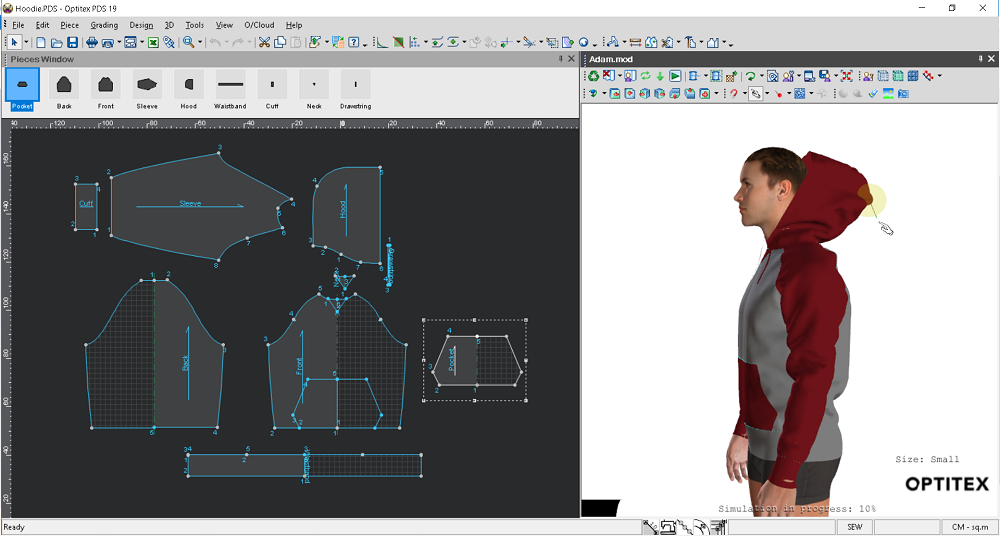
The Magic Glove has been enhanced. Simulation now begins automatically, the tool include a radius when pulling the vertex, and new keyboard shortcuts were added. This allows for quick adjustments when finalizing a 3D sample - creating an enhanced experience and better performance.
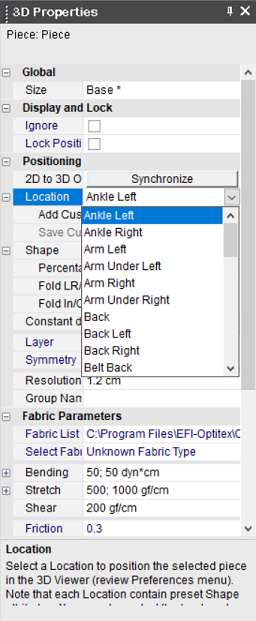
Initial positioning is now according to the avatar's rig; therefore when changing the avatar size/pose after pieces are positioned, the positioning will remain the same.
In addition, new/modified positions/locations have been added to the 3D Properties dialog.
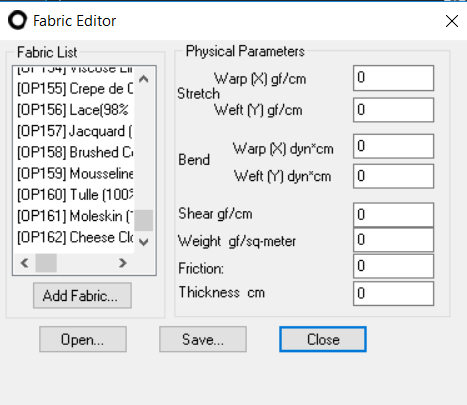
The fabric library was enhanced and now contains over 150 different fabric types.
3D
Revu Updates
New 3D Revu capabilities are available, including the ability to show/hide grids and X/Y/Z axes, and paste images from the clipboard.
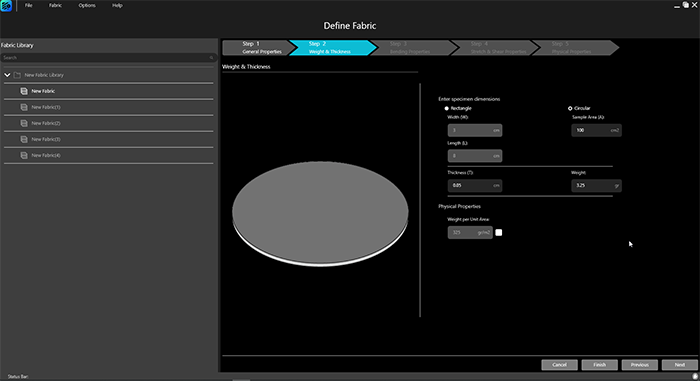
Circular specimen
Use circular specimen for weight per unit area measurement.
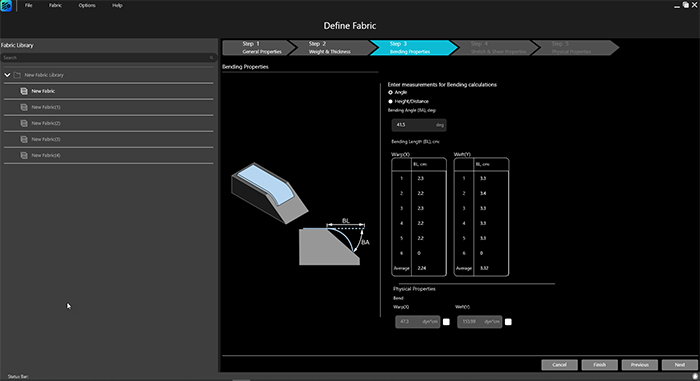
Multiple measurements for bending
Perform multiple measurements for bending to increase the
measurement precision.
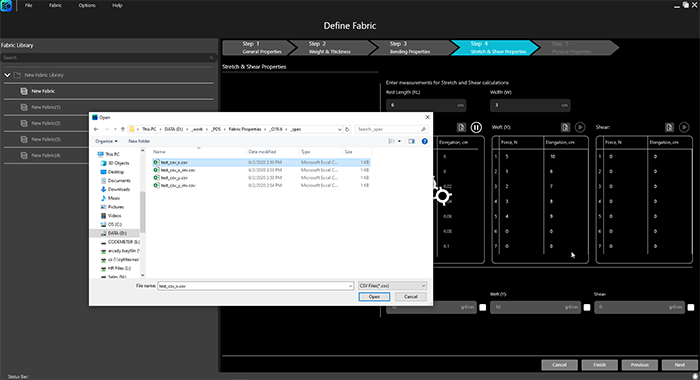
Import stretch measurement data
Import stretch measurement data from an external CSV file.
Generate report via batch command
Automate the report generation using the dedicated batch command
Running batch command on PDS file save
Automate your workflow by executing a sequence of PDS actions on every PDS file save.
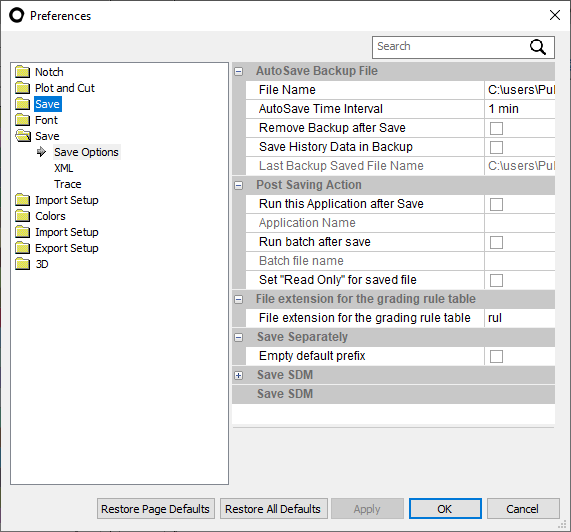
Assign technology operation to a stitch
Assign a technology operation to a stitch. Use the
assigned operation within reporting to generate data
for costing analysis.
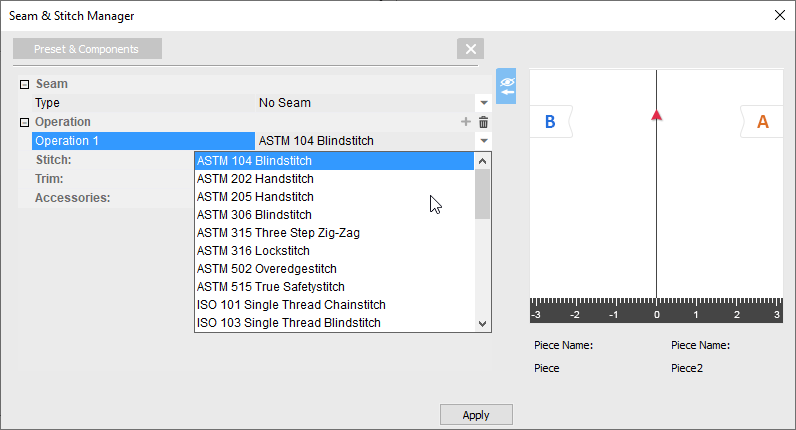
Seam Corner D Properties allowing you to move seam corner vertex away of the piece geometry.
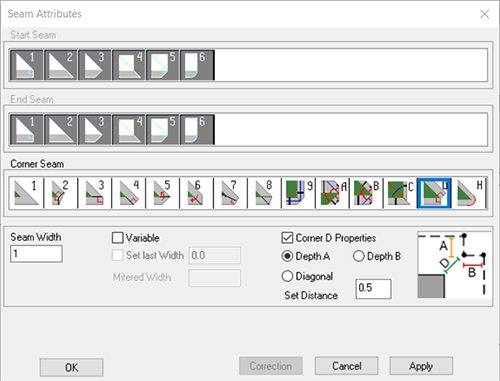
Possibility to save patterns using legacy formats is discontinued
The possibility to save pattern files in such legacy formats as DSN of PDS versions 8 and 9 and CUS (legacy Modulate format) is discontinued. However, loading of these legacy formats is still available.
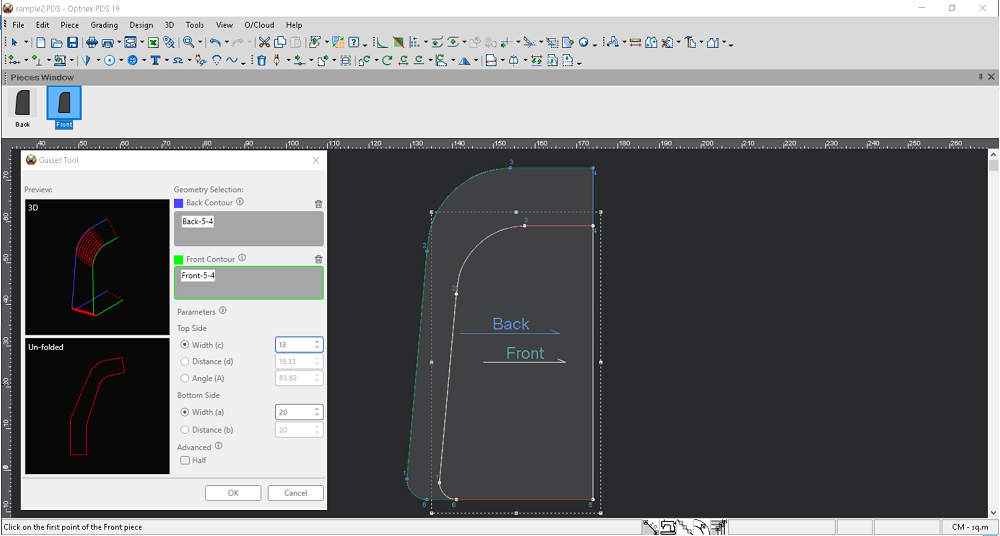
A new tool that can be used for bags, backpacks, pockets, etc. - allowing you to create a gusset automatically according to two segments on the back and front pieces.
A new tool that allows you to create a grading rule on a selected point in the X/Y direction that matches the segment length of the selected segments.
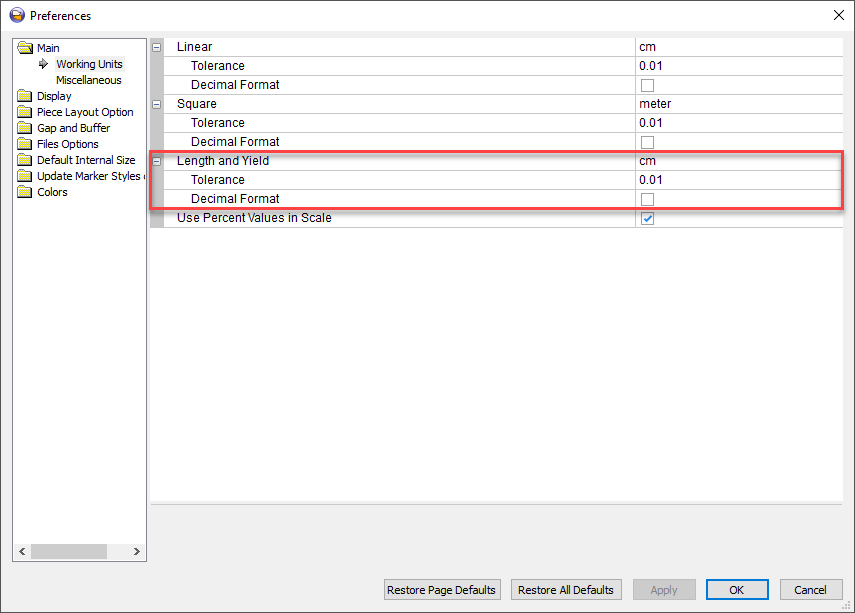
Separate units definition for material length/yield
Possibility to define units utilized for material length and yield separately from units used for other parameters such as width, waste limits, buffer and so on.
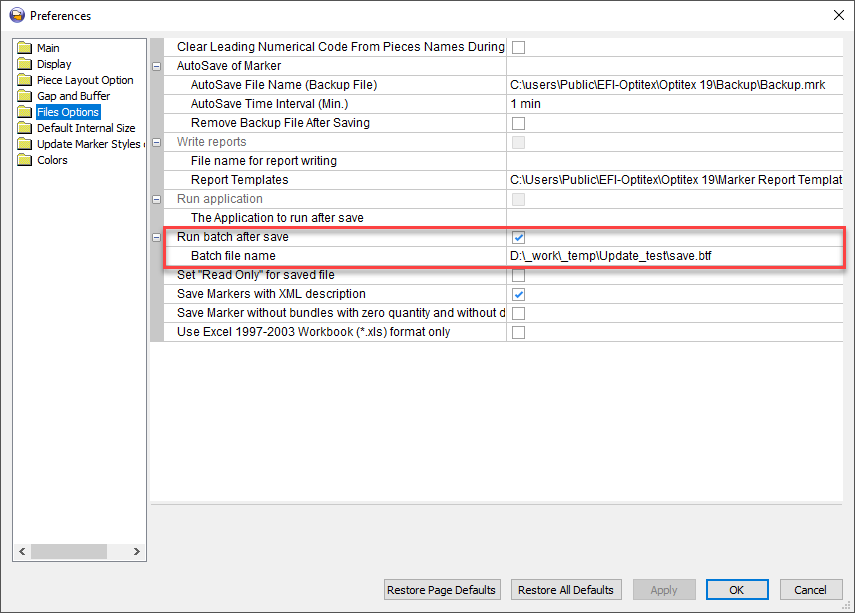
Running batch command on Marker file save
Automate your workflow by execution of a sequence of Marker actions on every Marker file save.
Generate report via batch command
Automate the report generation using the dedicated batch command.
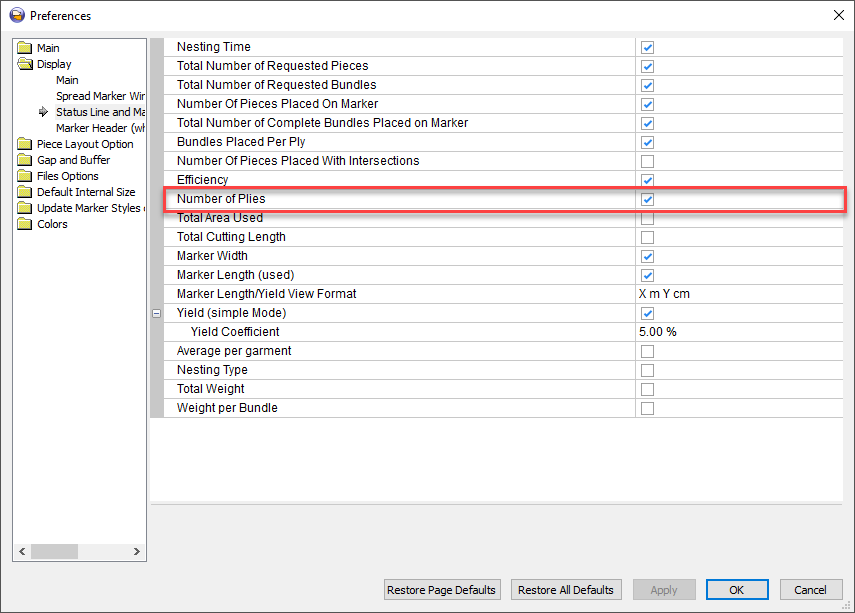
Display quantity of placed bundles per ply
Possibility to display and plot the quantity of bundles placed on a single material ply.
Possibility to save markers using legacy formats is discontinued
The possibility to save marker files in such legacy formats as DSP of Marker versions 7, 8 and 9 is discontinued. However, loading of these legacy formats is still available.
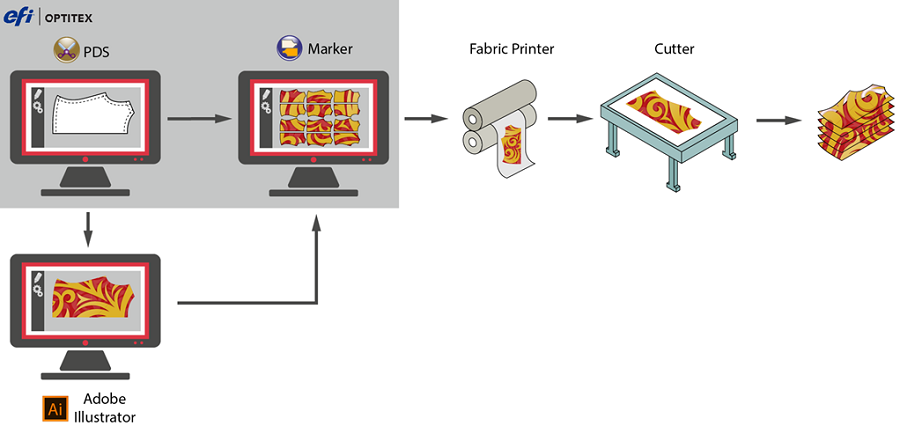
Allows you to print pieces on a blank roll and then cut printed pieces, rather than print an entire roll and then cut piece geometry. Print & Cut is optimal for small and mixed orders, and enables print-on-demand of custom graphics or logos. It works in conjunction with PDS, Marker, Adobe Illustrator, and fabric printers/cutters.
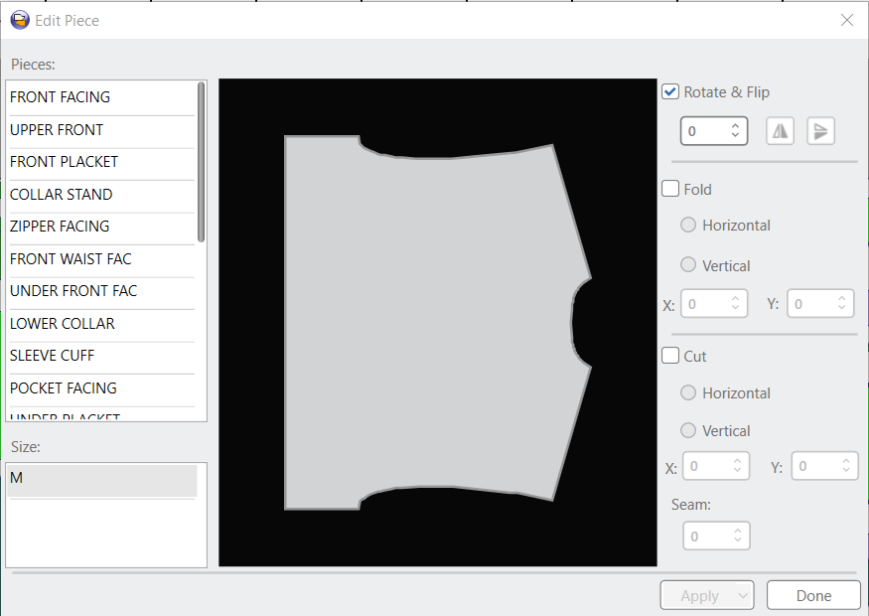
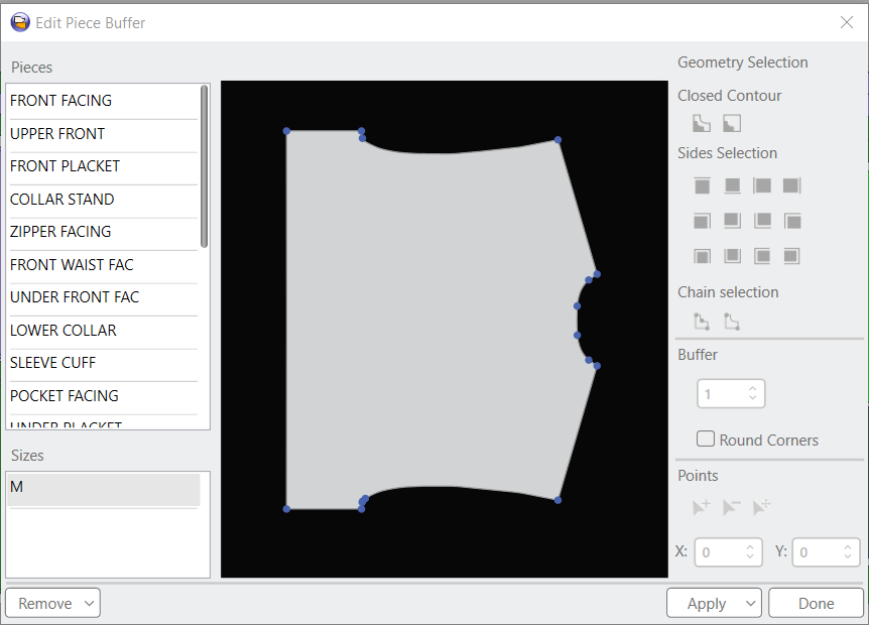
Easy-to-use buffer definition flows now provide you with various piece buffer definition options. You can use the Edit Piece option to edit your piece's geometry - including rotating, flipping, folding and cutting the selected piece; and the Edit Piece Buffer option to define buffers around either an entire piece's geometry or its part.
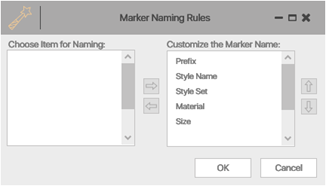
The new Marker Naming Rules dialog box allows you to define
the content used for Marker file naming, as well as the order
appearance within the file name. 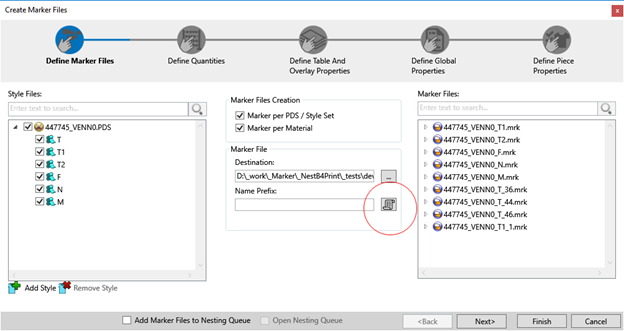
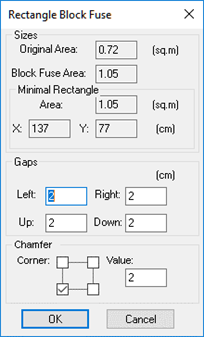
The Chamfer feature lets you automatically apply a chamfer of a given size to specified block fuse corners.
The new Validation Mode feature lets you validate cut pieces against piece geometry displayed in real scale on a 4k screen.
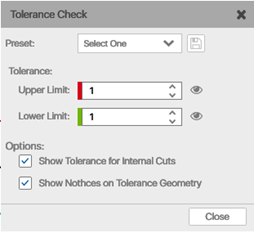
The new Tolerance Check tool can be used to verify if a cut piece's size is within a certain tolerance.
 See also: Previous Optitex Versions