Positioning Pieces in 3D and Adjusting
Once you have stitched your pattern, you can now place the cloth on the avatar and adjust the pieces on the avatar in preparation for simulation.
To position pieces in 3D:
From the 3D toolbar,
click  .
.
The pattern is placed in the 3D window: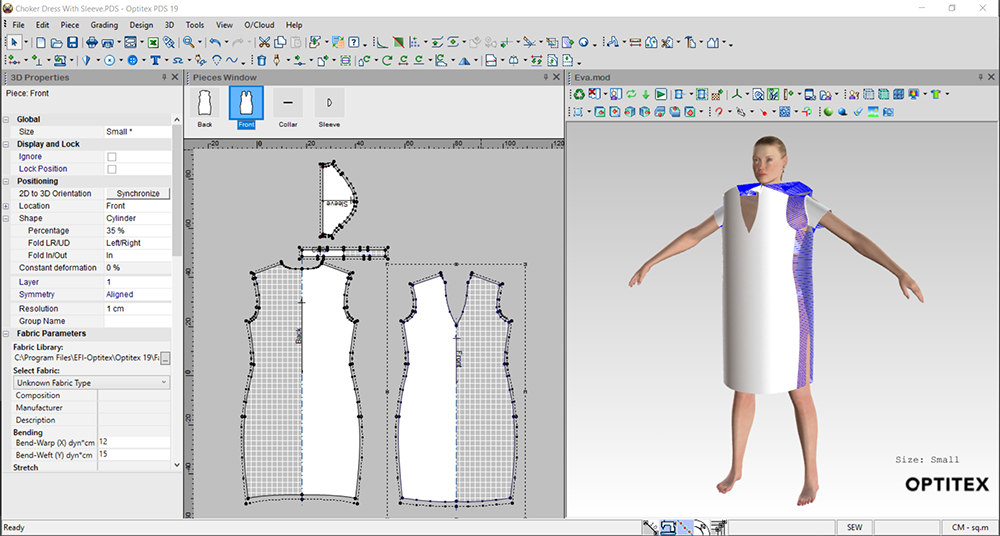
You can now move the pieces on the avatar so they sit correctly.
To move the pieces
in 3D, you first have to click Ctrl
on your keyboard, and then left click with your mouse to select a piece.
Note:
You can also use the keyboard arrows to move your piece up, down, left,
right and to the side. To perform these actions, you first have
to click and hold CTRL, and move the piece with the keyboard arrows.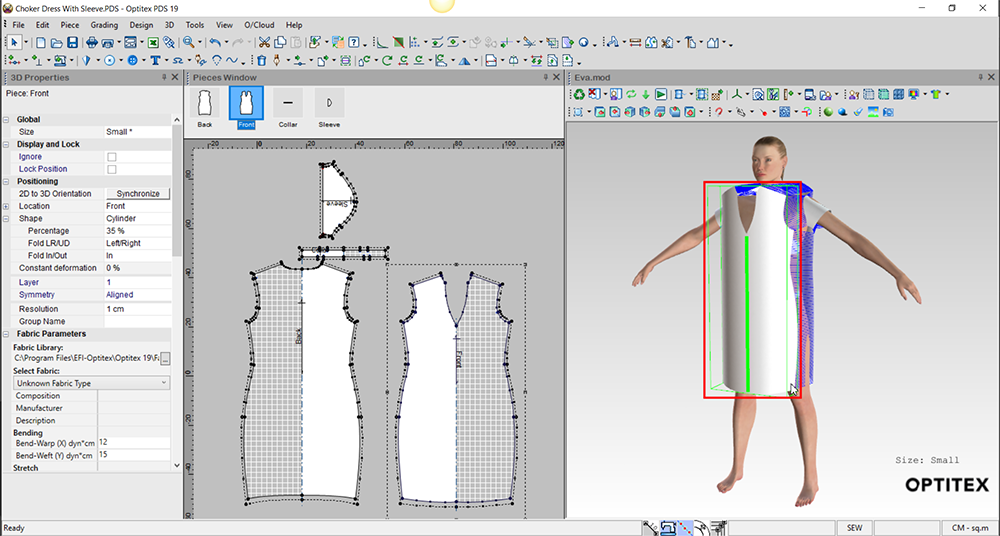
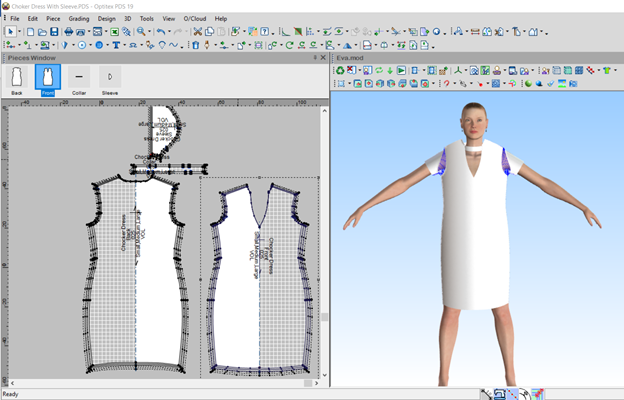
Now you can adjust the pieces. For example, if the arm piece is too wide and cannot go inside the body, you can change the shape of the piece in the 3D Properties dialog.
At this point you can check that there are no flipped stitches, intersections, etc.
Indicator For Symmetrical Piece Positioning
When moving a piece, you can also visualize the symmetry line on the piece and avatar. Once you select a piece to move or rotate, the symmetry line will appear on the selected piece, and on the front and back of the avatar.
Note: In order to get the symmetry indicator, pieces should be defined as half/mirror. All move/rotate/scale tools support this feature.
When you first place the cloth, no symmetry will be selected by default:
Select a symmetry piece for moving or rotating. A green-colored indicator shows symmetry matching.

A red-colored indicator shows symmetry un-matching.
