Creating a Custom Preset
You can create a custom preset when you want to save the components and attributes you defined so you can use them later on. All presets appear in the main dialog.
If you want to only create a preset for future use, open Seam & Stitch Manager
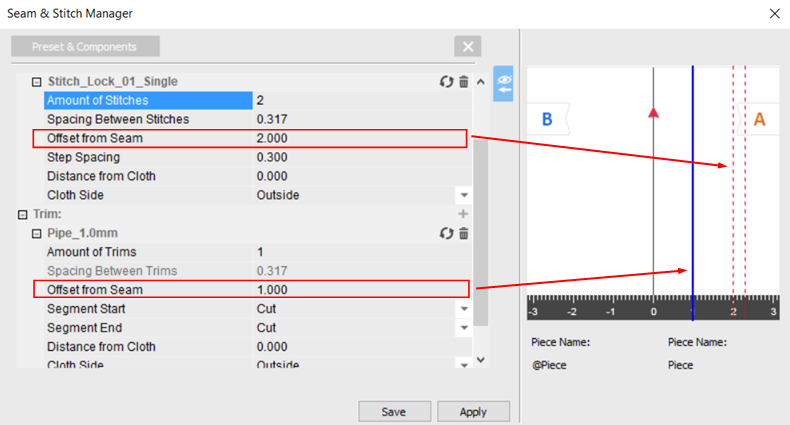
You will be able to apply the preset to stitches, if required, later. If you haven't selected any stitches, the Preview appears without Piece Names. You can use the Preview to see the location of the components on the pieces (in the image below you can see how the offset will be applied to piece A and piece B).
The process below explains how to create a preset while you are stitching.
To create a custom preset:
Start sewing your pieces.
Open Seam
& Stitch Manager:
The Seam & Stitch Manager dialog
appears: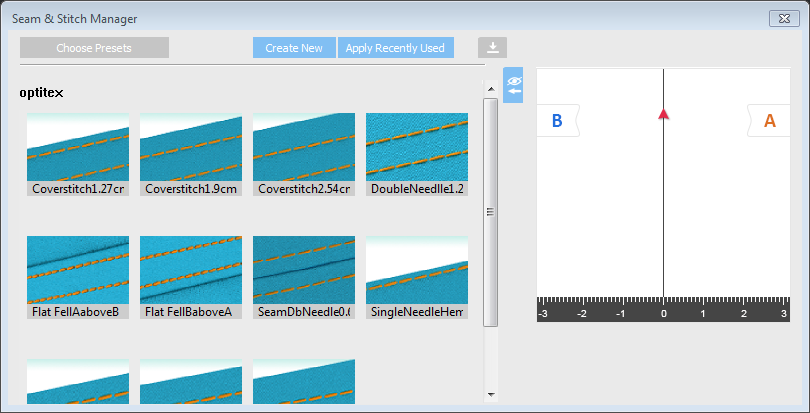
Click
Create New: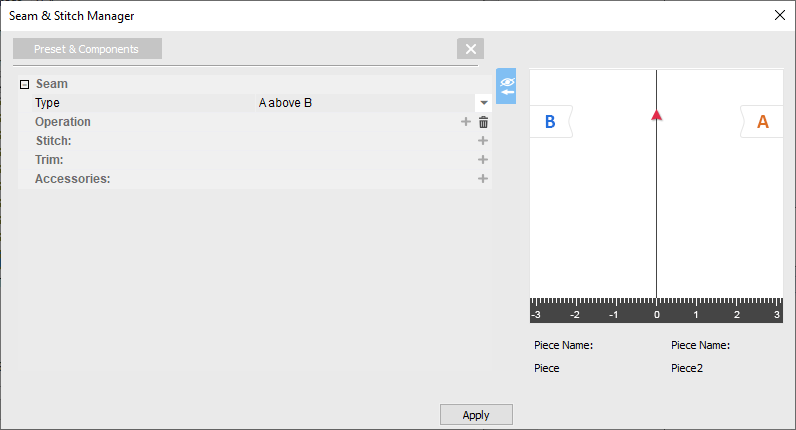
You can expand/collapse the preview using the  /
/  buttons.
The preview area is interactive. Each
time you make a change, the preview automatically updates.
To help you visualize the location of the components on a piece, A/B is displayed.
When you select a stitch that is connected to two pieces, the piece name of each piece will be automatically assigned to A/B;
This facilitates placing the components in the appropriate location.
To
add a component and define attributes, click the  icon next to the required component.
To view more information about defining different components, click on a section to expand.
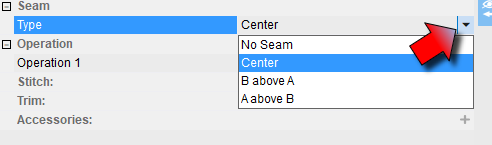
1. Click the arrow to open the drop down menu.
2. Select the required seam type:
-
Click the Operation +Icon:

-
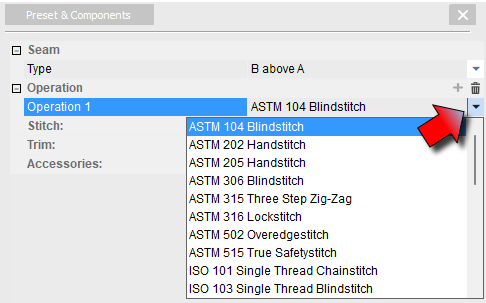
Click the arrow to open the drop down menu.
-
Select the required operation. Scroll down to see more operations:
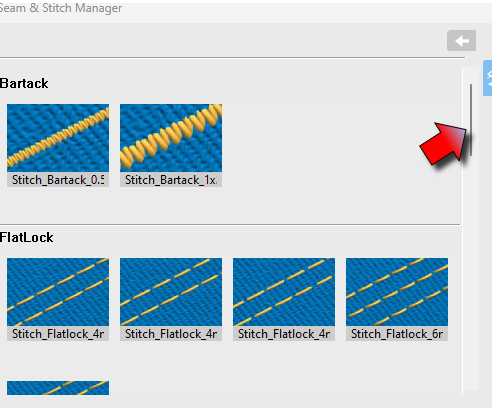
1. Click the Stitch + icon:

2. Select a stitch. Scroll down to see more stitches:
3. After selecting the stitch, click the arrow to open the drop down menu and select Cloth Side:
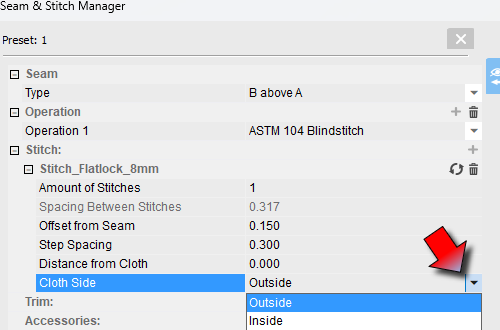
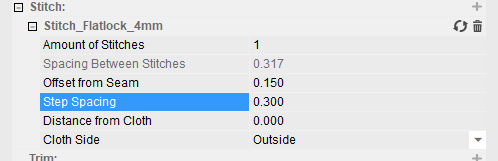
 Note: You can edit any of the selected stitch's parameters:
1. To add a trim if needed, click the Trim + icon:

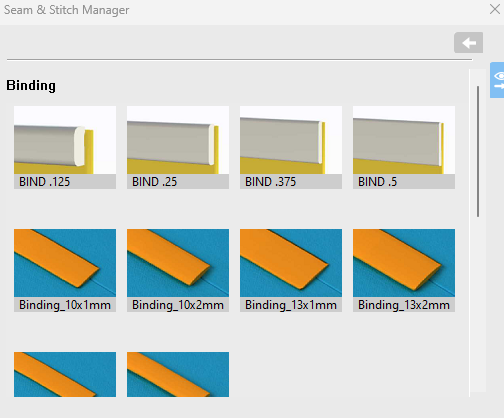
2. Select the required Trim. Scroll down to see more Trims.
3. After selecting the trim, click the arrow to open the drop down menu and select Cloth Side:
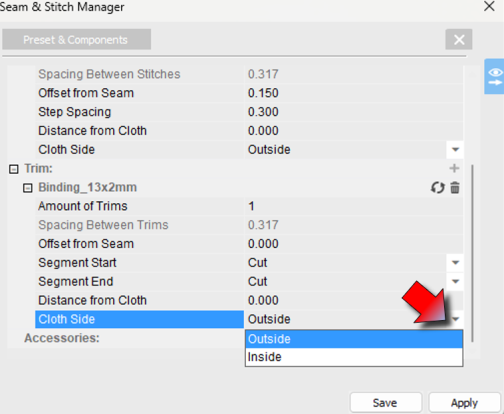
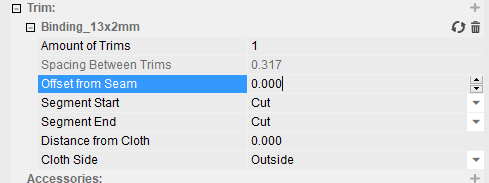
Note: You can edit any of the selected trim's parameters:
1. To add an accessory if needed, click the Accessories + icon:

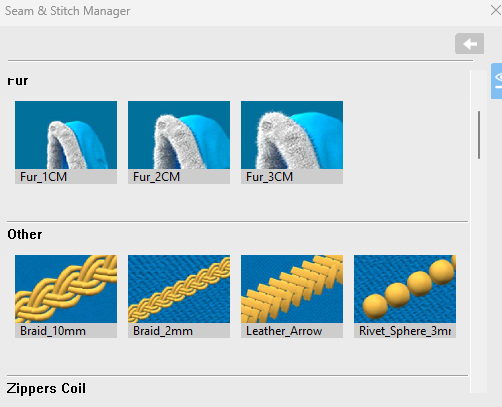
2. Select the required Accessory. Scroll down to see more accessories.
3. After selecting the accessory, click the arrow to open the drop down menu and select Cloth Side:
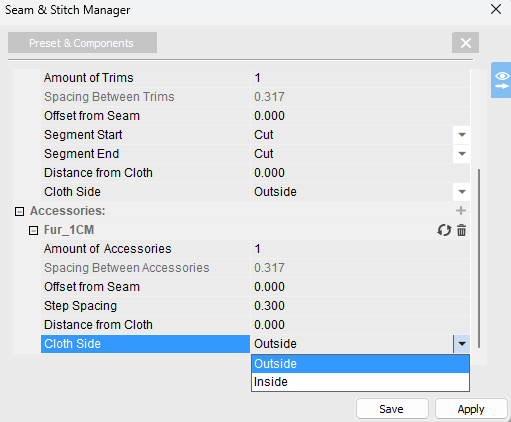
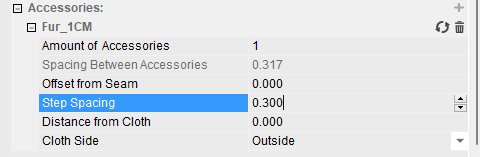
Note: you can edit any of the selected accessory's parameters:
Click
Save to save the preset.Note:
If you have not applied or saved the components and attributes and then
you select another stitch, the components and attributes will not be saved
and the main dialog will reappear. Make sure to apply the settings to
the required stitch, to avoid losing the information.
To
apply the preset to the selected stitch, click Apply.
The new preset appears in the main dialog under the Custom
area as follows: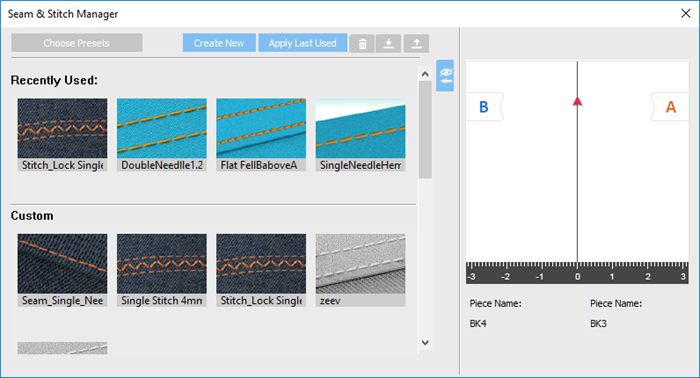
Starting from version O/17 SP1, once you apply a preset to the stitch,
the stitch name appears as the preset name in the Stitches
dialog.
Stitch without preset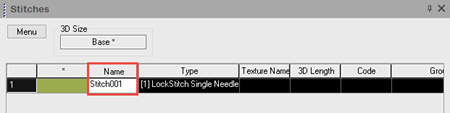
Stitch with preset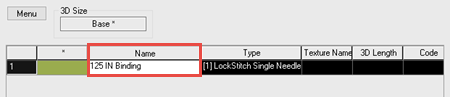
Click the X on the upper right hand side of the dialog to close the dialog when done.
 See also: