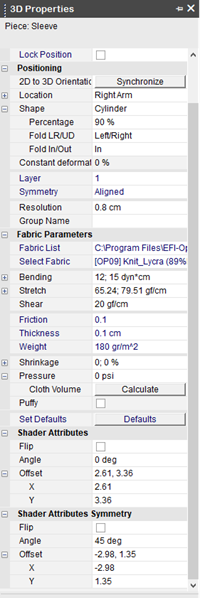
Piece 3D Properties
Can be used when you want to change the size, location of the piece, physical attributes of fabric, etc. in order to affect the 3D simulation.
The 3D Properties are divided into the following categories.
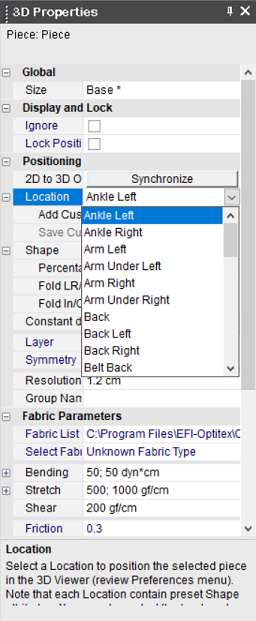
Global
-
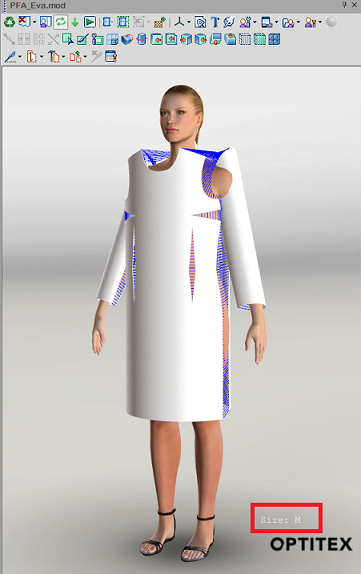
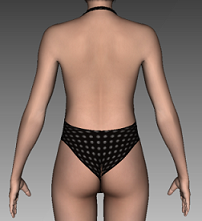
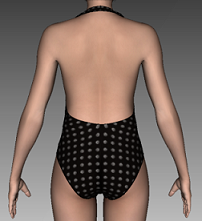
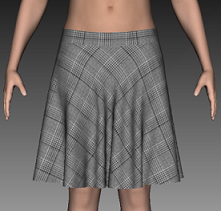
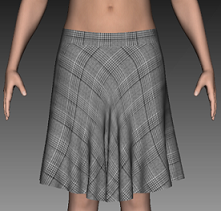
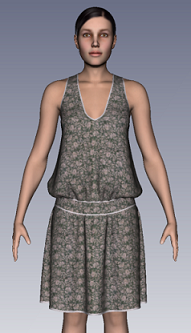
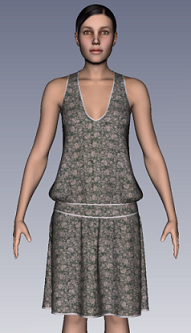
Size: Allows you to change the size of the garment. The sizes are calculated according to the Sizes Table in 2D. To change the size, select the size you require from the drop-down list. For example, select L. The size of the garment changes and the new size is displayed in the 3D window as follows:
Display and Lock
-
Ignore: Select this checkbox if you want certain pieces to be disregarded from the 3D window. For example, if you do not want the sleeves to be included when simulating.
-
Lock Position: Select this checkbox, if you want to the piece to be locked during simulation.
Positioning
Note: Starting from version O/19, if the avatar contains a skeleton, the initial positioning of the pieces in 3D will depend on the location and avatar skeleton. This means that if for example you assign a front location and your avatar is taller, the piece will adjust itself according to the skeleton's height and vice versa.
-
2D to 3D Orientation: Click the Synchronize button when you want make changes in 2D and you want it to take effect in 3D. For example, if a piece has been rotated in the Working Area.
-
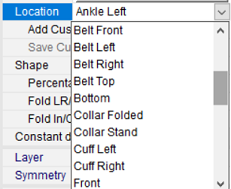
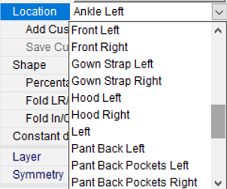
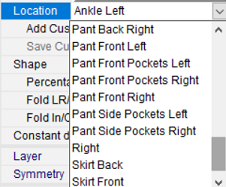
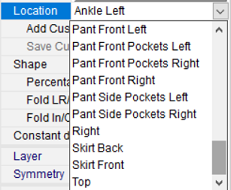
Location: Displays the location of the piece in 3D. The list location contains pre-defined locations for most 3D piece locations. In order to utilize the initial positioning capability according to the avatar skeleton, you should define the location for each piece according to the list. The list contains locations for top and bottom, etc. garments. For example, if you want the piece to be defined as the front piece, select Front from the drop-down list. The list is pre-defined with the following location types:
-
Note: The new locations include Front, Front-Left, Front-Right, Back, Back-Left, Back-Right, etc. This allows for better initial positioning in 3D.
-
To add Custom Location: Disable the Dynamic Update button at the top of the 3D window. Put the piece in the desired position in the 3D window. In the 3D Piece Properties menu, under Location > Add Custom Location, click Create, enter the name and then click OK.
Note that new locations are saved in the PDS file. If you send your PDS file to another user, they will get the new created locations from the PDS file. If you want to share your new locations without using the PDS file, you can use Locations.rwf in your computer's application data folder (generally located in C:\Users\Public\Optitex\Optitex (version number). -
Save Custom as Current: Click Save to save the custom location so you can use it again.
-
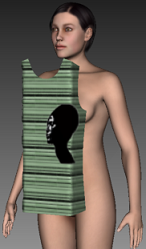
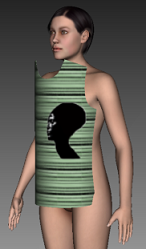
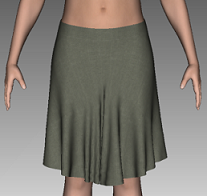
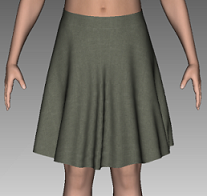
Shape: Select a 3D shape for the 2D piece. This is to ensure the simulation is correct according to the 3D shape. The following shapes are available:
-
-
Flat: Displays the piece in the 3D window in a spread out manner, just like it looks on the Working Area.
-
Folded: Creates a 90 degrees fold in both ends of the piece.
-
Cylinder: Bends the piece according to the percentage given by the user.
Note: The Shape fields are displayed according to the shape you have selected; therefore not all fields will be available.
-
-
Percentage: Bends the shape to the specified percentage.
-
Fold LR/UD: Bends the shape either in a Left Right direction, or Up Down.
-
Fold In/Out: Folds the shape In (the face turns out) or Out (face turns in).
-
Constant Deformation: Allows you to maintain the pre-simulation piece shape during simulation, according to its fabric bending.
-
Layer: Arranges the pieces in layers. Layer 1 is the lowest and closest to the body.
-
Symmetry: Defines the hierarchy of a single layer for paired pieces. You should use Symmetry only in cases where there's a piece which is defined as a pair or as a half piece and one piece or half overlaps the other. The default attribute is 'Aligned'. Change to 'Below' or 'Above' according to the orientation of the piece as it appears on the Working Area. In other words, if the orientation of the piece shown on the working area is left, and you know that the left side of the front should be below the right side of the front, then define the front piece as 'Below'.
-
Resolution: Each piece of cloth is represented in the 3D viewer by a mesh made of triangles. Smaller triangles means more accuracy to represent the piece's complex curved lines, folds and wrinkles.
-
-
Low resolution means bigger triangles to represent the piece and thus less accuracy in representing complex curved lines.
-
High resolution means smaller triangles to represent the piece and thus more accuracy in representing complex curved lines, folds and wrinkles.
Notes: -
-
In most cases low resolution of 1.5 is enough to produce high quality simulation results.
-
Using high resolution cloth panels severely effects simulation performance (speed), so use this control wisely. Small pieces or pieces that should reveal folded details should have a low resolution value whereas large, generally flat pieces need not be simulated with thousands of triangles (in other words- high resolution values).
-
When simulating large pieces, set the resolution to be lower (value of 2-10).
-
-
-
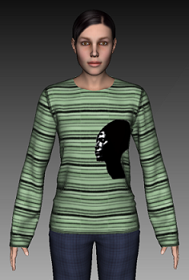
Group Name: A common name for several pieces of one 3D group.
Fabric Parameters
-
Fabric List: Here you can load an FDF file which is a fabric file. This list is provided by Optitex and contains a pre-defined list of different fabric types. Click
 to browse for the FDF file you want
to upload.
to browse for the FDF file you want
to upload.
Once you load the FDF file, a list of all the fabrics appears in the Select Fabric drop-down list. -
Select Fabric: Select a fabric from the drop-down list so you can modify its parameters.
Note: Starting from version O/18, the fabric library has been enhanced and now offers over 100 fabric types. -
Bending: Defines the resistance of the cloth to Bending forces. This important parameter effects the rigidity versus fluidity of the fabric. The higher the bending value - the stiffer the fabric. Low bending value - fluid fabric.
-
-
X: The X bending value.
-
Y: The Y bending value.
-
-
Stretch: The resistance of the cloth to Stretching forces in the Warp (X) and Woof (Y) directions. The parameters affect the elasticity of the fabric.
-
-
High value means high resistance to stretch force and thus - less elasticity.
-
Low value means low resistance to stretch force and thus- increased elasticity.
-
-
Shear grf/cm: The resistance of the cloth to Shearing forces. Shearing forces influence is on the diagonal direction of the fiber/cloth or in other words, the parameter affects the gliding quality versus stiffness of a fabric.
-
-
High value means high resistance to shearing force and thus - less softness.
-
Low value means low resistance to shearing forces and thus - more softness and more accentuated body features.
-
-
Friction: The resistance of the cloth to its motion on the body's surface. The Friction parameter affects the way the cloth slides on the body.
-
-
High value means high resistance to motion on the body and therefor - the fabric will slide less on the body.
-
Low value means low resistance to motion on the body and therefor - the fabric will slide more on the body.
-
-
Thickness (cm): The thickness of the fabric in CM.
-
-
Thin: Here is an example of a thin fabric set at 0.1 cm.
-
Thick: Here is an example of a thick fabric set at 0.5 cm.
-
-
Weight per Unit Area: The weight of the fabric in grams per square.
-
-
High: Here is an example of a high fabric weight set at 250 gr.
-
Low: Here is an example of a low fabric weight, set at 50 gr.
-
-
Shrinkage: Some fabrics may shrink in the Warp and/or Woof directions as a result of chemical reactions that can occur during washing, drying, ironing etc. Use the Shrinkage factor to scale the garment (or part of it) to match its true size after shrinkage.
-
-
None
-
5% shrinkage

Note:The X and Y directions refer to directions on screen and not to the warp and woof of the fabric.
-
-
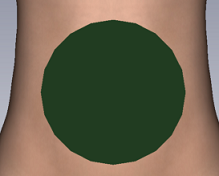
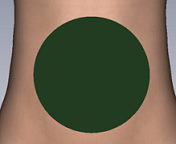
Pressure: Sets the artificial air pressure of the fabric.
-
Cloth Volume: Allows you to calculate the volume of the cloth of a 3D shape. Select the piece and then click Calculate.
-
Set Defaults: Click to return all values the default fabric values.
-
Puffy: If you need to produce puffiness, for example for winter coats, select this checkbox to define the piece as puffy. For more information, see Creating a Puffy Garment.
Shader Attributes (If your piece was assigned to a shader, you can define the following attributes on the shader itself).
Note: You can also do the same thing using the Move Texture tool.
-
Flip: Flips the texture image onto itself for both a single and/or paired piece, by an X or Y axis.
-
Angle: Allows you to change the angle of the texture so you can rotate the texture on the piece.
-
Offset: Allows you to change the position of the texture over the piece. You can enter a ratio, for example 2,2 or define an X Y ratio.
-
X: Enter the X offset.
-
Y: Enter the Y offset.
Note: Starting from version O/18, you can edit the shader attributes of paired/symmetrical pieces.
Shader Attributes Symmetry (If your piece was assigned to a shader and is a paired piece, the following attributes can also be defined when you want to move the texture for one side of the paired piece, not for both).
Note:
You can also do the same thing using the Move
Texture tool, and the attributes are automatically updated accordingly.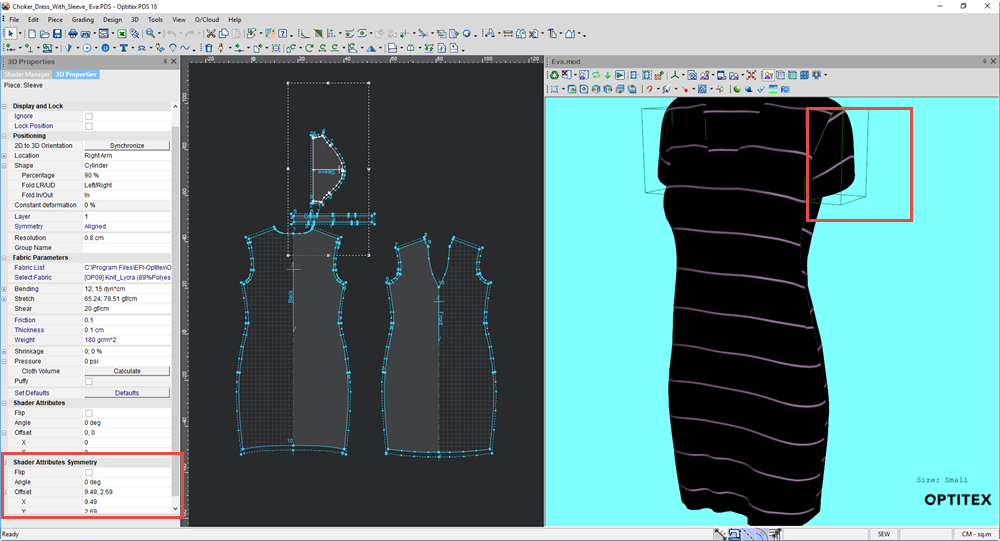
-
Flip: Flips the texture image onto itself.
-
Angle: Allows you to change the angle of the texture so you can rotate the texture on the paired piece.
-
Offset: Allows you to change the position of the texture over the paired piece. You can enter a ratio, for example 2,2 or define an X Y ratio.
-
X: Enter the X offset.
-
Y: Enter the Y offset.