Importing DAZ Avatars
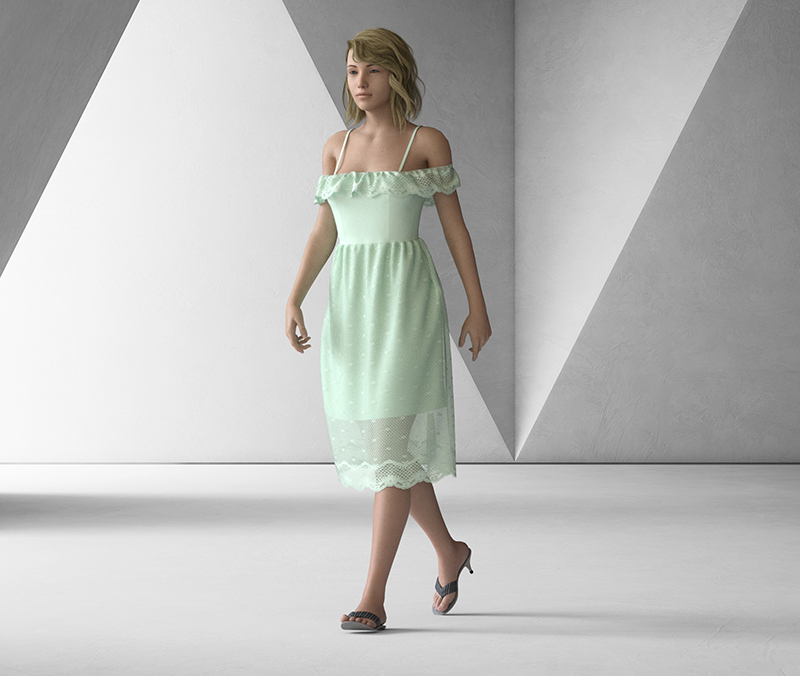
DAZ avatars simplify the complex avatar creation process, and enable you to enjoy creativity and flexibility within Optitex PDS. DAZ avatars are appealing human-like avatars that can be changed, posed, animated and propped with multiple options. You can buy models or props from https://www.daz3d.com/shop/, and use them under the licensing agreement.
These models can be used for decision boards when looking at a new collection, when presenting to buyers, or for online marketing purposes.
You can import animated DAZ avatars using the FBX file format. The imported file will be imported including all textures.
To import DAZ avatars:
-
Open DAZ 3D and load the Genesis 8 avatar.
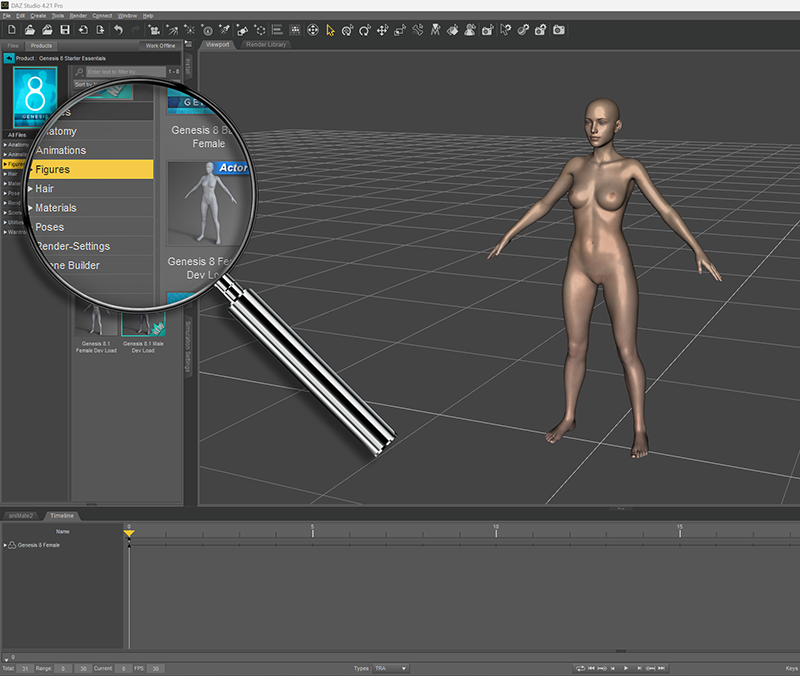
-
Select the add-ons and assets you want to use, and apply them.
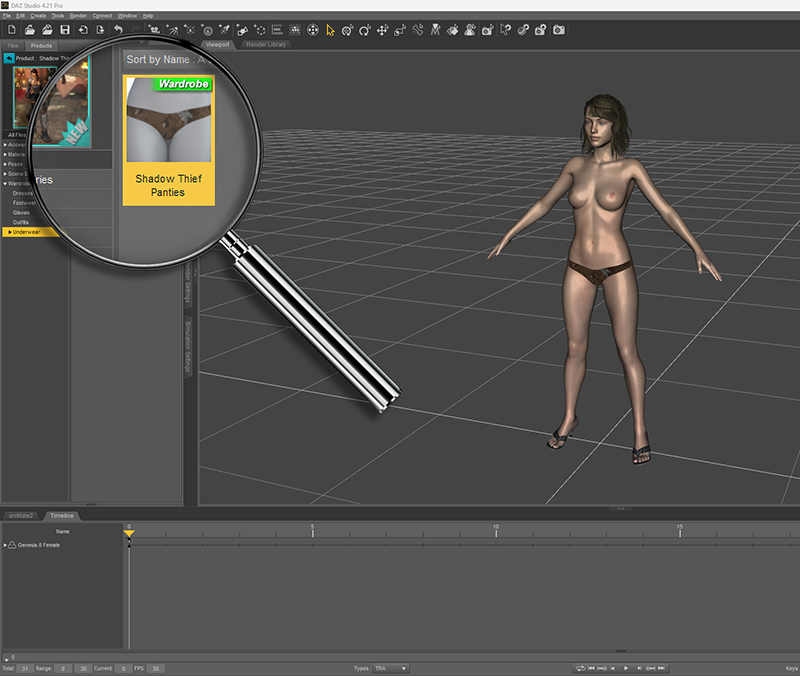
-
Open Poses, and set the time to a total of five frames.
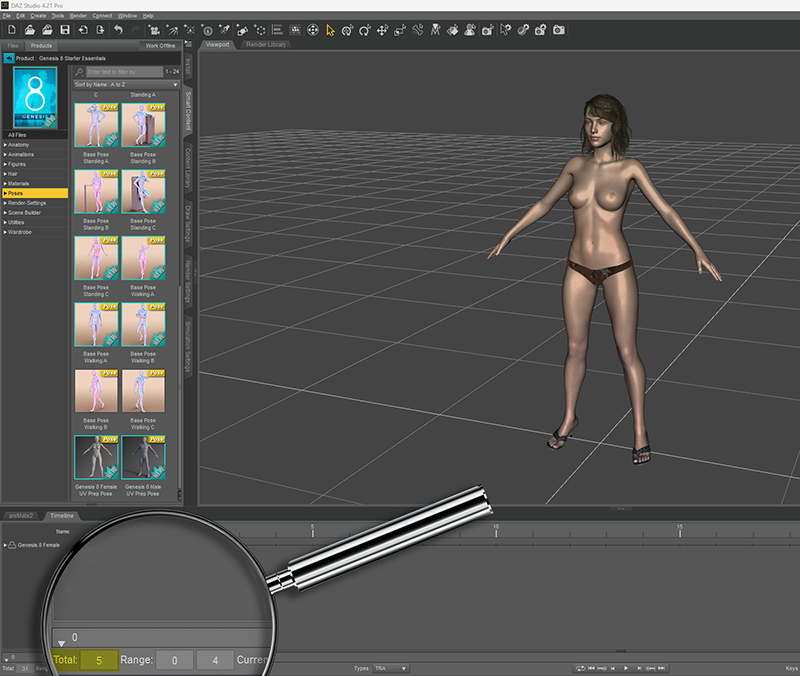
- Move the time slider to the last frame and click
on the designated pose.
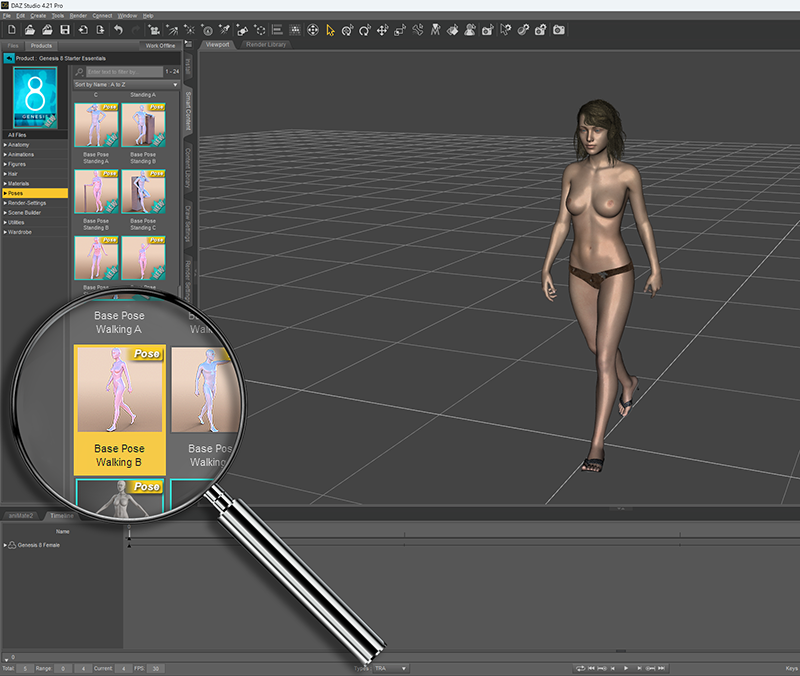
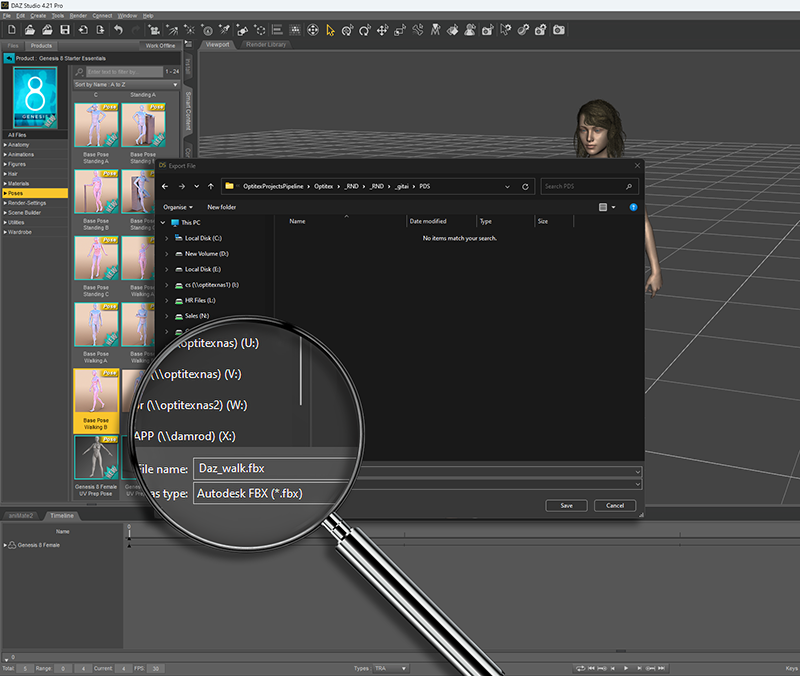
- Select the FBX file format and a designated folder.
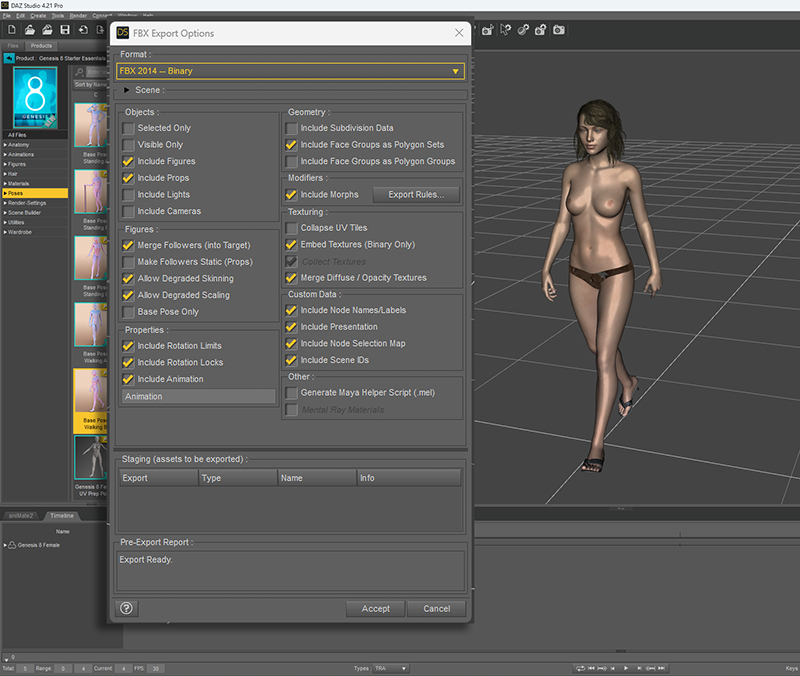
- From the FBX export options, select as below:
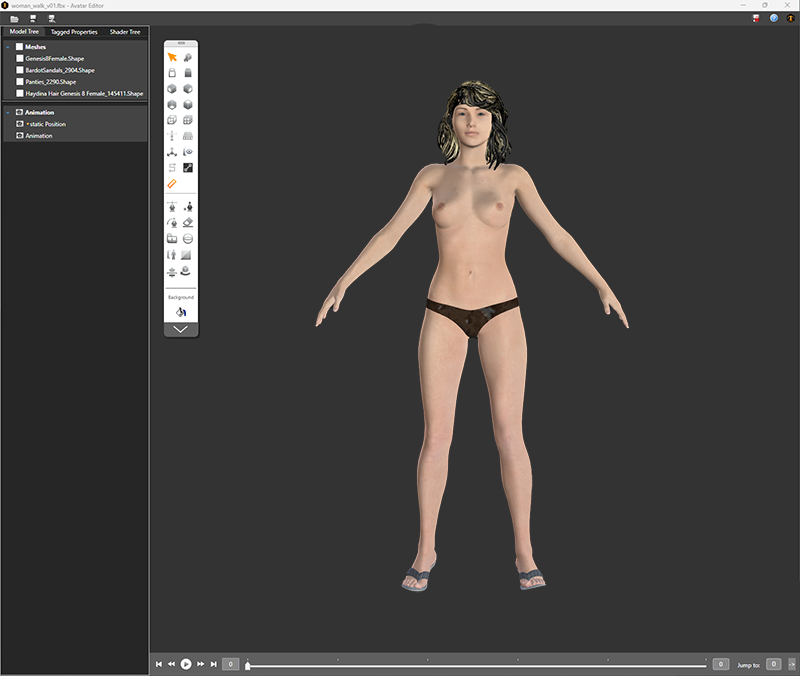
- In Avatar Editor, load your exported FBX file.
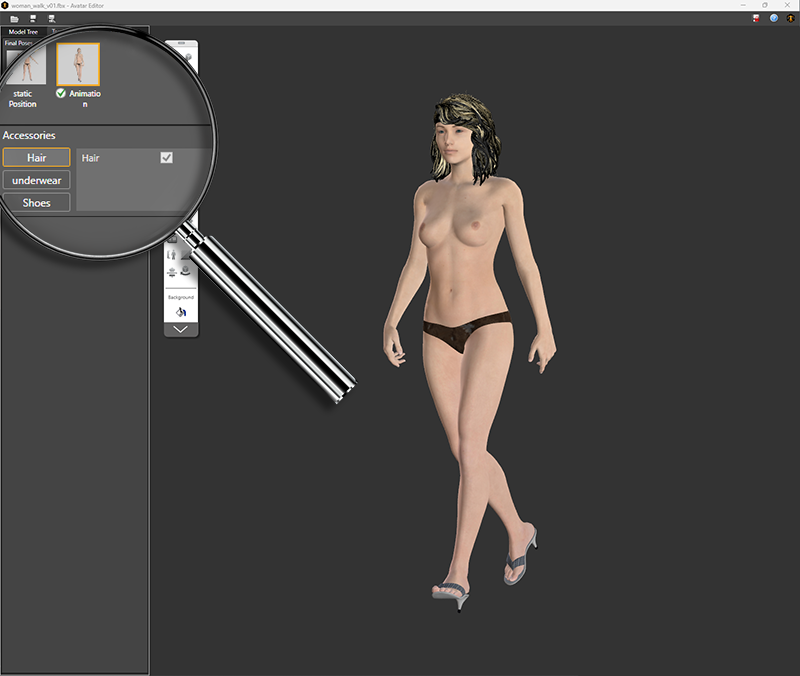
- Load your new avatar, tag it and prepare it for PDS.
- Run PDS and load the new MOD file. Ignore the transparent
hair and shiny skin; they will not appear that way in PR3D.
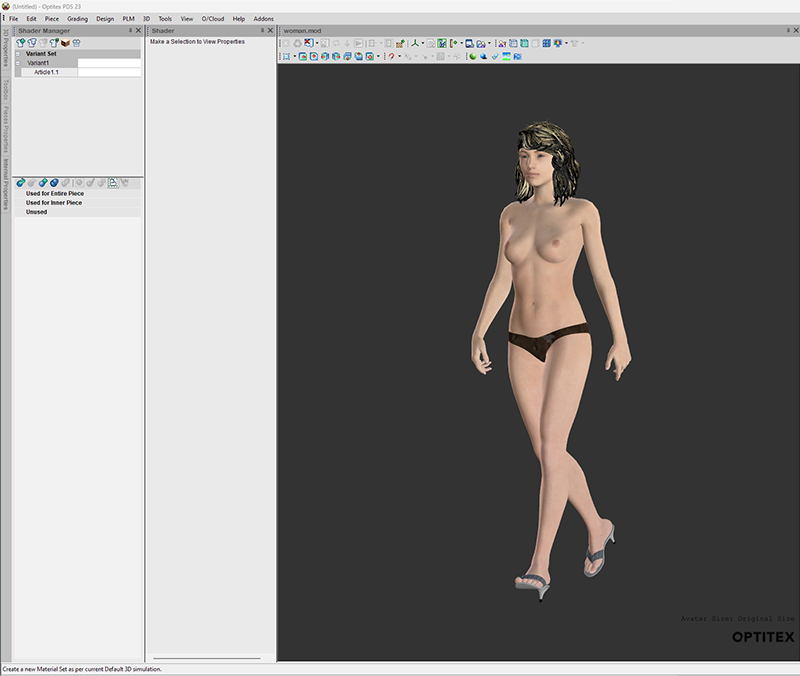
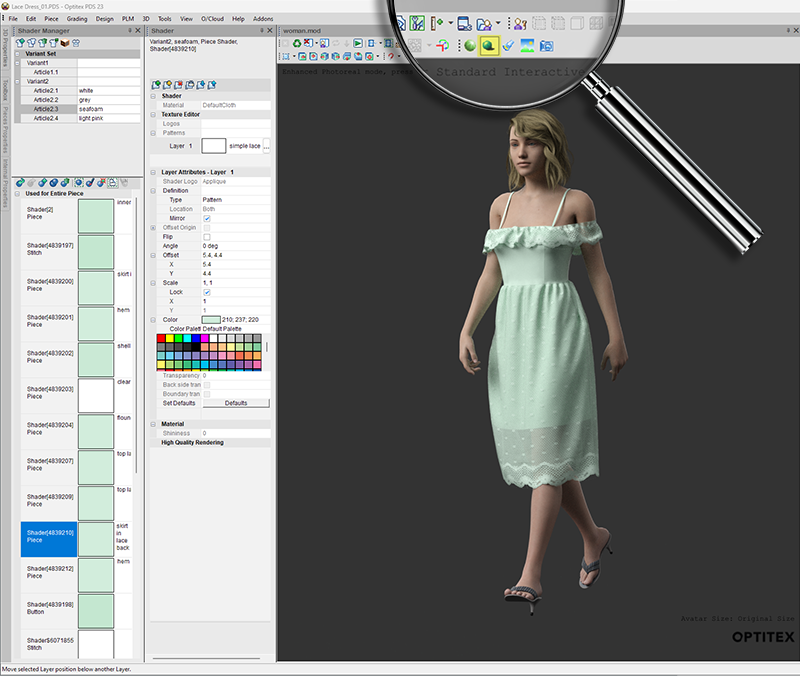
- Simulate your pattern and turn on PR3D.
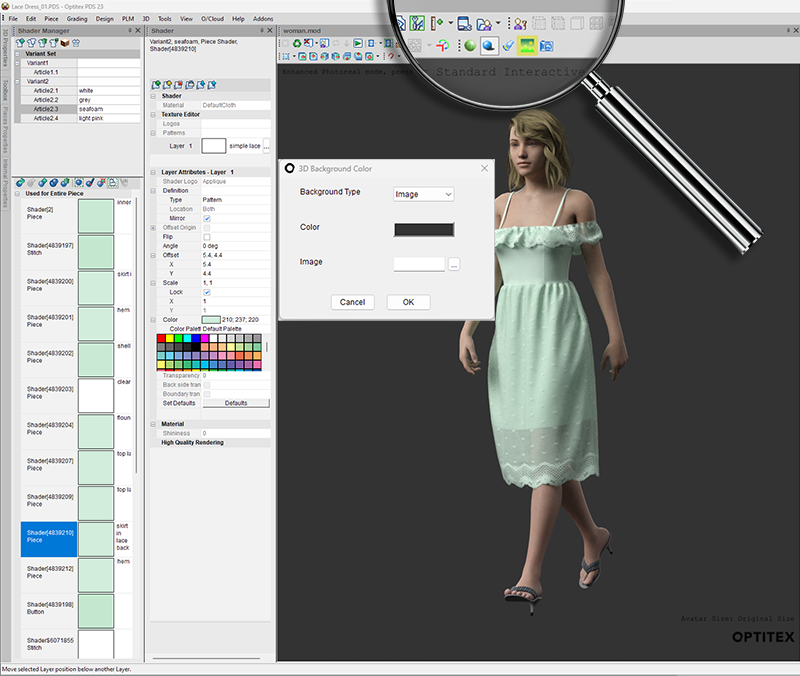
- Add a background image if you'd like.
- Set your lights to fit the background image.
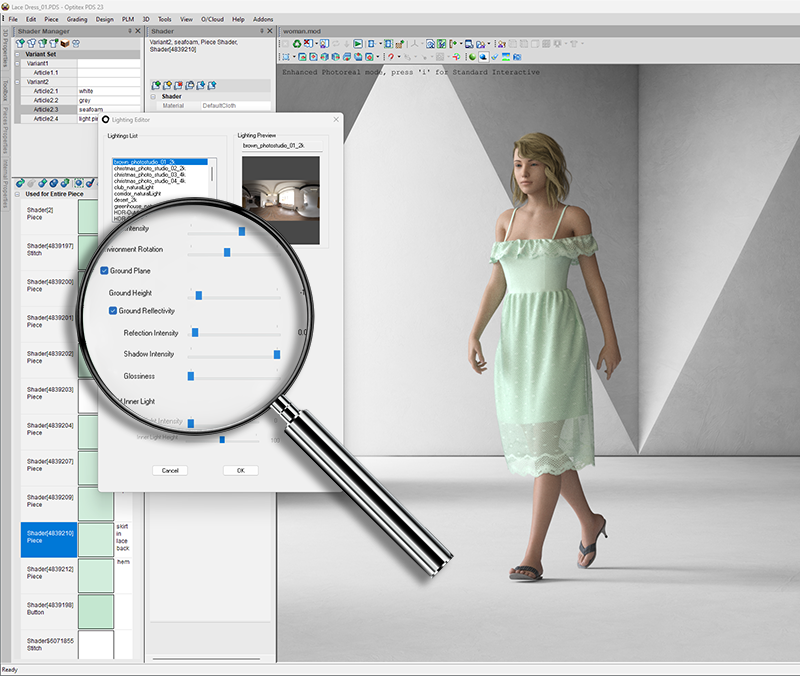
- Test your rendered result.
Support for DAZ avatar rig
DAZ avatar rig is very different than Optitex rig.
Also DAZ avatar rig differs from one genesis generation to another.
In version O/22 DAZ avatar rig support was implemented.
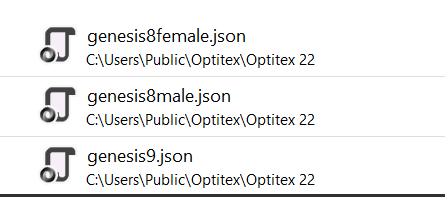
Rig mapping json files Installed by Optitex under C:\Users\Public\Optitex\Optitex
22 directory to map and support genesis8 and genesis9 DAZ rig.
If you are working with other DAZ avatar versions and see that piece
placement on the avatar is not satisfactory, please reach out to Optitex support to ask
for mapping for your rig.
 See
also: