Using the Magic Glove
You can use the Magic Glove feature when you want to move pieces in the 3D window either before or during simulation. For example, you can use Magic Glove during simulation when you want to move the hood of a sweatshirt down, or when you want to move the sleeves up. This allows you to grab the piece during simulation, move it to the required destination and then continue simulation. While using the Magic Glove you can add a pin when you want to pin the cloth in place. This can be useful for areas on the body that are affected by gravity like the arms. Use the Shift key on your keyboard to add a pin so that the Magic Glove will continue working from the point where the pin was added.
Note: Starting from version O/19, the Magic Glove feature has been enhanced. If you are working with a previous Optitex version Magic Glove will look and act differently.
To help you easily move the camera and navigate while using the Magic Glove, the following keyboard shortcuts have been introduced:
Keyboard Shortcuts
Ctrl + LMB: Moves the camera and enters navigation mode.
Ctrl + RMB: Rotates the camera and enters navigation mode
Left/Right/Up/Down arrows keys: Rotates the avatar
Mouse wheel: When pulling a vertex, adjusts the radius of the Magic Glove, when not pulling a vertex, zooms in/out.
Shift +LMB: Pins the vertex at the point when LMB is clicked.
Tilde key
 :
Stops the simulation when the Magic Glove is active.
:
Stops the simulation when the Magic Glove is active.
![]() Tips
and Tricks for Advanced Users
Tips
and Tricks for Advanced Users
To use the Magic Glove:
To use the Magic Glove, you will need to select the Magic Glove icon. The simulation will then begin. You can always stop the simulation using the Tilde key.
-
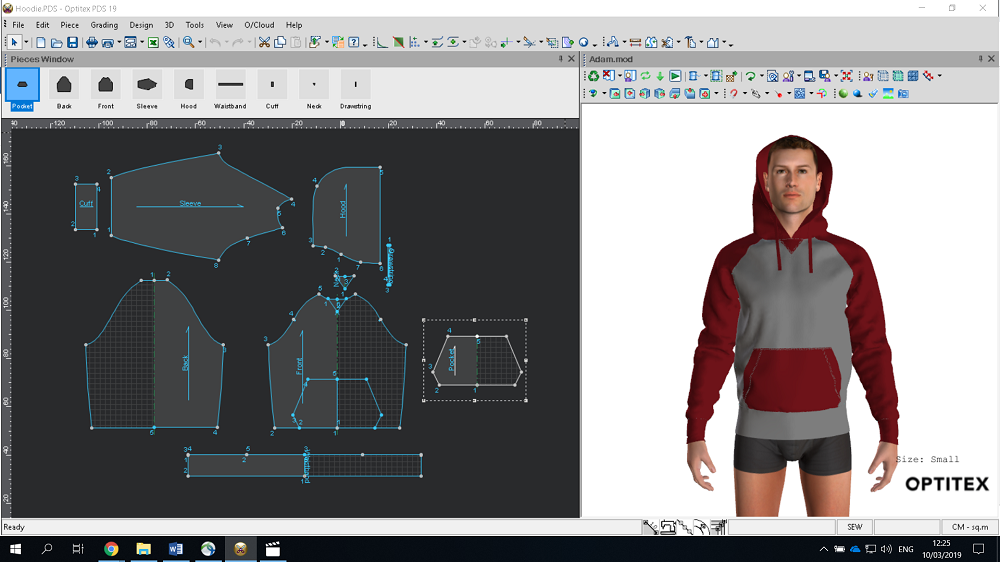
Open up your PDS file. (We will open up a hooded shirt).
-
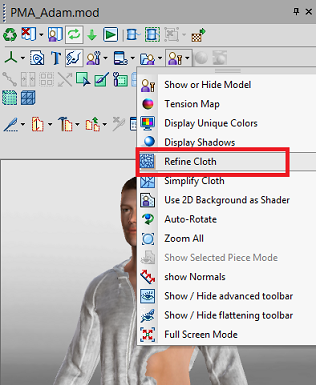
In the 3D window, from the toolbar, click
 to place you pattern on the model.
 -
Simulate your pattern:
-
From the 3D toolbar, click
 to use the Magic Glove.
Note: The simulation process begins automatically. -
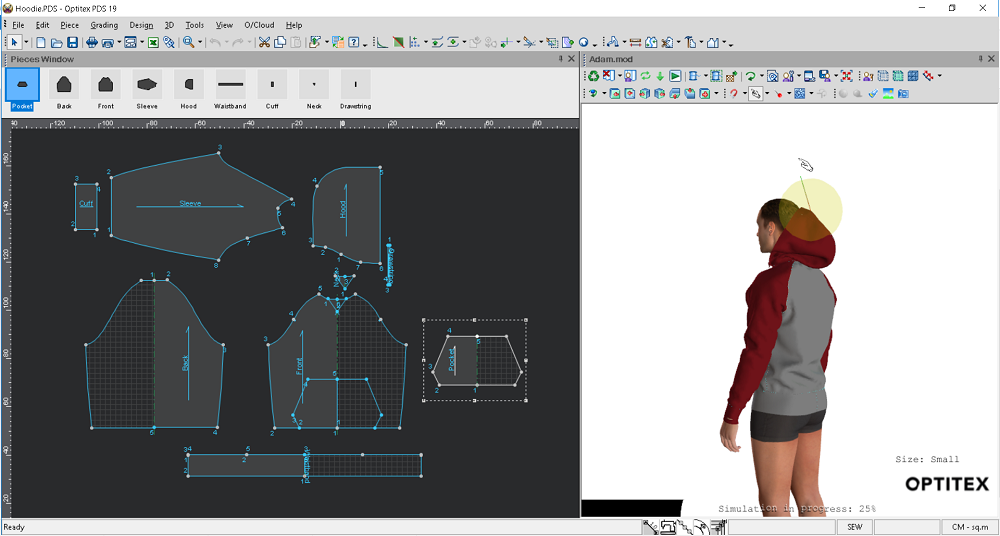
With your mouse, click on the area of the cloth you want to move and pull. For example, let's place the hood on the entire head.
Notice the mouse cursor appears with a radius: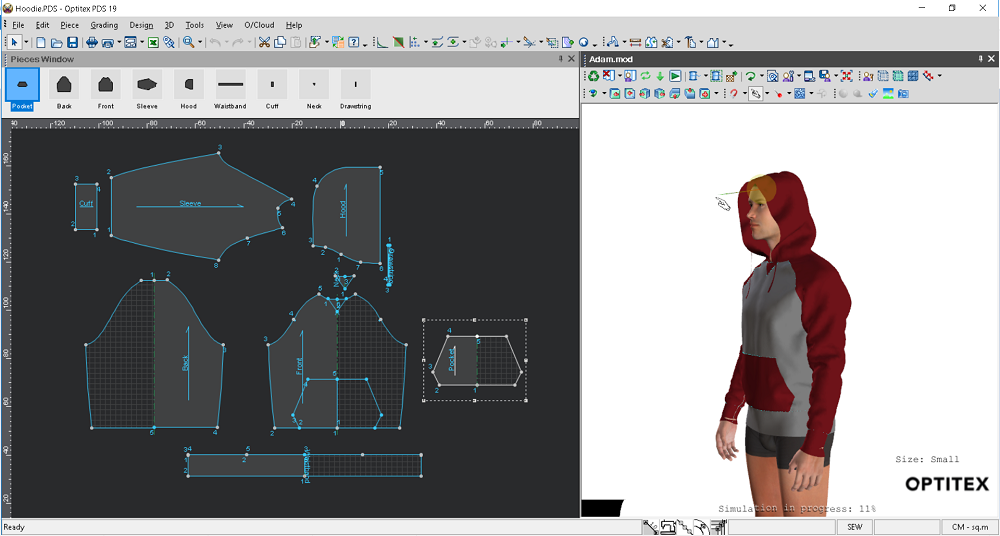
-
Let go of your mouse.
Notice the hood now appears on the entire head: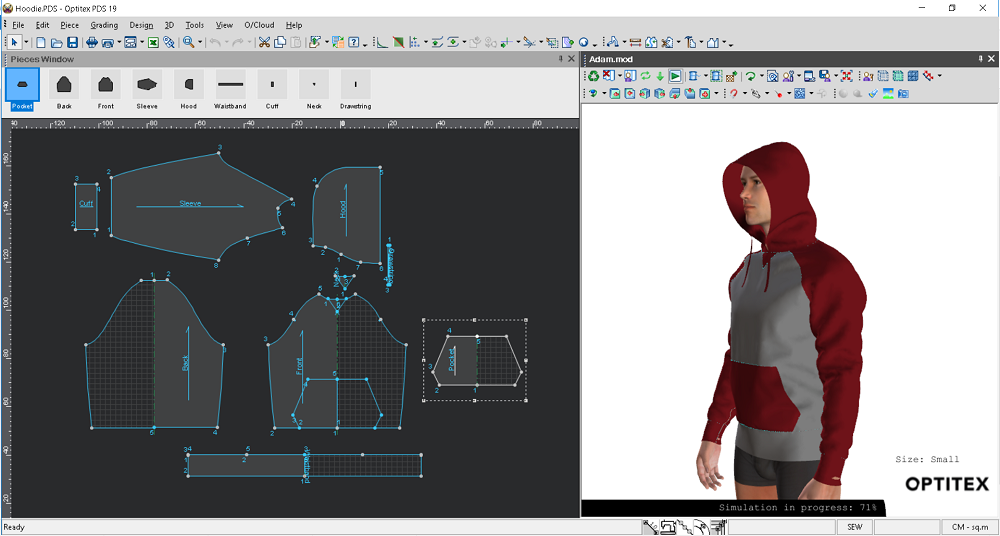
-
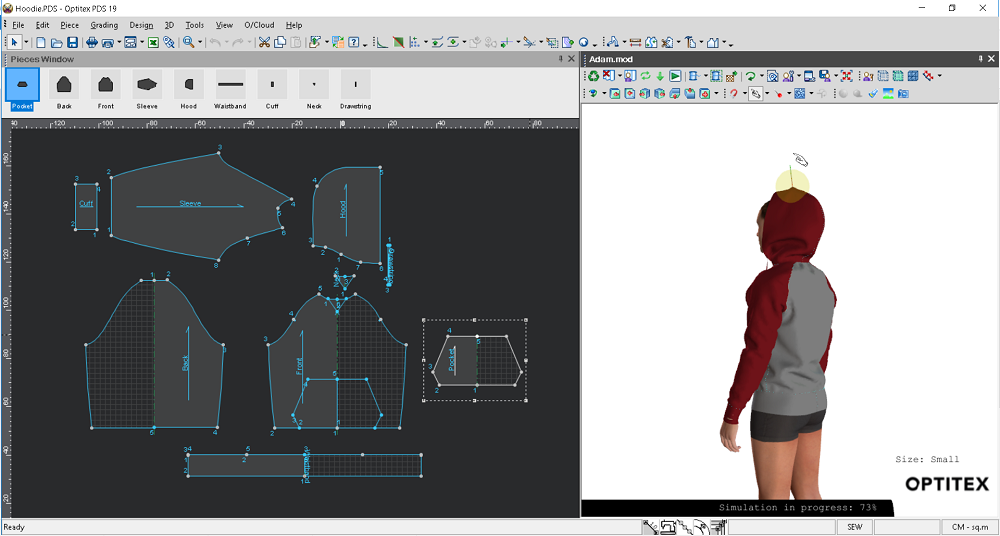
Now let's move the hood off of the head. Click on the hood and pull down:
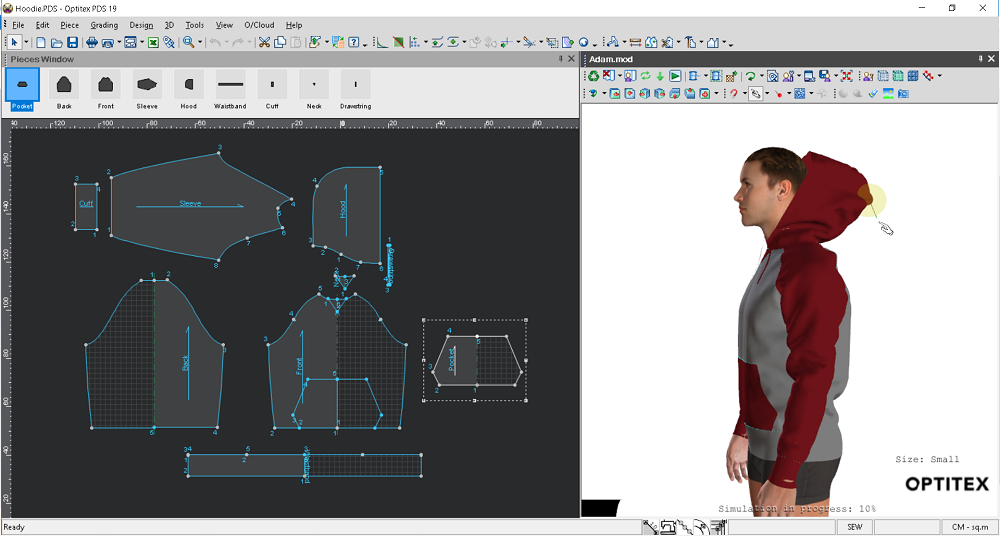
The hood is pulled off the head as follows: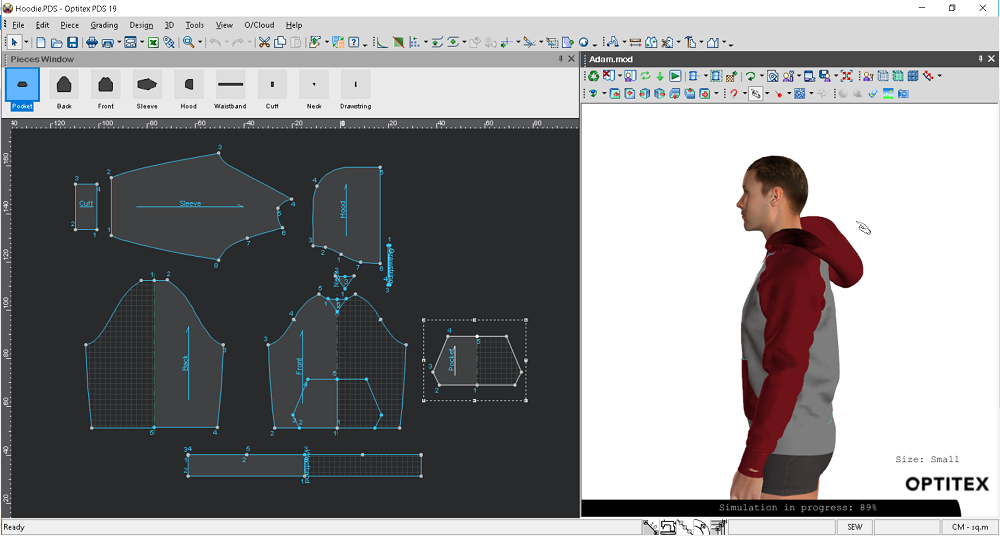
-
If you want to change the radius, which allows you to remove collisions and affects the area that is being untangled, use the mouse wheel to either enlarge or reduce the radius. Move the mouse wheel up to enlarge the radius:
- Move the mouse wheel down to reduce the radius.
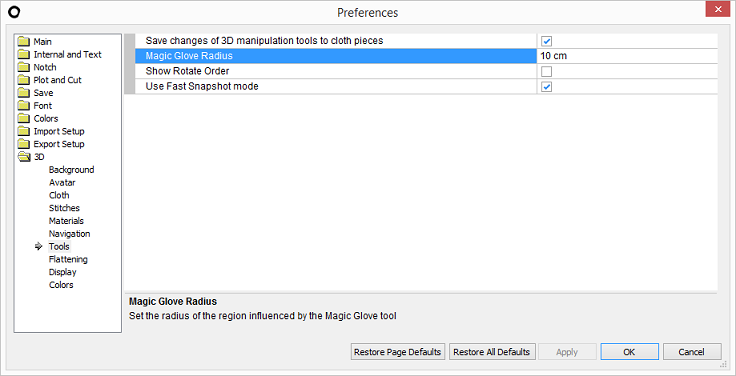
- Once you change the radius, the Magic Glove
Radius preference is updated as well. You can control the default
either using your mouse wheel, or by updating the preference.