Creating Pleats
You can use the PDS to easily create pleats to be used in your pattern.
If you want to see how to create your pleats in 3D, see Creating and Defining Pleats in 3D
To create pleats:
-
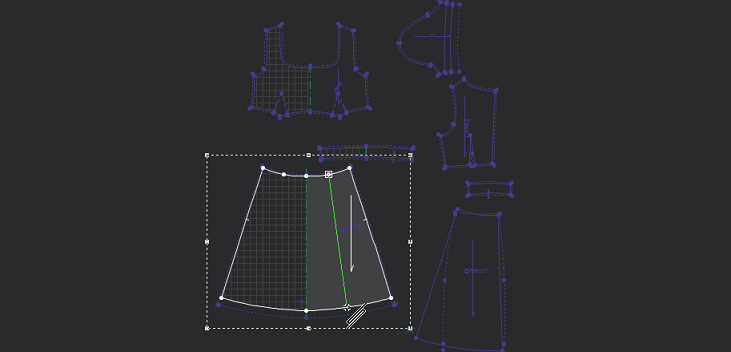
Open your pattern or create a piece if you are starting from scratch.
-
From the toolbar click,
 or press "L" on your keyboard.
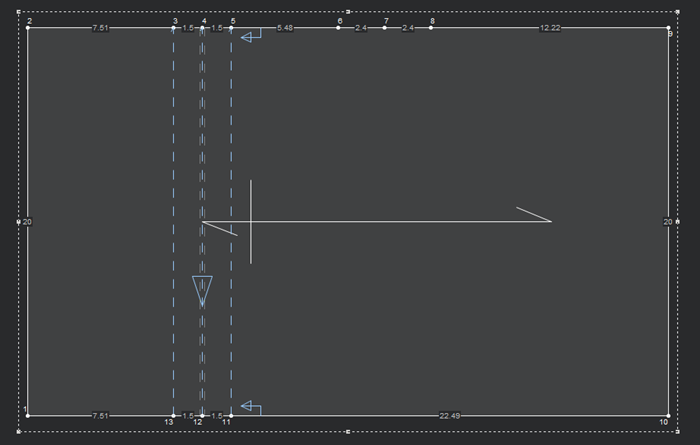
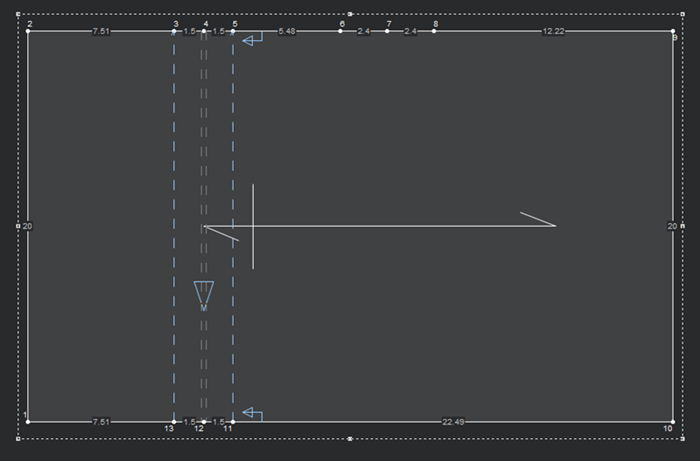
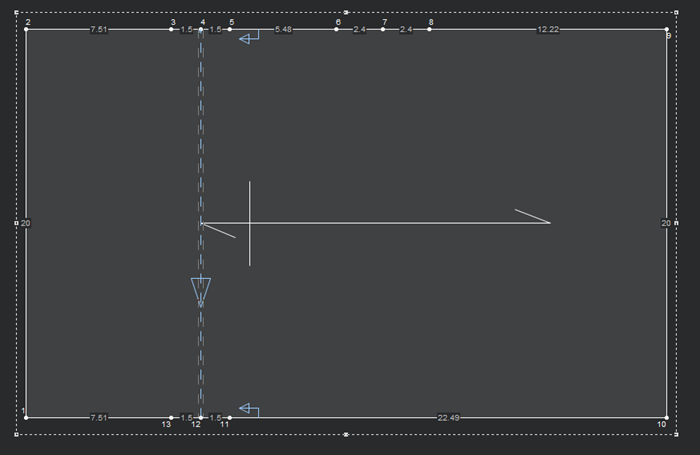
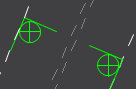
Notice a Pleat icon appears:
-
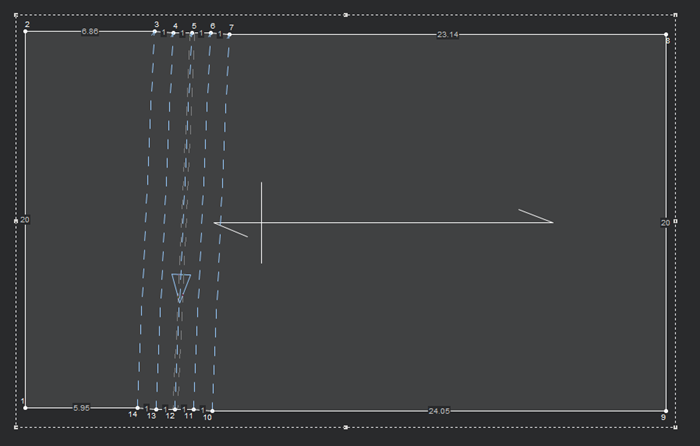
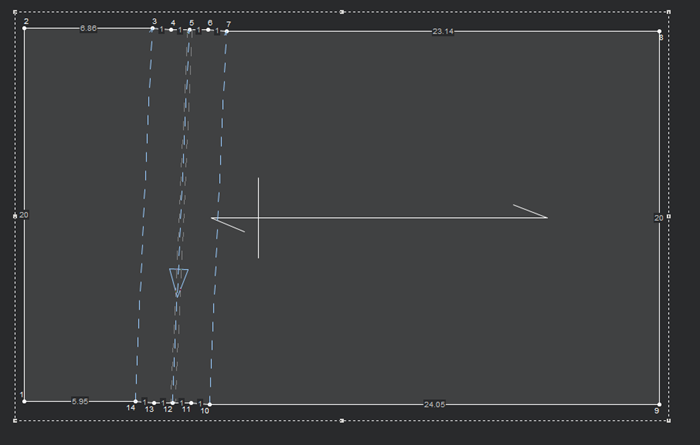
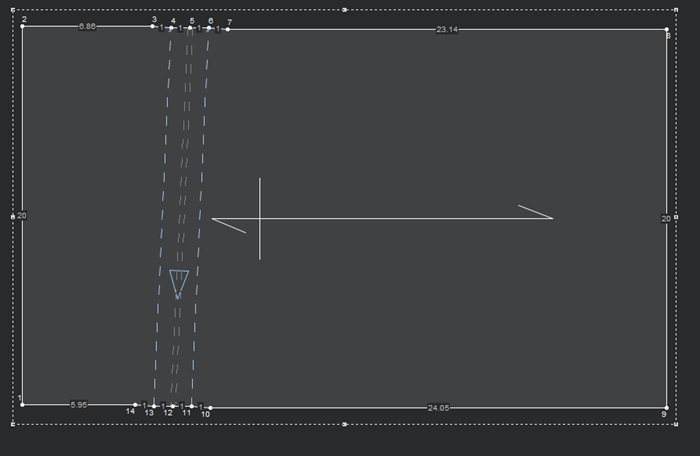
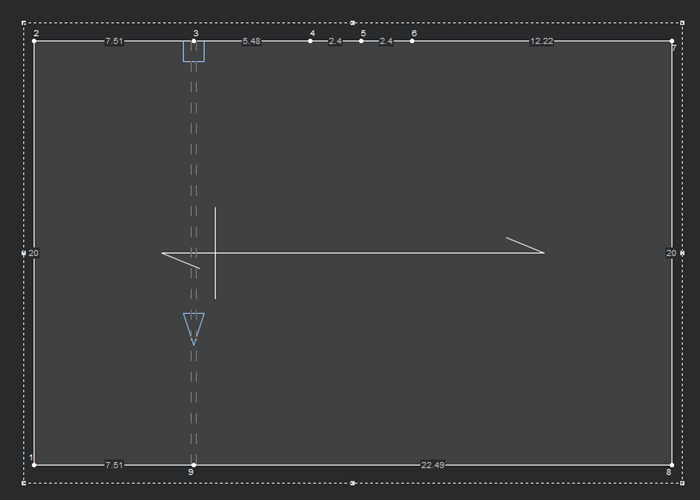
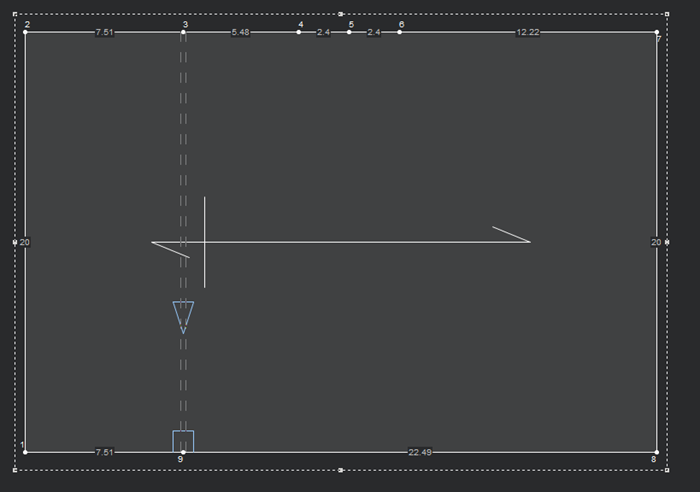
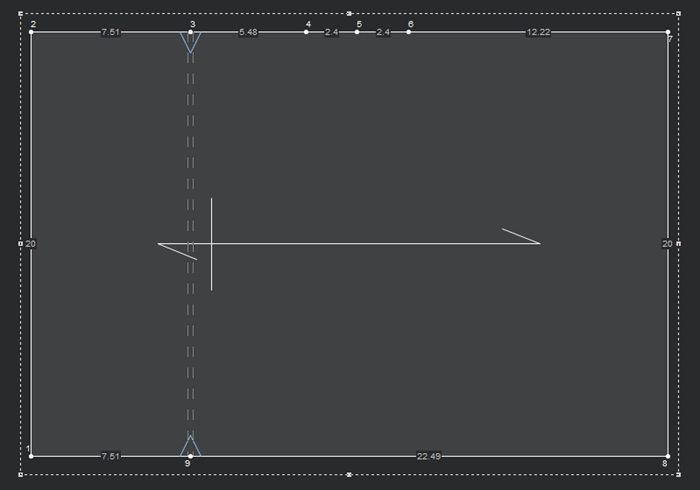
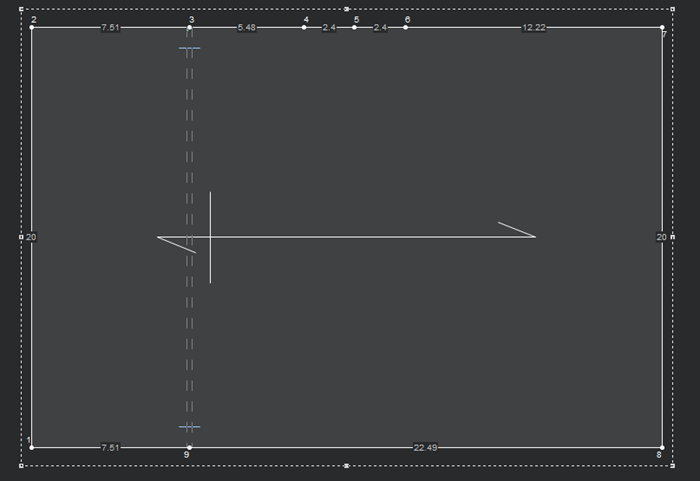
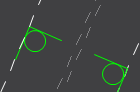
Select the starting point of the pleat and click with your mouse, then drag your mouse to the ending point of the pleat and click as follows:
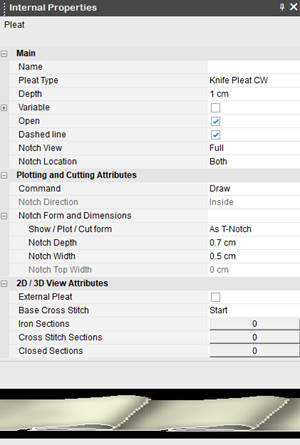
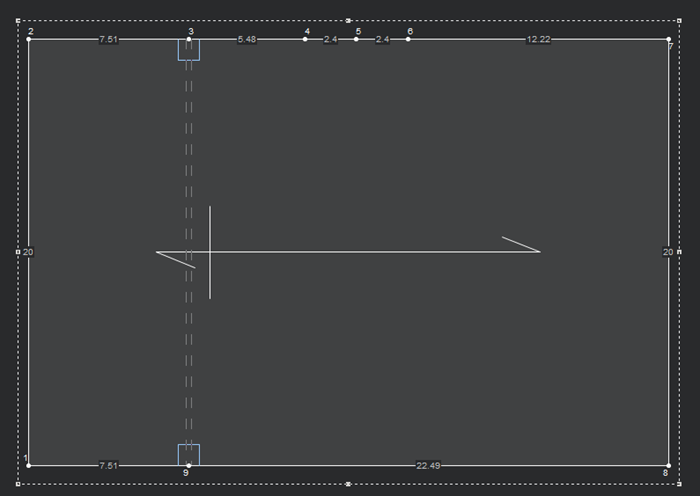
Once the pleat is created, the Pleat Properties dialog displays :
-
Enter the main details of the pleat as follows:
|
Field |
Description |
|
Main |
|
|
Name |
Enter a name for the pleat. |
|
Pleat Type |
From the drop-down list, select the pleat type: Axe: A line that has no depth and cannot be opened.
Knife Pleat CW: One neighbor line is placed on the other neighbor line in clockwise direction (relatively to the pleat start point).
Knife Pleat CCW: One neighbor line is placed on the other neighbor line in counter clockwise direction (relatively to the pleat start point).
Box Pleat: Made by a CCW knife pleat and a CW knife pleat.
|
|
Depth |
The width of the fabric between the Pleat Line and the Neighbor Line (when the pleat is closed, the total width of additional fabric will be twice the depth). |
|
Variable |
Sets the pleat as a variable pleat with different depths from start and end points. |
|
Variable Depth |
If Variable is selected, this options sets the depth of the last point of the variable pleat. |
|
Open |
If selected, indicates the pleat is open, not closed. |
|
Dashed Line |
Sets the pleat with a dashed line. |
|
Notch View |
From the drop-down list, select one of the following: This field is dynamic according to the type of pleat. Knife Pleat CW/CCW Full
Knife Pleat CW/CCW Side
Knife Pleat CW/CCW Center
Axe Pleat Full (this is the only view for Axe pleats)
Box Pleat Full
Box Pleat Side
Box Pleat Center
|
|
Notch Location |
Defines the location of the notch. Both: The notch appears at the top and the bottom of the pleat
Start: The notch appears at the top of the pleat
End: The notch appears at the bottom of the pleat
|


-
If you are creating multiple pleats, define the attributes in the Multiple Pleats section:
|
Field |
Description |
|
Number of Pleats |
Enter the number of pleats you require. |
|
Distance |
Enter the distance you want between each pleat. |
|
Variable Distance |
Sets the pleat as a variable pleat with different distances between the multiple pleats. |
|
Distribution Direction |
Sets the direction of the pleat. |
-
If you are defining plotter/cutter attributes, define them in the Plotting and Cutting Attributes section.
|
Field |
Description |
|
Command |
Sets the command of the axis for the cutter. |
|
Notch Direction |
Sets the direction of the pleat, inside or outside the cloth. This field is dynamic according to the pleat type. The following example was created on a Box Pleat. Note: This field is only enabled for V notches. If you are using an I or T notch, this field will be disabled. Inside
Outside
|
|
Notch Form and Dimensions |
Note: By default, the dimensions are according to how you defined the notch dimensions in the Preferences; however you can change the dimensions using these parameters (this overrides the default preferences). |
|
Show/Plot/Cut form |
Sets the type of notch: This field is dynamic according to the pleat type. The following examples were created on Axe Pleats I Notch
V Notch
Note: The V notch will be part of the contour when plotting/cutting. T Notch
Box Notch
Note: The Box notch will be part of the contour when plotting/cutting. |
|
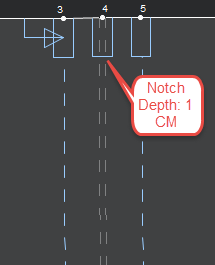
Notch Depth |
Sets the notch depth. Example: Box-Notch Depth (0.5CM)
Example: Box-Notch Depth (1 CM)
This changes according to the notch form type. |
|
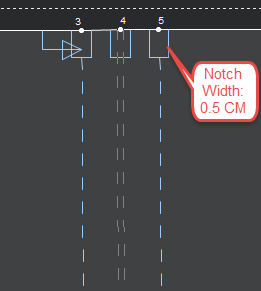
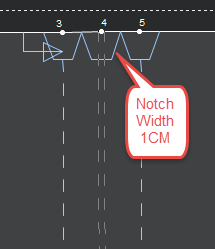
Notch Width |
Sets the notch width. Example: Box-Notch Width (0.5CM)
Example: Box-Notch Width (1 CM)
This changes according to the notch form type Note: This field is only available for T-Notch, V-Notch and Box-Notch types. If you are using an I-Notch, this field is disabled. |
|
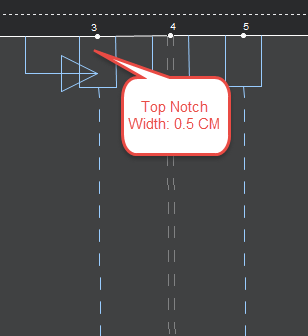
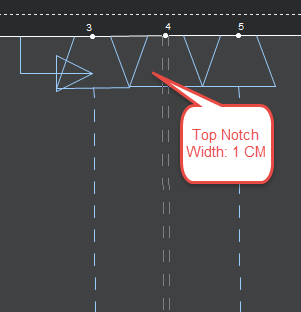
Notch Top Width |
Sets the width of the top notch. Example: Box-Notch Top Width (0.5 CM)
Example: Box-Notch Top Width (1 CM)
This changes according to the notch form type. Note: This field is only available for T-Notch and Box-Notch types. If you are using an I-Notch or V-Notch, this field is disabled. |


-
To make sure the pleat simulates correctly in 3D, expand the 2D/ 3D View Attributes section and define as follows:
|
Field |
Description |
||||||||
|
External Pleat |
If you have extra fabric with the pleat and you want it to appear in the front (not in the back), then select this checkbox. |
||||||||
|
Base Cross Stitch |
From the drop-down list, select the position of the base cross stitch. The default is Start. |
||||||||
|
If you need to fold the pleat, click the button to define the length of the folding that starts from the end of the iron length (can be 0 iron length) and continues along the matched neighbor lines. For more information, see Defining Fold Sections. Note: Starting from 15.6SP3, this option is no longer available. All files created with previous versions will open without a fold. |
|||||||||
|
Iron Sections |
If you need to add an iron section, click the button to define the length of the ironing (sharp fold) that starts from the end of the closure length (can be 0 closure length) and continues along the matched neighbor lines. For more information, see Defining Iron Sections. |
||||||||
|
Pleat Fold Level |
Only displays if you defined an Iron location. Using the slider select the level of fold you require: low folding to high folding. The default is medium folding. Note: Starting from 15.6SP3, this option is no longer available. All files created with previous versions will open without a fold. |
||||||||
|
Cross Stitch Sections |
If you want to define a cross stitch, click the button to define the start and end of the cross stitch. For more information, see Defining Cross Stitch Sections. |
||||||||
|
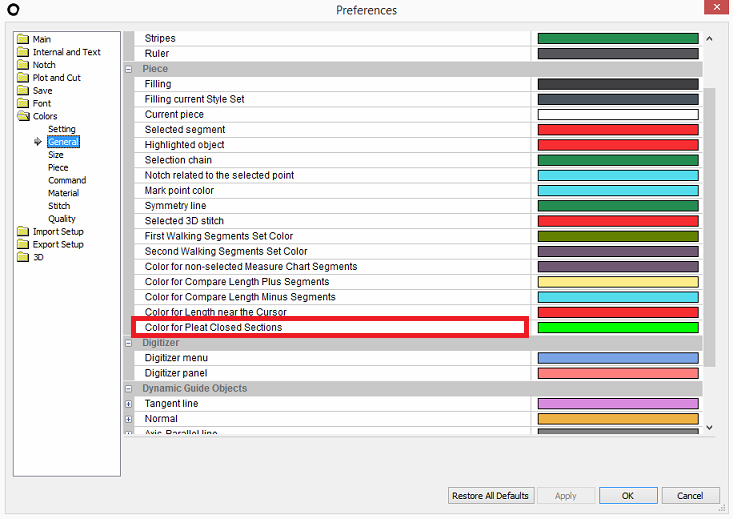
Closed Sections |
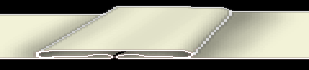
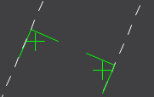
If you need to close the pleat, click the button to define the length of the stitch that starts from the pleat source and continues along the matched neighbor lines. For more information, see Defining Closed Sections. After you add a closed section, the pleat is marked showing you where the closing appears:
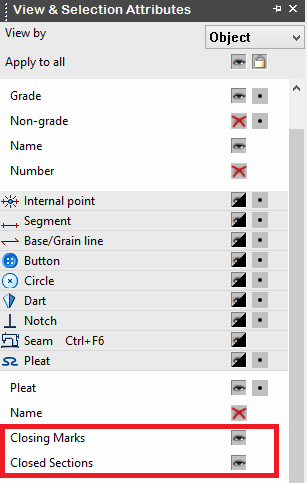
You can modify the default settings, color for the closed mark, etc.
|
||||||||
|
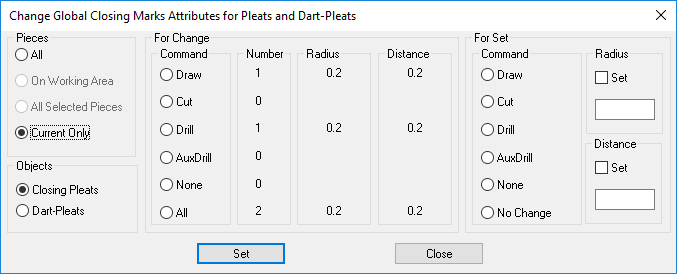
Closing Mark Radius |
Appears after you add a closing section. Defines the radius of the marking of the closing on the pleat. For example, enter 1 cm to increase the radius.
|
||||||||
|
Closing Mark Distance |
Appears after you add a closing section. Defines the distance from inside the pleat to the closing marking. For example, enter 0 cm to decrease the distance from inside the pleat to the marking:
|
||||||||
|
Closing Mark Command |
Appears after you add a closing section. Tells the cutter how to handle the marking of the closing. The shape of the stitch changes according to the option you select.
|


-
When you are done click Ok.
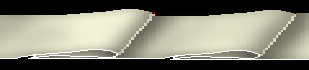
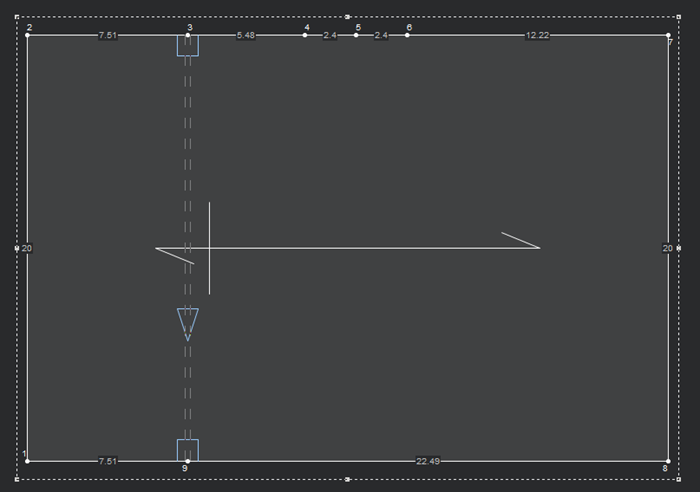
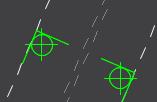
Your pleat is added: