Defining Fold Locations
Important: Starting from 15.6SP3, you can no longer add fold locations on pleats. If you open a file that was created in a previous version of Optitex the file will be created without a fold. If you are using an older version of Optitex, you will still see this section.
If your are creating a pleat that requires folding locations, for example you need the pleat to fold in the middle, you can define fold locations. This allows you to define the location where you want the folding to begin and end. In the example below, we are going to show you how to create a fold line in a Box Pleat skirt, the length of the pleat.
To define a folding location:
-
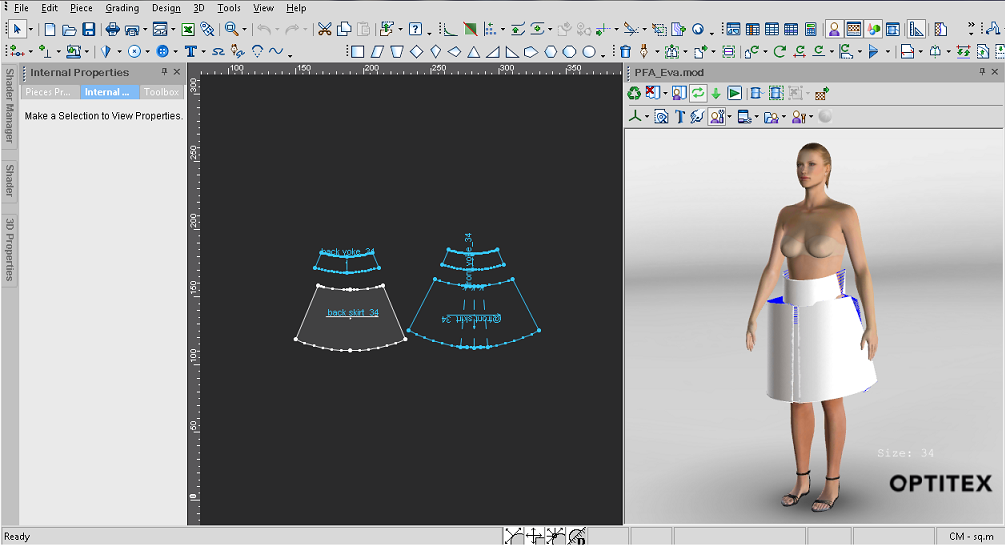
Open up your PDS file.
In this example we will open up the boxSkirt_nonsym.pds file:
-
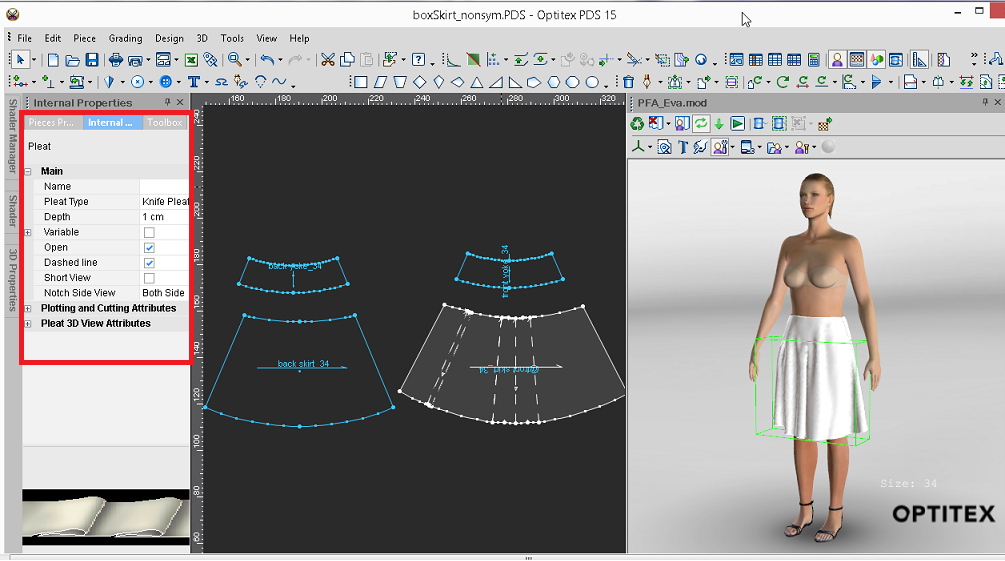
Select your pleat to open the Pleat Properties dialog.
-
Expand the Pleat 3D View Attributes section.
-
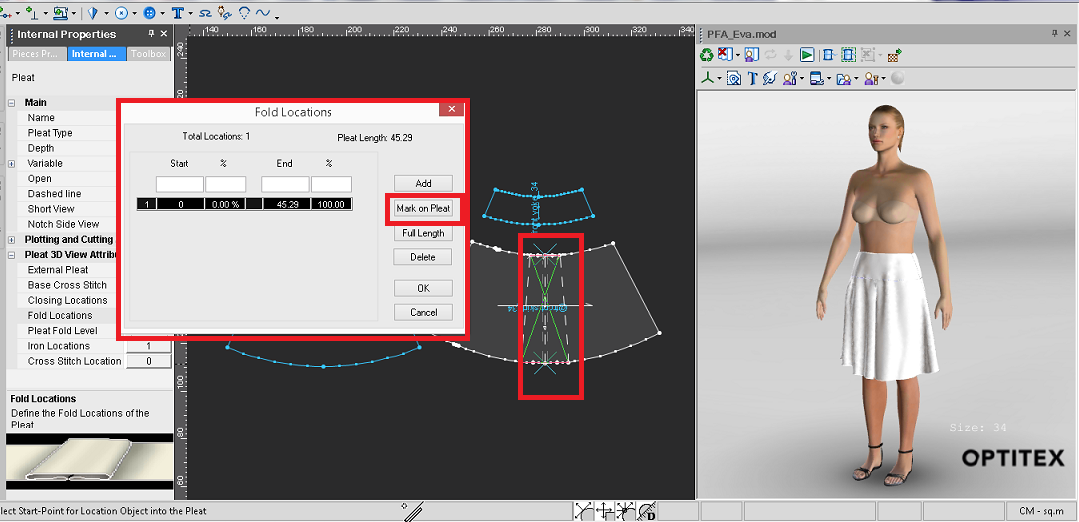
In the Fold Locations field, click the button with the number. (This number reflects the number of closings you defined. In the above example we have defined 1 fold).
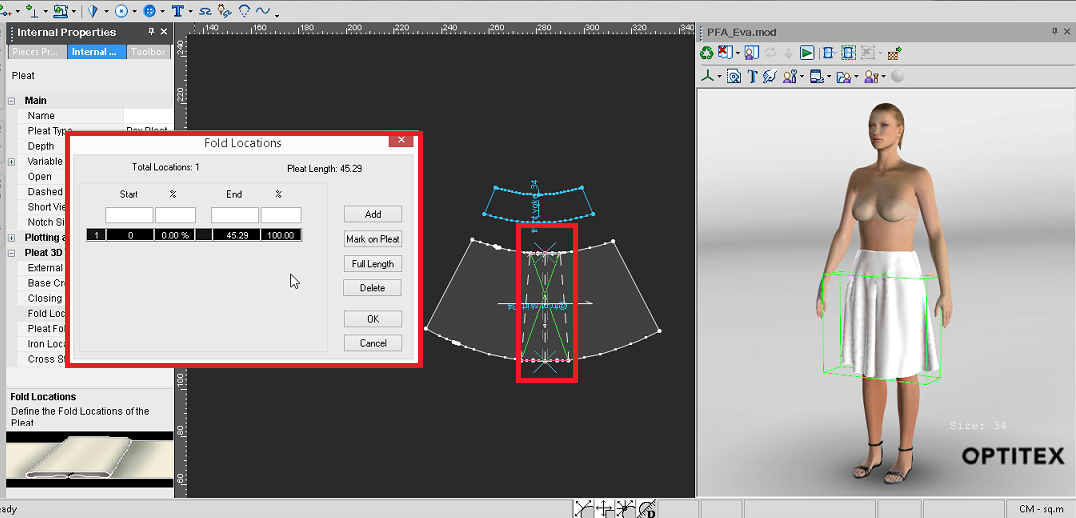
The Fold Locations dialog is displayed and your pattern is marked with an X to display the fold:
-
To define another fold, you have a few different options. Click to expand an option.
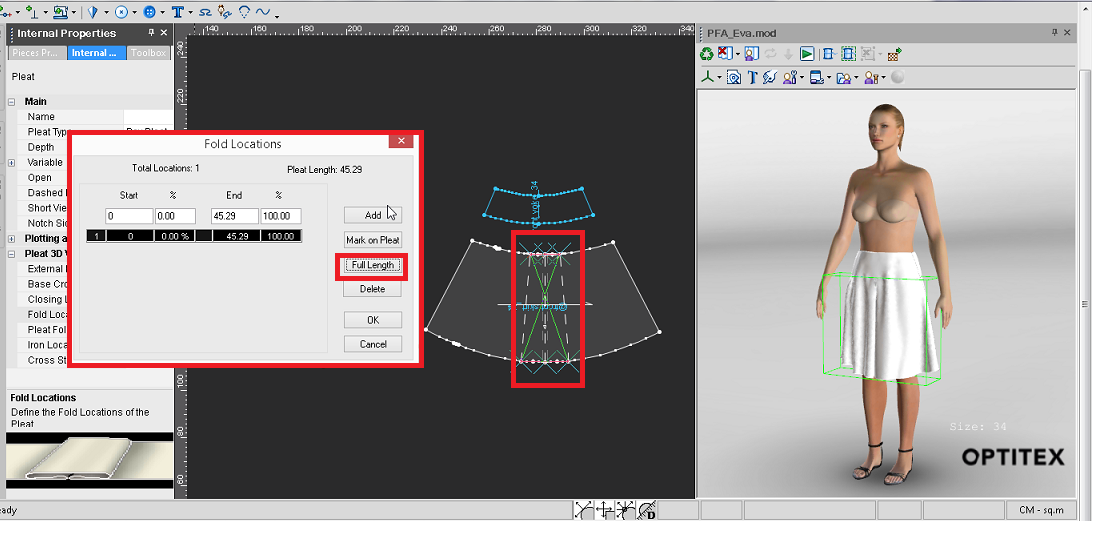
![]() Define for Full Length of Pleat
Define for Full Length of Pleat
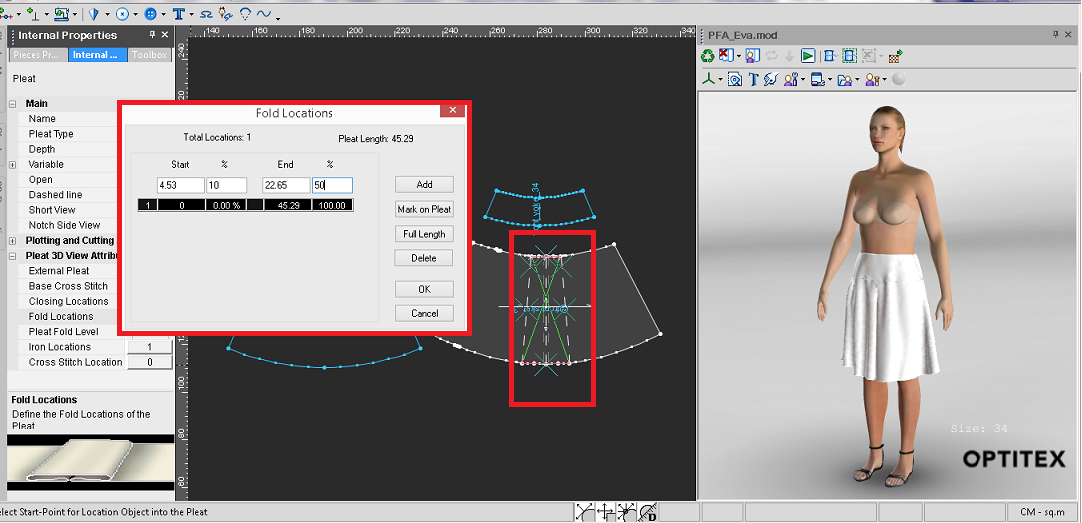
![]() Manually Enter Start/End Values
Manually Enter Start/End Values
-
When you are done, click Ok.
-
Click Cancel if you do not want to save changes.
The Pleat Fold Level field displays once you define a Fold location.
-
Using the slider, adjust the level of the fold (less folded to more folded).