Defining Iron Sections
If your are creating a pleat that requires an iron section, for example a Top/Bottom Ironed pleat, you can define iron sections to create the iron line. In the example below, we are going to show you how to create a top iron line in a Knife Pleat dress.
To define an iron location:
-
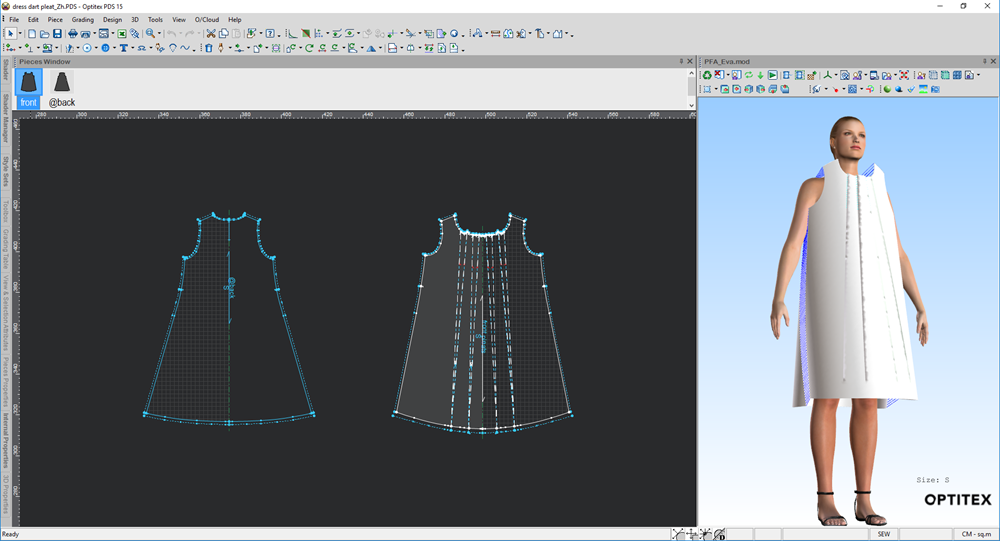
Open up your PDS file.
-
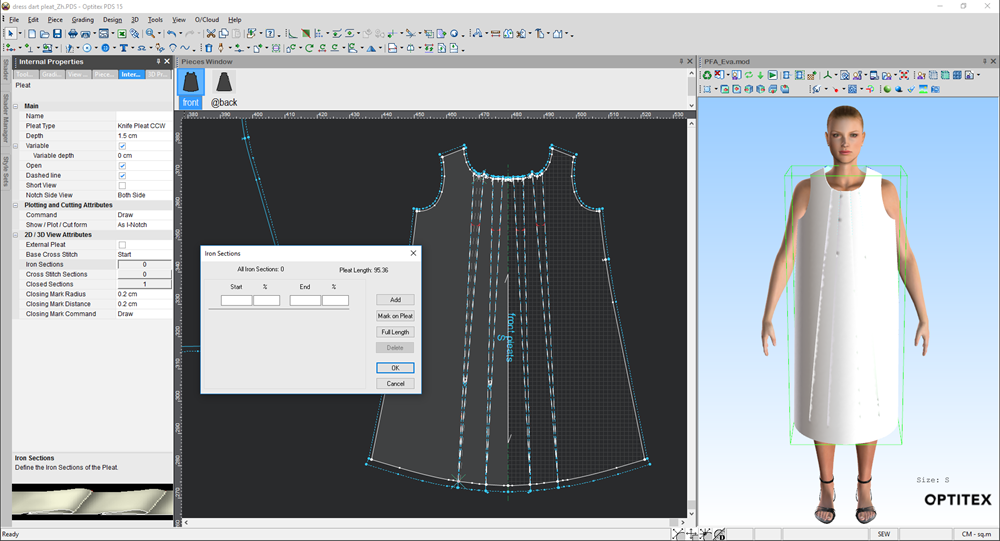
Select your pleat to open the Pleat Properties dialog.

-
Expand the Pleat 3D View Attributes section.
-
In the Iron Sections field, click the button with the number. (This number reflects the number of iron lines you defined. In the above example we have defined 1 iron line).
The Iron Sections dialog is displayed and your pattern is marked with an X to display the iron line:
-
To define another iron line, you have a few different options. Click to expand an option.
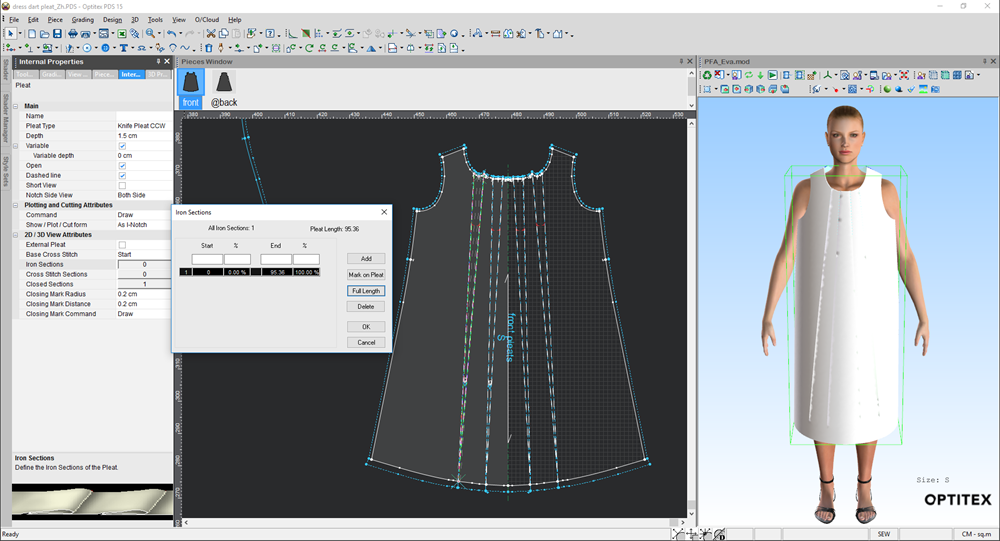
![]() Define Line for Full Length of Pleat
Define Line for Full Length of Pleat

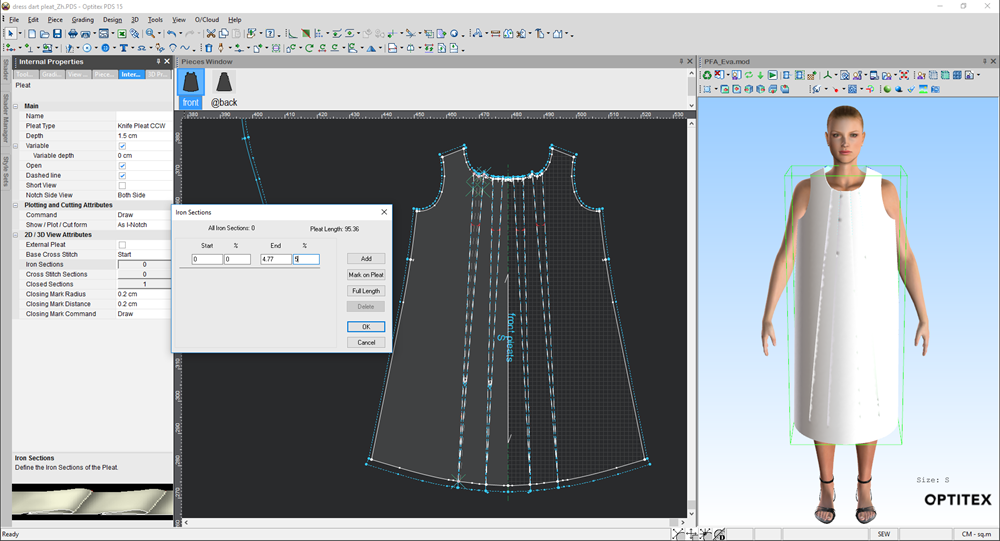
![]() Manually Enter Start/End Values
Manually Enter Start/End Values
-
When you are done, click Ok.
-
Click Cancel if you do not want to save changes.