Defining Closed Sections
If you are creating a pleat that requires closing locations, for example a Top Stitched pleat, you can define closed sections to create the different closings. In the example below, we are going to show you how to create a closing stitch in a Knife Pleat dress, at the top of the pleat line.
To define a closed section:
-
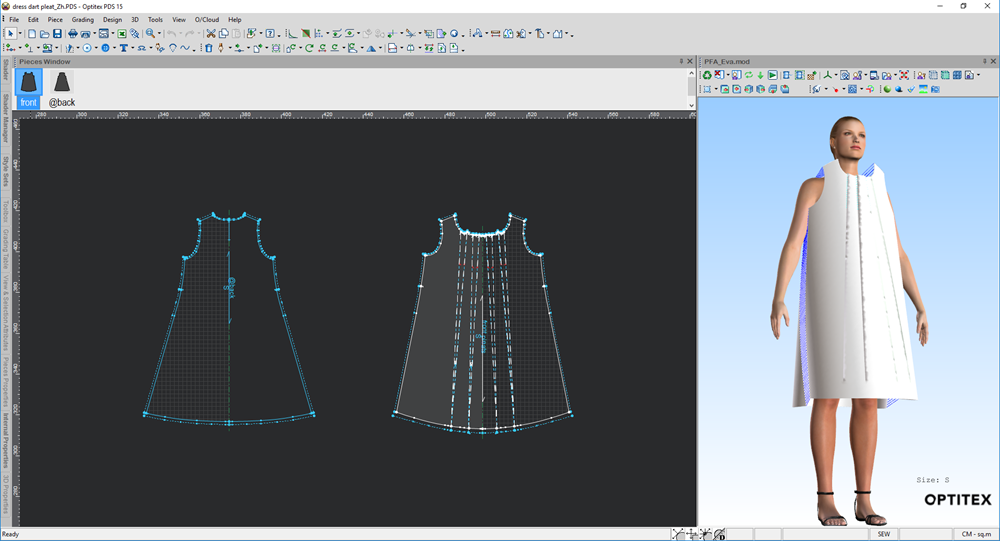
Open up your PDS file.
-
Click on a pleat to open the Pleat Properties dialog.

-
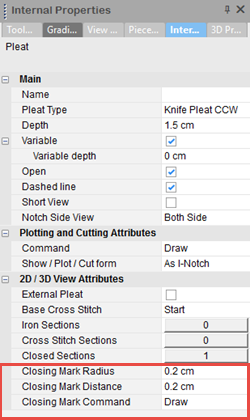
Expand the 2D/3D View Attributes section.
-
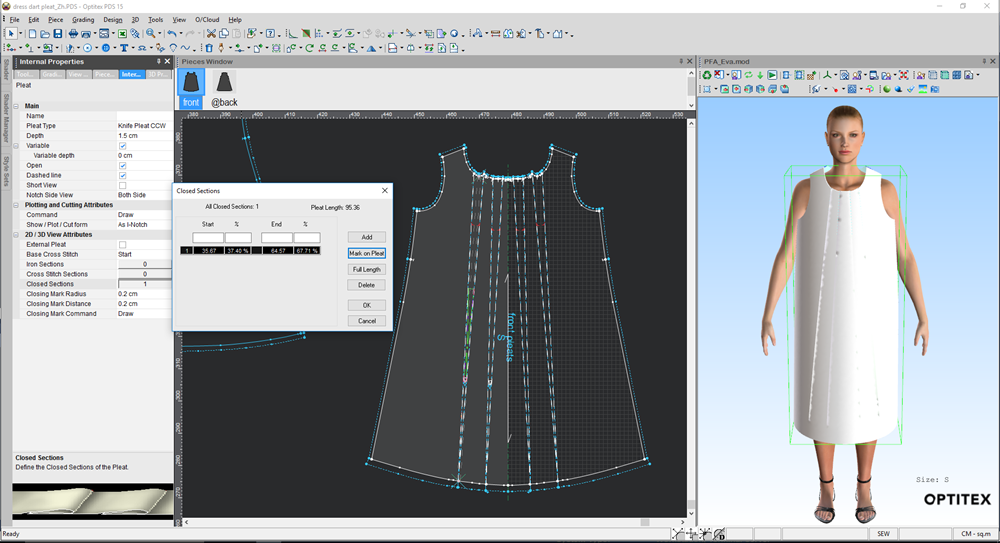
In the Closed Sections field, click the button with the number. (This number reflects the number of closings you defined. In the above example we have defined 1 closing).
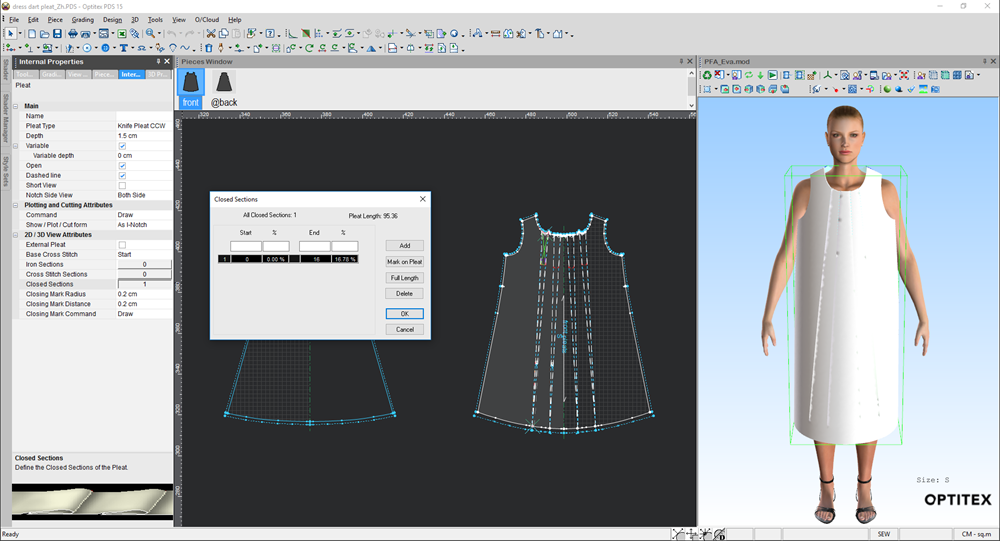
The Closed Sections dialog is displayed and your pattern is marked with an X to display the closing stitch:
-
To define another closing stitch, you have a few different options. Click to expand an option.
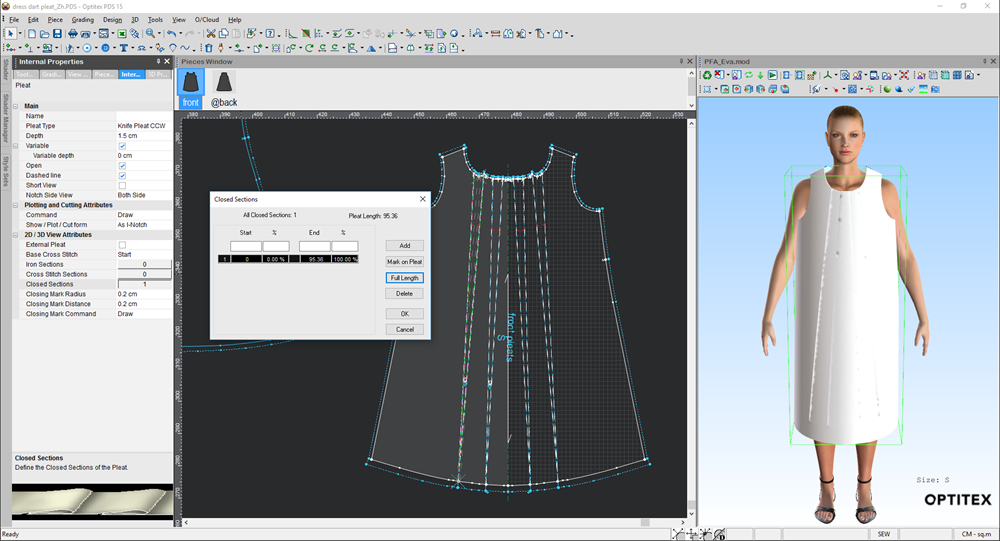
![]() Define
Stitch for Full Length of Pleat
Define
Stitch for Full Length of Pleat
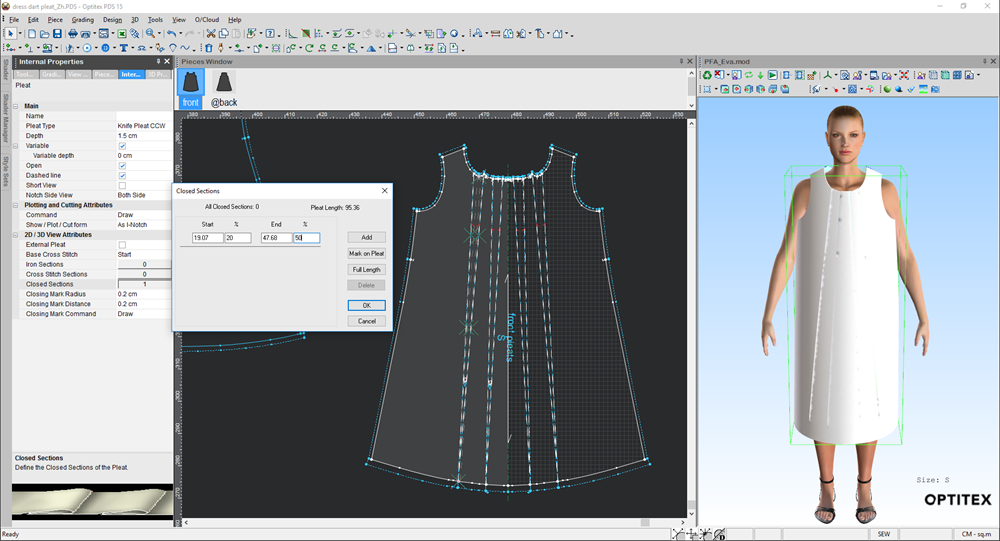
![]() Manually
Enter Start/End Values
Manually
Enter Start/End Values
-
When you are done, click Ok.
Once you add a closed section on your pleat, three new fields appear, allowing you to control the way the closing is displayed on the pleat. These fields are for production purposes and do not affect 3D. For more information, see Creating Pleats.