Assigning Shaders to Components
Once you have created components you can use the Shader Manager to assign shaders to the different components. If you want you can assign the same shader to all the components (change the Default Shader) or if you have more than one component on a stitch, you can assign different shaders to each component.
 Note:
You can assign a different shader to each component separately (different
shaders can not be assigned to each amount.) For example if you have a
pipe (with amount=2) each pipe will receive the same shader.
Note:
You can assign a different shader to each component separately (different
shaders can not be assigned to each amount.) For example if you have a
pipe (with amount=2) each pipe will receive the same shader.
To assign shaders to components:
-
Apply different components via the Seam & Stitch Manager.
In the example below, we have created a stitch and added three components (stitch, trim and accessory):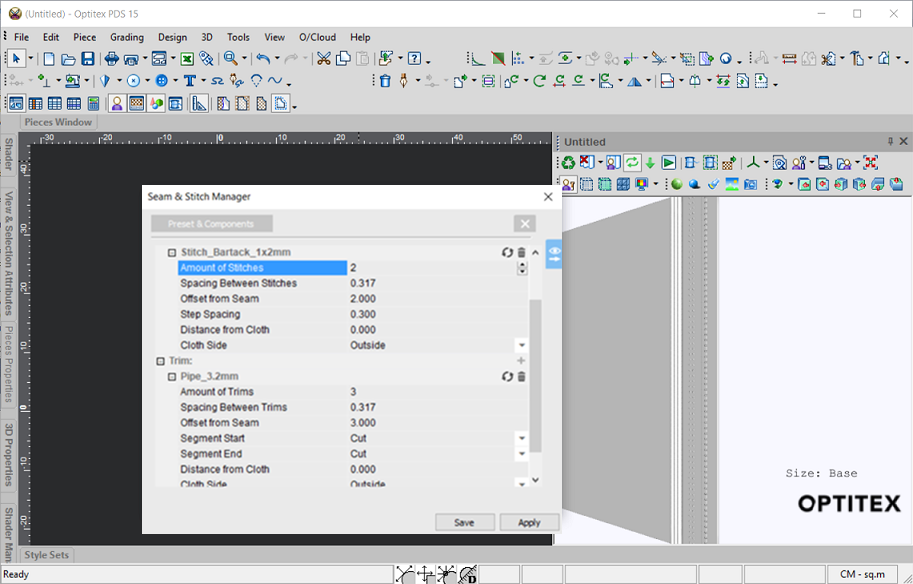
-
Open the 3D Properties dialog (if it isn't open).
Here you can see the different components that were assigned to the stitch. Notice all components were assigned to the default shader.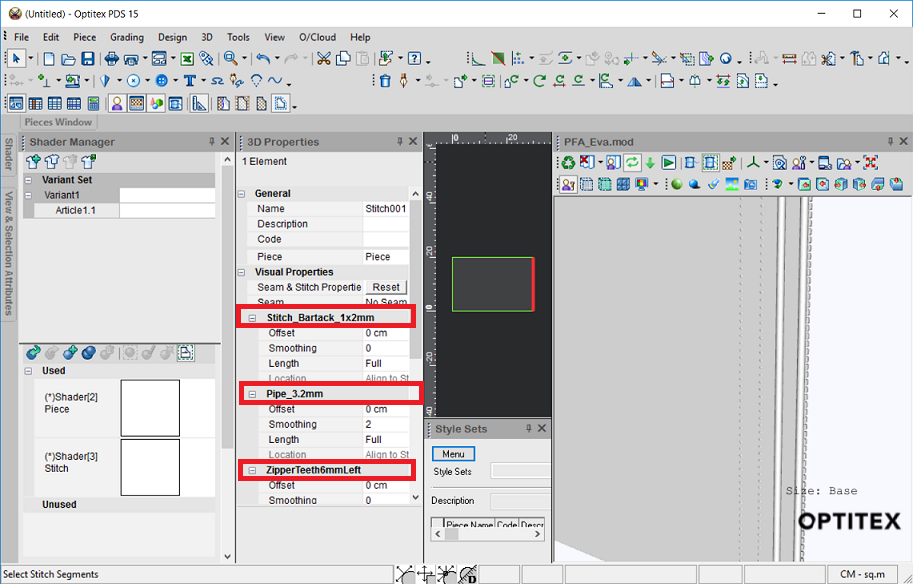
There are two ways to create shaders. You can either select each component in the 3D window and then assign shaders, or select each component in the 3D Properties dialog and assign shaders. We will show you how to assign shaders through the 3D Properties dialog.
-
If you want to assign the same shader to all the components, double click on the Default Shader (the shader that appears with a *). Then select a shader. Notice all the components are assigned to the same shader:
-
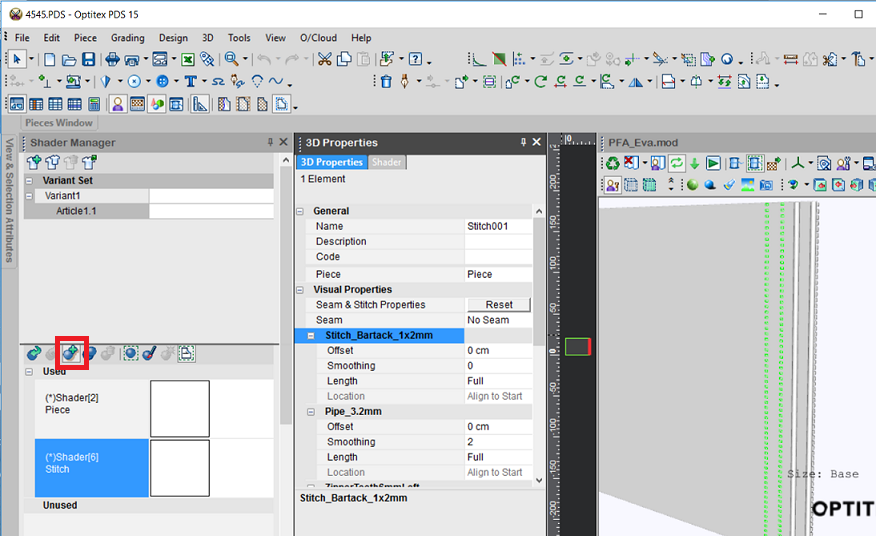
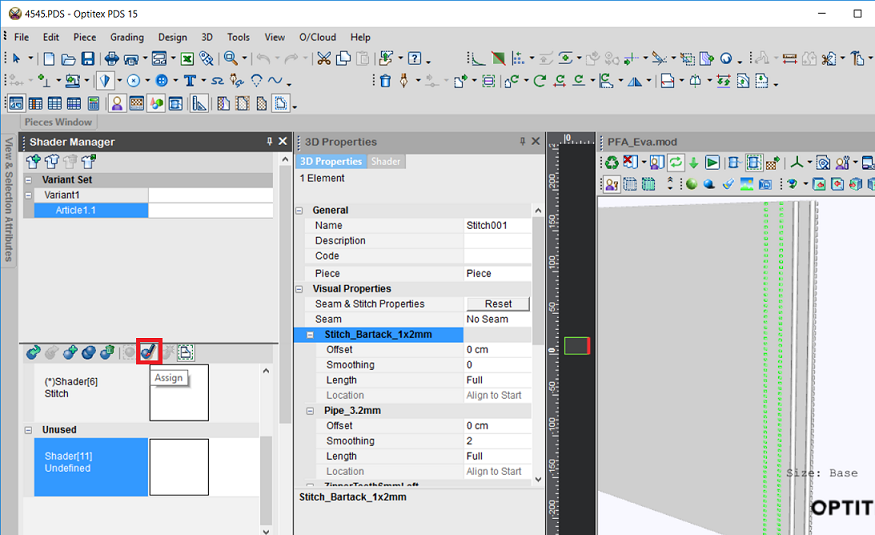
In the 3D Properties dialog select a component. For example, select Stitch_Bartack_1x2mm.
-
In the Shader Manager add a new shader: (click
 )
)
-
Assign the shader to the stitch component (click
 ):
):
-
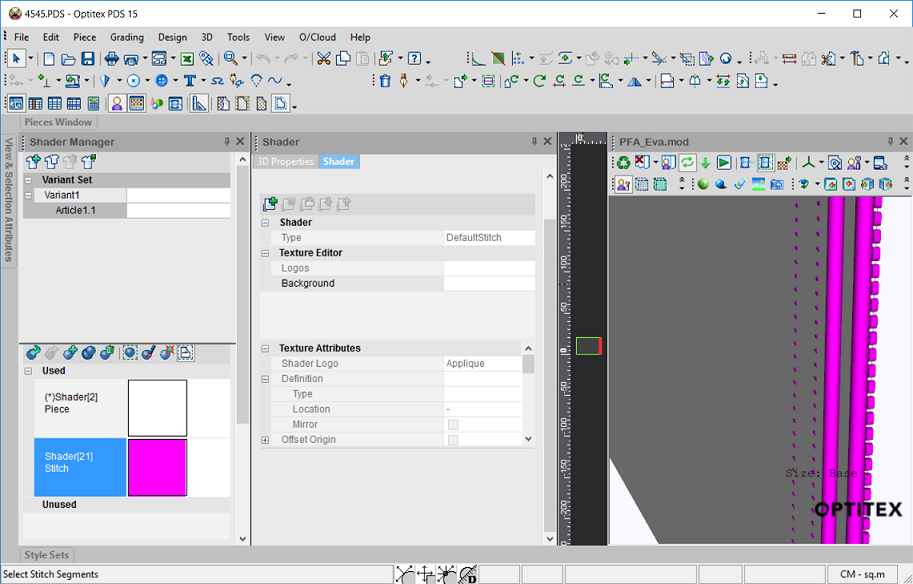
Double click on the Shader to open the Shader dialog.
-
Select a different color (this way you can see the different shaders):
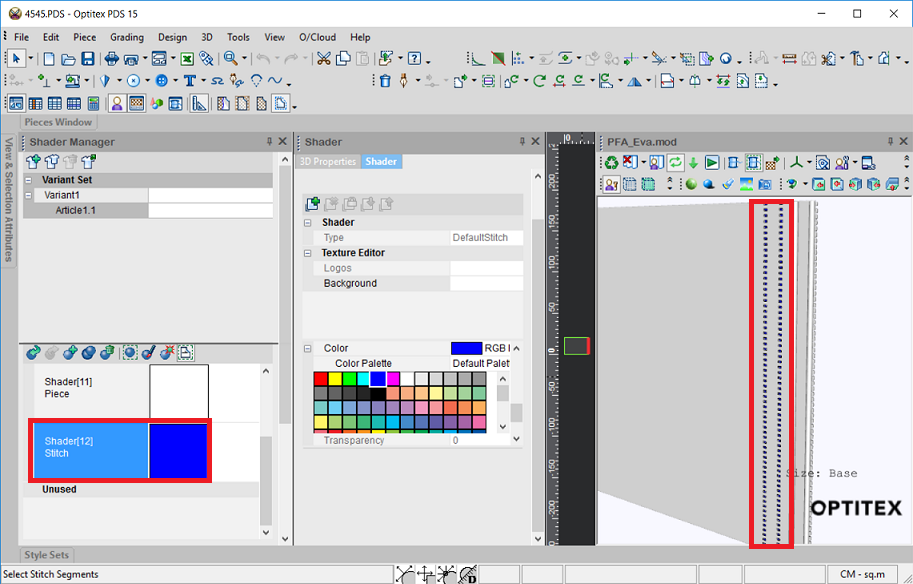
-
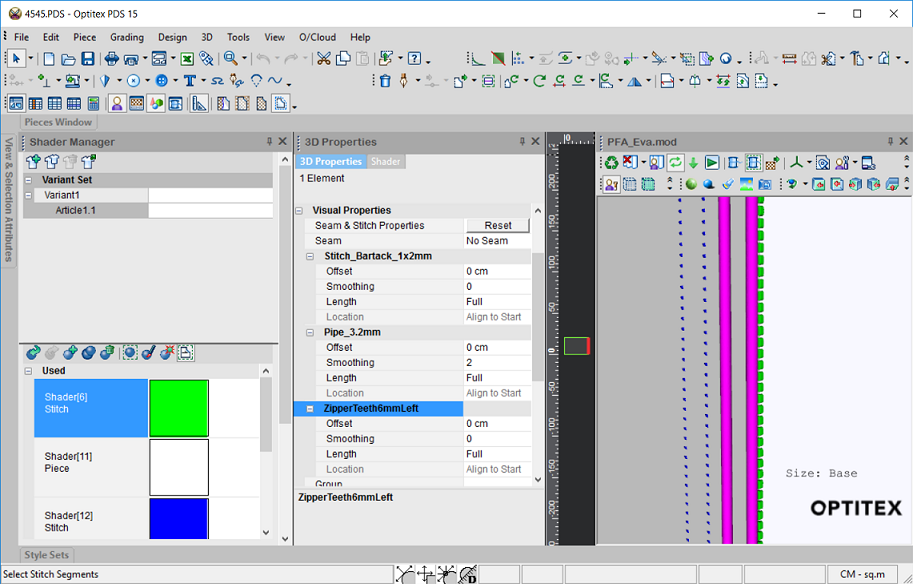
Repeat the above steps for all the components.
-
When you are done you will see each component has a different shader assigned to it.
 See also: