Add Point on Contour
Use the tool to add a point onto the contour of a piece. This is used in many cases – to name a few:
-
Marking a specific point.
-
Finding the middle of a segment (by writing 0.5 in the Proportional distance).
-
Reshaping a piece contour.
After fitting of clothing, and before doing the correction, points can be added and then reshaped with the Move Points Tool.
Icon & Location
To use the add point on contour tool:
Open a PDS file.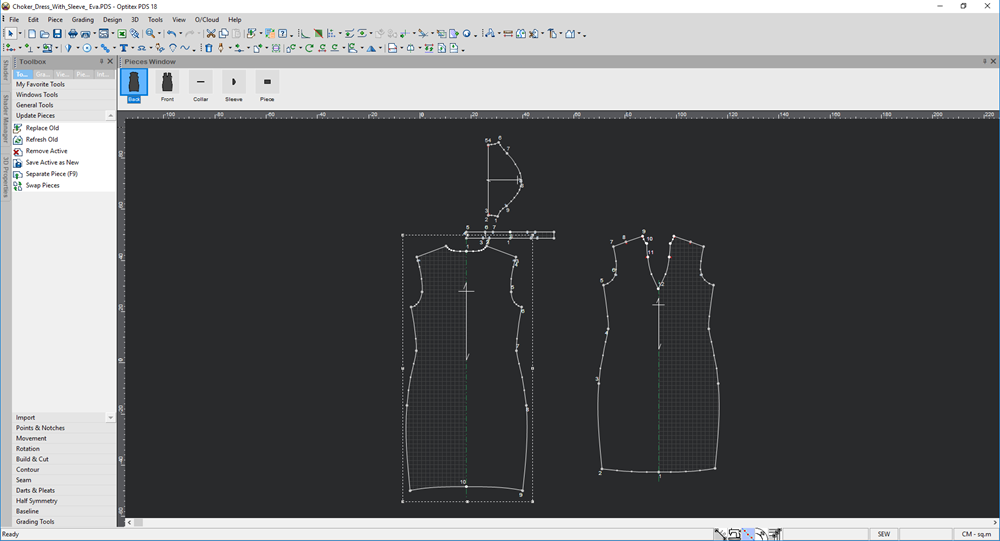
Select the Add Point on Contour tool.
Stand anywhere on
a segment and click with your mouse.
Here you can see a point was added: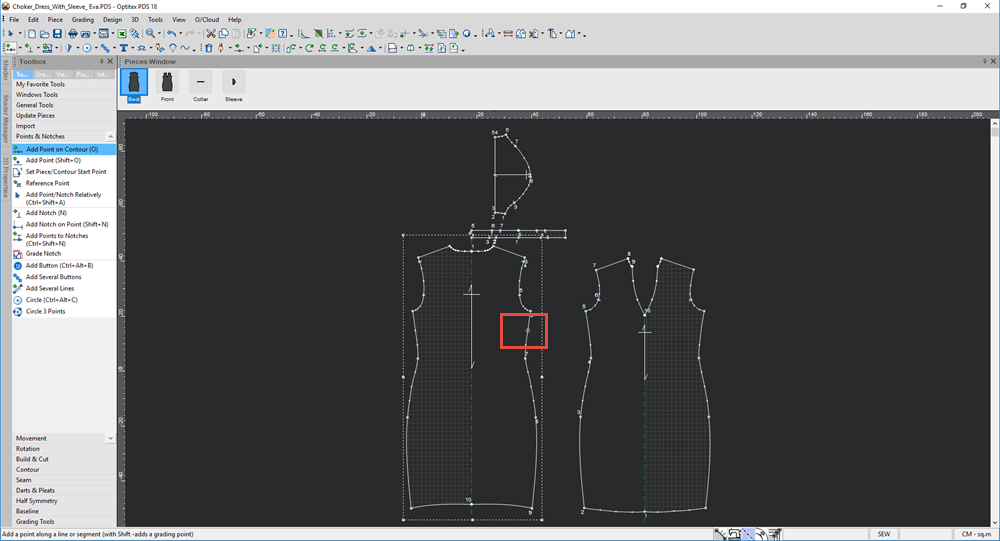
If you want to create a grading point, press Shift.
If you want to define
point attributes, press down on Alt when using this tool.
The Point Attributes dialog appears
as follows: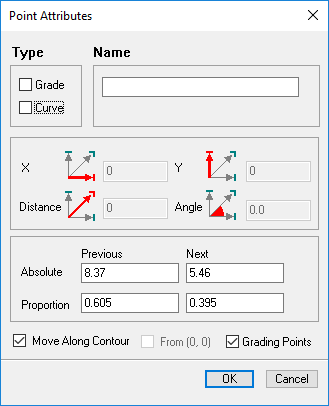
Define the attributes
as follows:
|
Field |
Description |
|
Point Type |
Set the point to be a grading/ non-grading; curve/ non-curve. |
|
Point Name |
Assign the new point a name. |
|
Absolute Distance From Previous/ Next Point |
Set an absolute value from the previous or next point. |
|
Proportional Distance From Previous/ Next Point |
Set a proportional distance from the previous or next point. |
|
Distance According To Grading Points |
When Grading Points is enabled, the distances in the Absolute and Proportional fields are from one grading point to another. When unchecked, the distance is from point to point – regardless of its type. |
|
Move Along Contour |
When checked, the distance values are along the contour. When unchecked, the distance is from the point that was clicked. This option might change the contour, and is actually the same as using the Add Point On Contour Tool |
|
From (0,0) |
Indicates that the distance is from the 0,0 point. |
 Note: You can use the following keyboard shortcuts to change selected point(s) attributes:
-
NumPad 1: Toggle Grade/ Non Grade point(s)
-
Numpad 2: Toggle Curve/ Non Curve point(s)
 See also: Toolbox, Points and Notches