Using a Predefined Preset
A preset is a combination of components which includes: Seam/Stitch/Trim/Accessories including defined attributes. You can select a predefined preset (from the library) when you want to apply a preset to your stitches. Once you select a preset, all the components and attributes appear and you can apply the selected preset to your stitch.
To use a predefined preset:
Start sewing your pieces.
Select
the stitch, right click with your mouse and then select Seam
& Stitch Manager: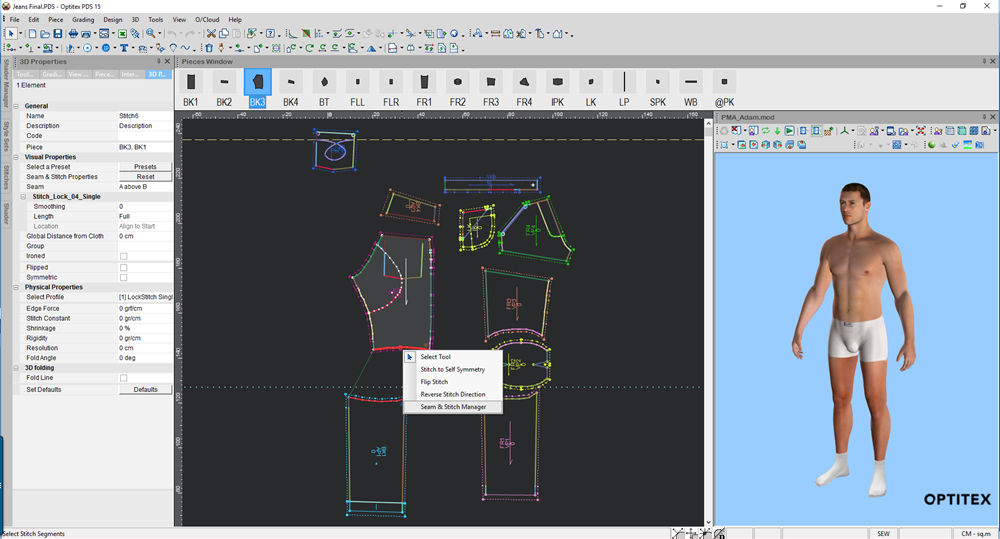
The Seam & Stitch Manager dialog
appears: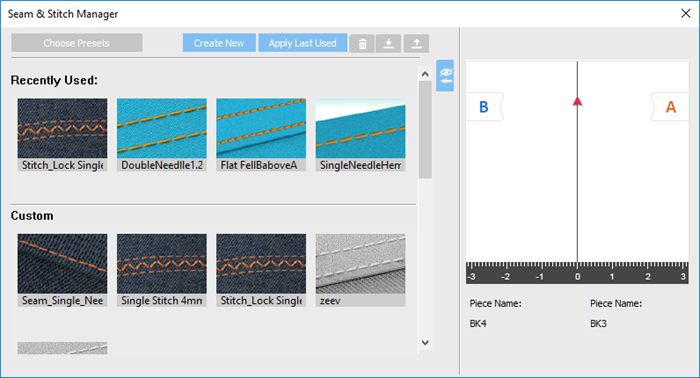
From
the list of presets, select the preset you want to apply to your stitch.
The preset's components appear as follows: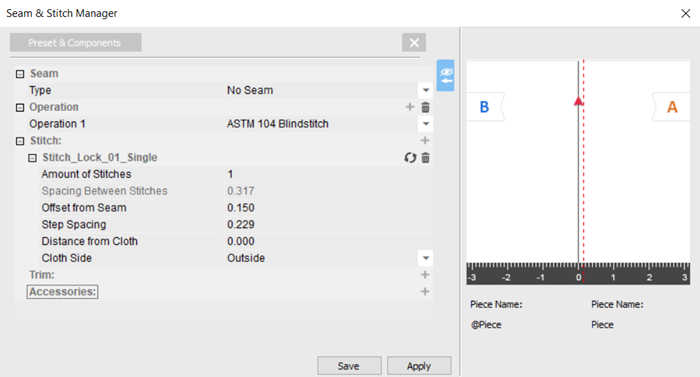
Notice a preview of this specific preset appears in the Preview
area.
You can expand/collapse the preview using the  /
/  buttons.
If you want to edit this preset, you can make changes and then save or save as a preset. For more information, see Saving a Preset.
To
apply this preset to the stitch/es click Apply.
Once you click Apply the properties
are assigned to the stitch and you will see a new section in the 3D Properties dialog as follows: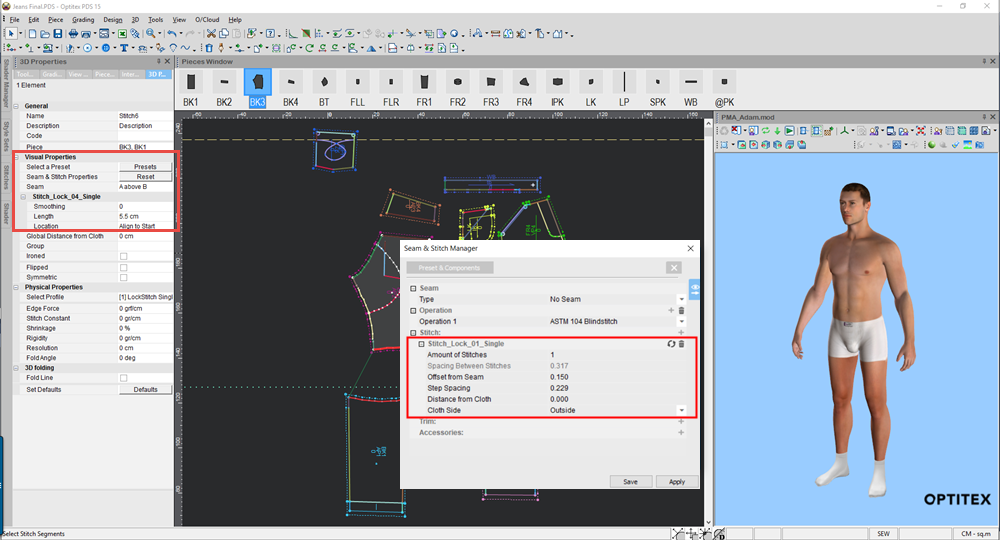
Starting from version O/17 SP1, once you apply a preset to the stitch,
the stitch name appears as the preset name in the Stitches
dialog.
Stitch without preset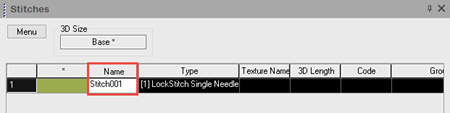
Stitch with preset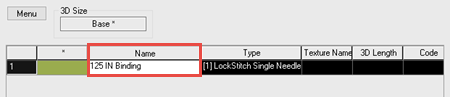
If you want to reset the seam & stitch properties (seam/stitch/Trim...)
click Reset to go back to the
default stitch properties (seam type:No Seam and Basic Stitch).
There are additional properties that can be defined only in the 3D Properties
dialog: Offset, Smoothing and Length. For more information, see Defining
your Stitches Via 3D Properties.
Repeat the process above for all required stitches.
When you are done click the X to close the dialog.
 See also: