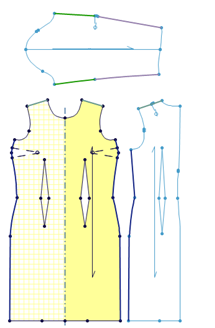
Stitching Your Pieces Together
There are a few different ways to stitch pieces together in Optitex. You can chose the way that best suits you.
To help improve the stitching process, some changes have been made starting in version O/15.
 Note:
In order to work with 3D, all pieces need to be defined with an active
SEW line. Pieces with an active CUT line will not be placed in 3D.
Note:
In order to work with 3D, all pieces need to be defined with an active
SEW line. Pieces with an active CUT line will not be placed in 3D.
To stitch your pieces together:
Remove
the cloth from the avatar by clicking the RemoveCloth icon ![]() .Note:
The 3D placement will not be lost until you click Synchronize.
.Note:
The 3D placement will not be lost until you click Synchronize.
From
the 3D toolbar, click the 3D Stitch icon ![]() .
.
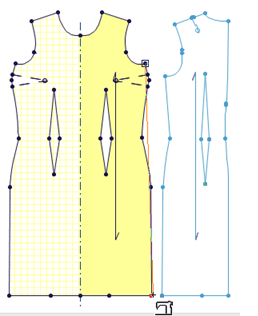
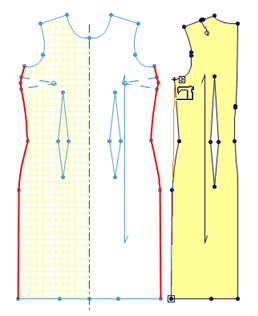
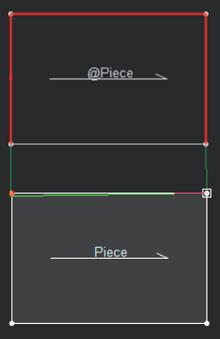
There are three ways to stitch:
Segment
to Segment: Click on a line to be stitched, this will stitch up to
the grade points. Notice how a color highlights the selected segment and
the icon adds a little "2" next to the cursor indicating that
the next segment clicked will connect to this one: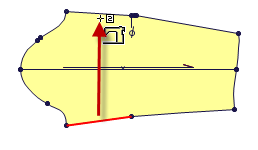
Point
to Point: Click on a grading point then on the next point in a clockwise
direction, this defines the first “Half” of a stitch. Notice the change
of cursor to a double sewing machine. Click on the next stitch, either
by segment or point to point:
|
Point to Point in first segment |
Point to Point in second segment |
|
|
|
-
Selection Rectangle: Add a complete stitch, or half by dragging a rectangle around the Grade points of the designated segments. This feature is useful for small segments, which are hard to access without zooming in, and if your pieces are arranged nicely so you can make a box. (Fastest Method):
|
Stitching with Selection Rectangle |
SideSeam, Sleeve Seam, and Shoulder Stitched |
|
|
|
-
-
-
When adding stitches, you may use any of the zoom tools, scroll bars and the mouse wheel at any time and then continue stitching.
-
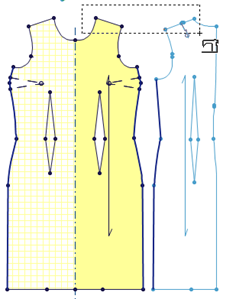
To help you see how your pattern will be sewn (when stitching from point to point or from segment to point), a drag box appears allowing you to check your stitches:
If you make a mistake while stitching, you can press the ESC button on your keyboard to cancel the stitch and then restitch: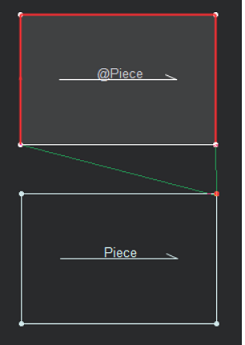
-
Arrows appear when the stitch is selected to indicate the direction of the stitches (start and end):
-
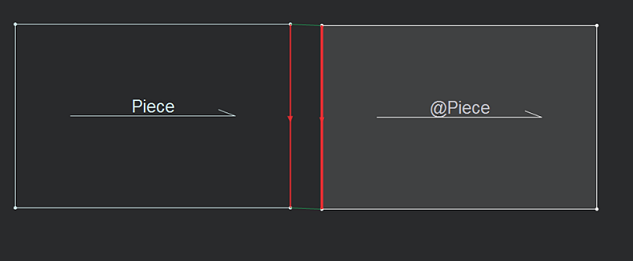
Starting from 15.6SP3, the A/B representation is indicated when stitching (not only when opening the Seam & Stitch Manager). This helps you see the relationship between the two pieces in respect to the seam. For more information about seams, see Defining a Seam.
In this example you can see the first stitch A is stitched to the second stitch B.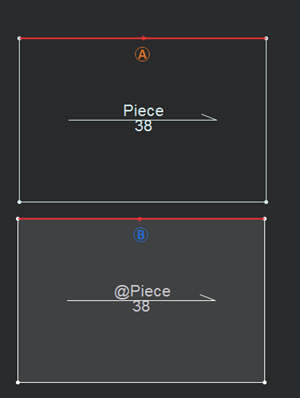
If you create multiple stitches, you can see the A/B representation of only 1 stitch:
To view the A/B representation of all the stitches, use the Select Stitch tool and select all the stitches: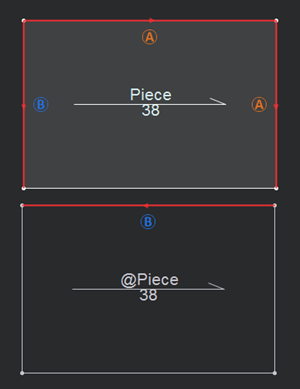
-
Deleting a stitch is done by selecting it first (Red indicates selection) and clicking the “delete” key. Alternately you may drag a rectangle over the stitch and do the same. Selection is made either by selecting the Select Stitch tool(Shift+U) or by releasing the stitch tool before selecting a stitch for deletion. Do this by right clicking an empty area of the screen.
-
While you are stitching you can leave the 3D Properties Stitches dialog open and then define different attributes for your stitches, for example if you have a flipped stitch, you can unflip it, if you have a paired piece you can define the stitch as symmetric (so the paired piece is also stitched)or if you want to change the offset, smoothing, etc. For more information about the different stitch attributes, see Navigating the 3D Properties Dialog.
You can also define your stitch with visual properties when you want to define different stitch types (bartack, flatlock, etc.), trims (pipes, binding, etc), accessories (buckles, zippers, etc.). For more information, see Using the Seam & Stitch Manager.
 See also:Creating Your 3D Sample