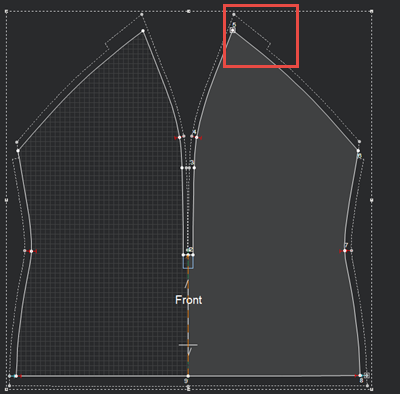
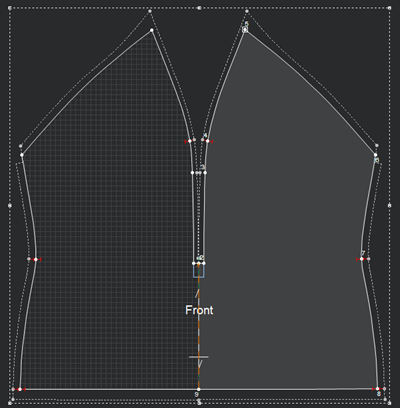
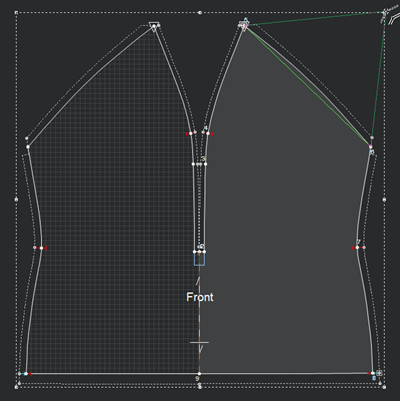
Point Properties
You can use the Point Properties dialog when you are creating/modifying a point.
View the fields as follows:
|
Field |
Description |
|
Main |
|
|
Grading |
Select, if you want the point to be a grading point. Grading points are used to establish a specific point where grading is applied on a piece (mostly used for apparel). A grading point may be on a straight line or a curved line.
If not selected, the point will be a non-grading point. Non-grading points are used to help shape the piece boundary. A non-grading point will blend with the previous and next grading points, and is therefore sometimes called a blending grade. Non- grading points may not be assigned values in the grade table
|
|
Curve |
Select, if you want the point to be a curved point. If not selected, the point will be a non-curved point.
|
|
Connected |
Sets a connection between an internal point and a point below it (internal or external) by pairing them. If the contour or internal point is moved, the other point move along with it. This field is enabled only when an internal point is placed over a point.
|
|
Name |
Enter a name for the point. You can show/hide the point names via the View and Selection dialog. |
|
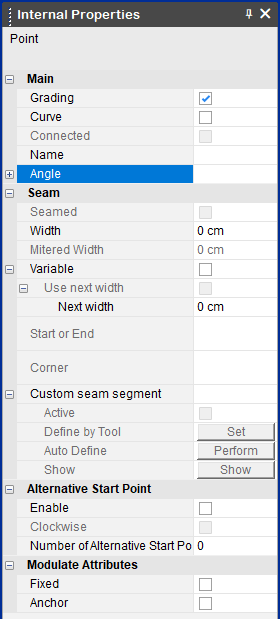
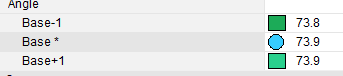
Angle |
Indicates the angle of a point in all sizes.
|
|
Seam |
|
|
Seamed |
If selected, indicates the point is seamed (in a CW matter by default). |
|
Width |
Sets the seam's width. Negative or positive seam allowances may be applied depending on how a piece was created, converted or digitized. If the piece was digitized or created from scratch on the sew line, then the seam width value should be positive. If the seam was digitized on the cut line (as it is usually done), then use a negative value (and switch to the sew line by clicking on the F5 key).
|
|
Mitered Width |
Sets the distance from the corner point to the seam. This option is only available when you define one of the following seam corners: |
|
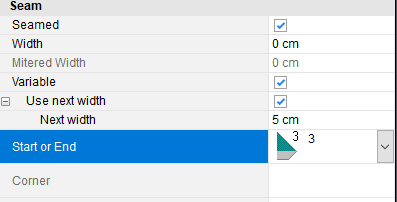
Variable |
If selected, sets the seam with a different width for the first and last point.
|
|
Use Next Width |
If Variable is selected, select this option to set the width of the first and last point. |
|
Next Width |
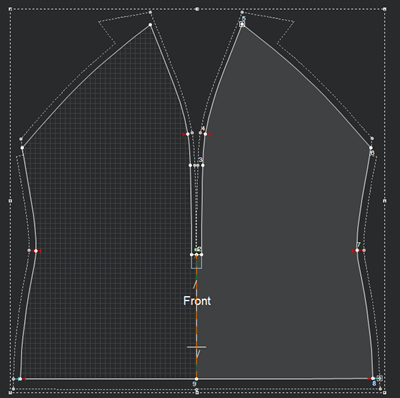
Sets the width of the last point of a variable seam. For example, set to 5 cm:
|
|
Start or End |
Sets the type of a seam for the start or end point of a seam segment (when seam width value is zero for previous or next segment).
|
|
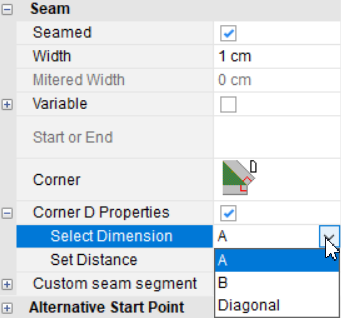
Corner |
Select the type of corner from the drop-down list. |
|
Corner D Properties |
This option is available if Corner D is selected
Select A / B / Diagonal dimension and set the distance to define the seam corner vertex position relative to the piece geometry. |
|
This option is only available if you have a seam. |
|
|
Active |
Indicates if the custom seam segment is enabled, and the corner seam will not change even after re-seaming or editing the piece. |
|
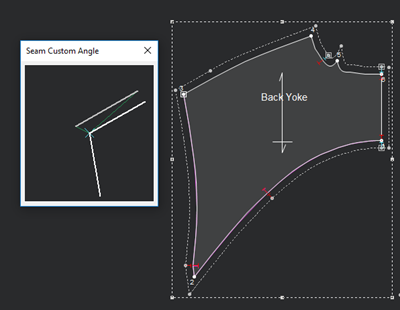
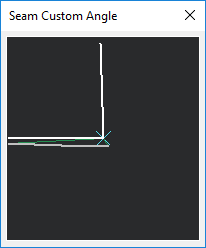
Define by Tool |
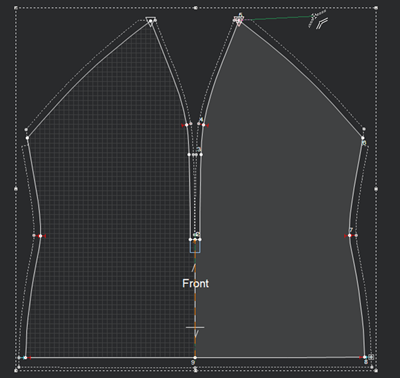
Click Set to manually define a special seam corner. Once you click Set, the mouse cursor changes to a selection tool as follows:
Click on the first point where you want to create the custom seam corner. Click on the second point.
Click Show to see the new custom seam corner.
|
|
Auto Define |
Click Perform, if you want to automatically recognize the special seam corner. The corner's Seam should consist of two points in order to be auto-defined. If you select this option, the Active checkbox is automatically selected.
|
|
Show |
Click Show to display the special seam corner.
|
|
Alternative Start Point |
Alternative Start Point is an option to switch to for the cutting command in Marker. When the cutter reaches the end point on one piece it starts looking for the next Start point of the next piece. If there's an Alternative Start Point in a better position for the cutter (for example, closer to the End point) or if the Start Point is positioned in a location that's hard to reach, then the cutter will use the closest Alternative Start Point. Rules for Alternative Start Points:
|
|
Enable |
Select to set a point as an alternative start point. |
|
Clockwise |
Select to set the alternative point to move in a clockwise manner. If this option is not selected, the point will move in a counter clockwise manner. |
|
Number of Alternative Start Points |
Enter the number of alternative start points you require in the piece. |
|
Modulate Attributes |
|
|
Fixed |
If you use Modulate, this checkbox sets the point as a fixed point. |
|
Anchor |
If you use Modulate, this checkbox sets the point as an anchor point. |
 Note: Grading values can only be applied to grade points.
 See also: Viewing/Editing properties