Creating custom seam segments
You may want to design custom seam segments that will keep their shape and not be automatically reseamed.
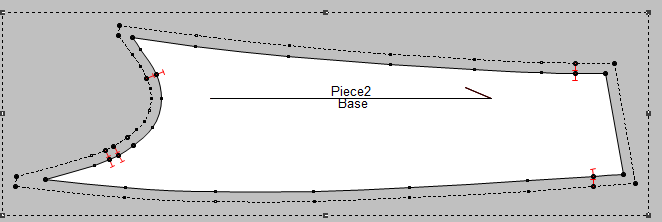
In this guide, we will use the example of creating a double folded sleeve hem.
To create a custom seam segment:
-
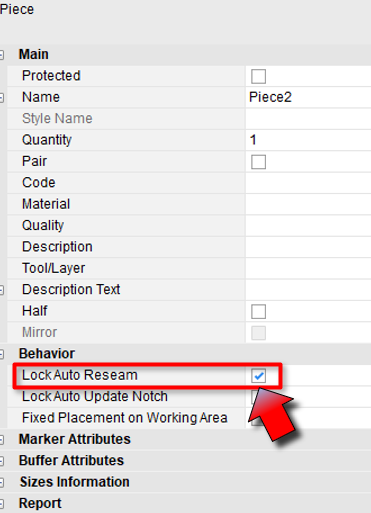
Before you start, Lock Auto Reseam in the piece properties:
-
Switch to the cut lines using F5
-
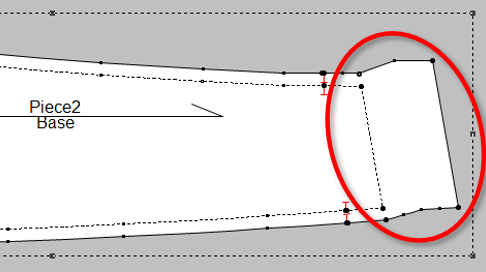
Modify the contour as needed using available PDS tools and functions:
-
The more points you add to the modified contour, the better for the custom seam segment.
-
The reshaped contour must not go inside the sew lines.
-
When the modified contour is ready, switch back to the Sew lines by pressing F5 again.
-
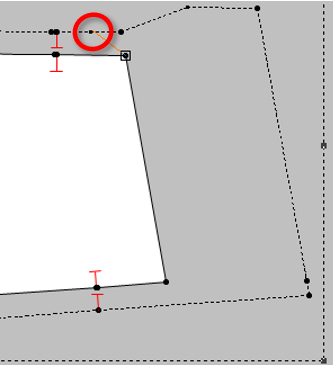
Double click the first point of the fold to open the point properties panel.
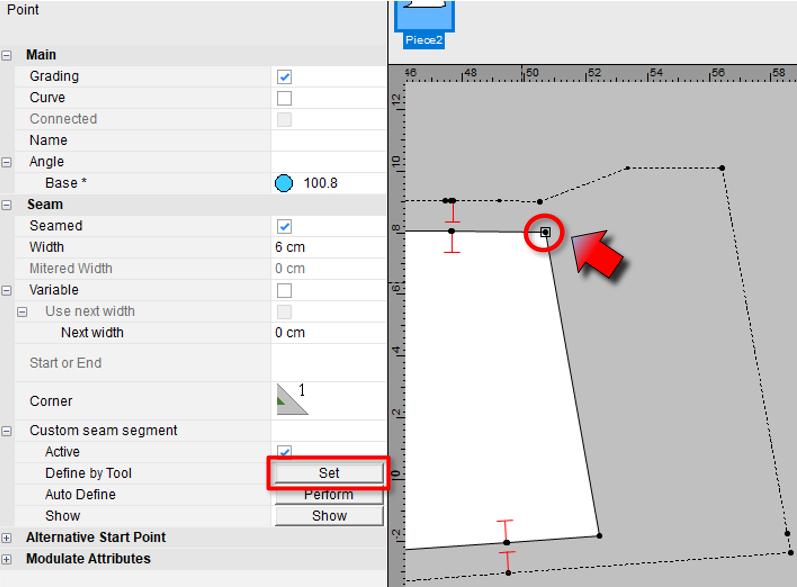
 Note: Under Seam, the Width for this point should match the fold width.
 -
Under Custom seam segment > Define by Tool, click the Set
 button. The function is activated.
 -
Select the first relevant point in clockwise direction, on the seam allowance:
-
Select the last relevant point in clockwise direction, on the seam allowance:
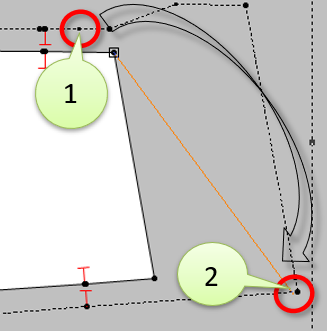
The custom seam segment is defined.
-
You can now deselect , Lock Auto Reseam in the piece properties.
The new custom seam segment will remain intact and can also be graded.
Note:
Note: if the piece contour undergoes great modification after the creation of the custom seam segment, the seam may become distorted.
It is advised to create custom seam segments only after the entire piece design has been completed.
 See also: