How to Create a Workspace
A Workspace is the highest level in O/Cloud structure.
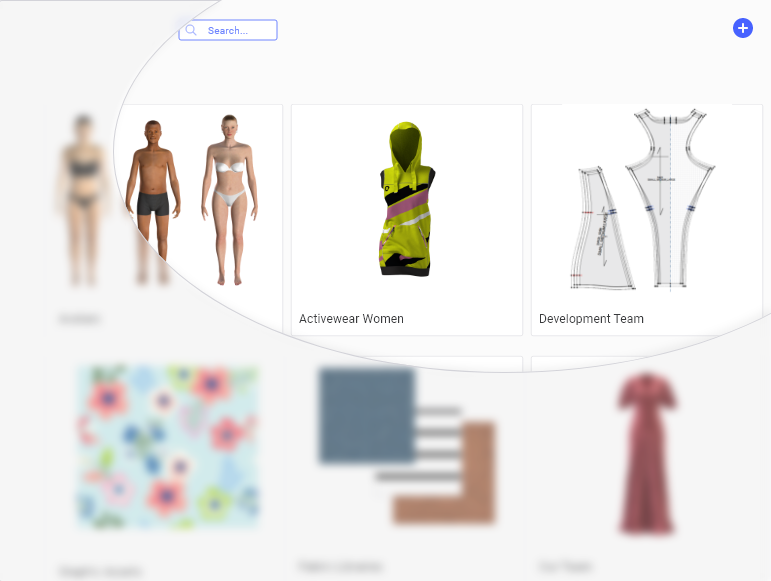
When you login to your account the first items you will see are Workspaces.
You can use the workspace to help you organize the content you upload and share with different teams or partners.
Only users who have Company Administrator and Content Administrator permissions level can create Workspaces, to be used by everyone else in the company. Read more about How Permissions Work
To create a workspace:
-
Click the
 icon on the top-right
corner of the screen.
icon on the top-right
corner of the screen.
The Create Workspace dialog opens.
-
Enter the following details:
-
Workspace name.
-
Description (not mandatory) you can enter here any extra details you want to provide to the rest of the team.
-
Thumbnail. (optional) Add an Image you want as a thumbnail for the workspace.
-
![]()
-
Click Create.
The workspace is created.
Once you’ve created the Workspace, you can start adding content to it and share it with other users in your company
 See also: