How to Create 360 View
360 View of your styles can be created by uploading multiple images. It is recommended to upload at least 36 images to have a smooth viewing experience of the style.
 Note:360 images can be created in PDS see: Taking Snapshots of Your 3D Sample
To create a 360 View:
-
Click the
 icon on the top-right
corner of the screen.
icon on the top-right
corner of the screen. The menu opens:

-
Click Upload 360/Animation.
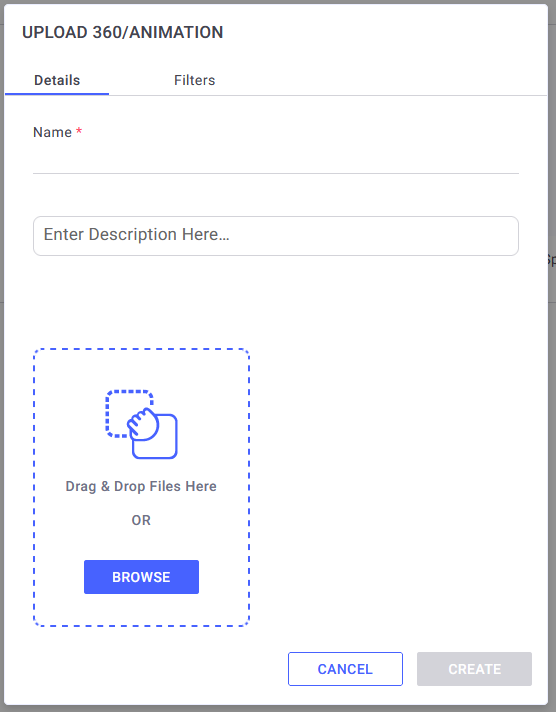
The Create 360 View dialog opens, where you have two tabs: Details and Filters
-
In the Details tab enter the Name This is mandatory.
-
The Description field can be used to enter any additional information you want.
-
At the bottom part of the dialog select which files should be uploaded to be used in the 360 View. You can either Drag & Drop files into the dialog or use the Browse button to search your computer.
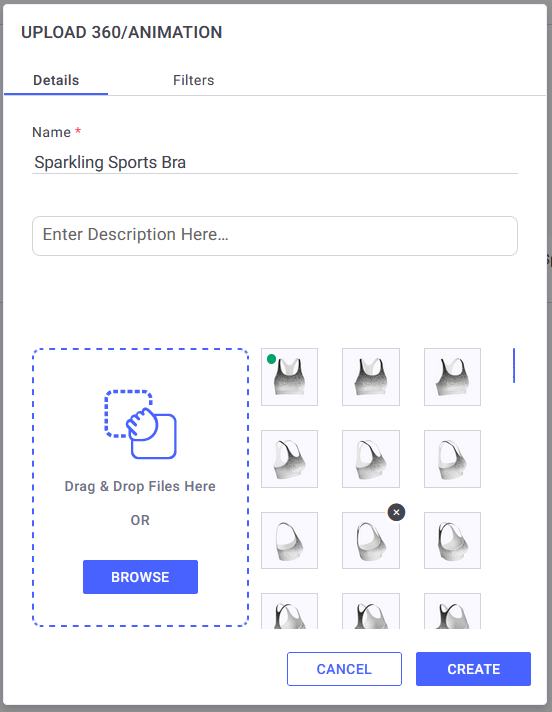
Once you have selected images to upload, their thumbnails will be displayed:
-
Setting the Thumbnail: The image with the green circle will be used as the 360 View thumbnail. You can select any of the other images as the thumbnail simply by clicking on the image.
-
Removing images: When hovering over the thumbnails of the images to be uploaded, an X icon will be displayed on the top right corner. Click the X to remove that image from the 360 View.
-
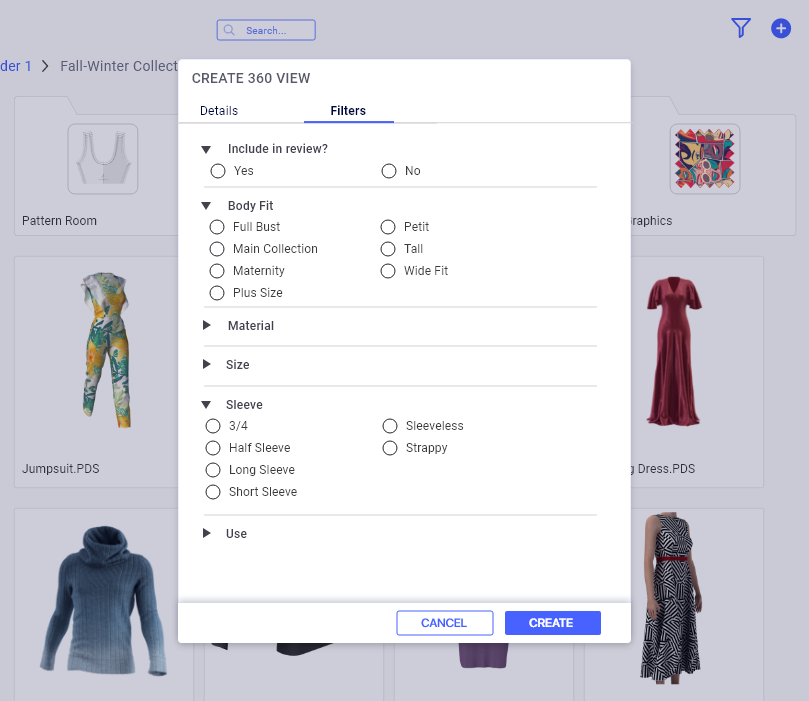
On the Filters tab select filters that will be automatically assigned to all the files you upload to the folder. This step is not mandatory. (See Using Filters)
-
Once you’ve entered all the details and selected the images, click Create.
The images you selected are uploaded, the Upload Widget appears on the top-right corner of the screen.
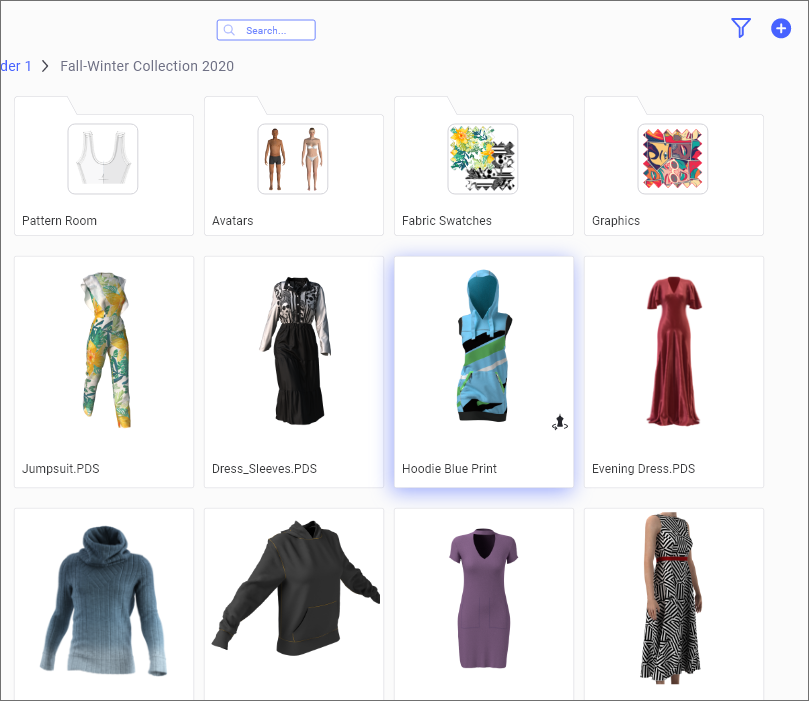
Once all images finish upload, the 360 View is displayed in the folder and with the 360 icon next to its thumbnail.
 See also: