Creating a new GLB pin comment
This topic describes adding a new pin comment.
To create a new pin comment:
-
Navigate to the angle and zoom level where you want to pin the comment.
-
From the available icons on the top right of the viewing window, select the Add Comments icon:
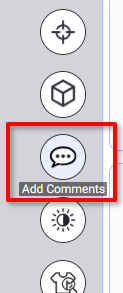
The Comments tools unfold:
-
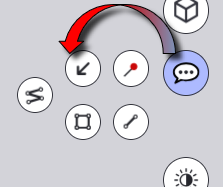
Select the Pin Icon.

-
The icon becomes selected:

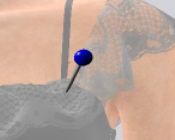
When the mouse is over the model, the pin image appears and moves along with the cursor.
While in movement, the pin head color is blue.
 Note: Use Ctrl to navigate in 3D when the add pin tool is active, or while moving a pin.
 -
Move the cursor over the 3D garment or avatar.
-
Click to fix the pin position on the model.
-
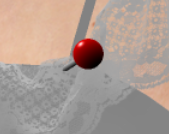
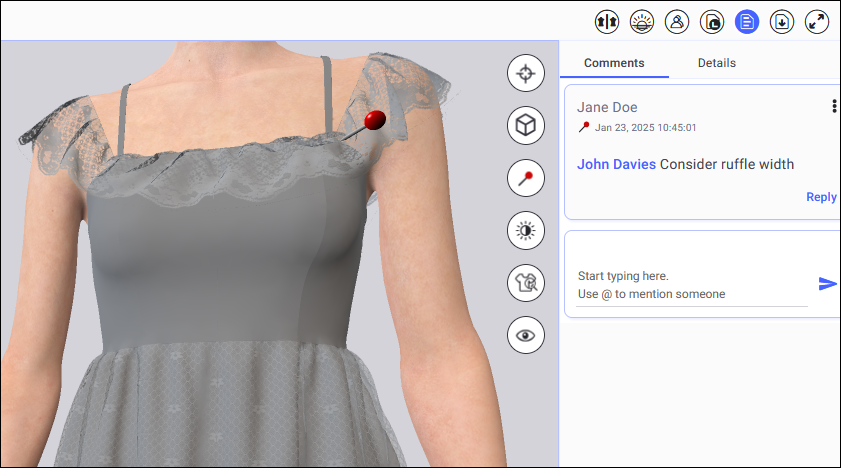
Move the cursor away from the pin.
The pin head color is turned to red:
-
On the right panel, on the Comments tab, write the comment related to the pin.
-
Click the Send Icon
 to add the comment.
The comment is added:
-
Click the pin Icon again
 to get out of the pin adding activity. (or use Esc on the keyboard)
 -
The Icon becomes deselected:
 and the cursor is free.
Note:
-
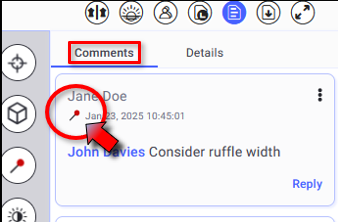
Pin comments are indicated as such by the pin icon on the comment:
-
Pin comments cannot be added while viewing all pins.
 See also:Pin Comments for GLB files overview