Updating Morph Measurements
If you want to change the measurements that were defined for the different parameters with your own measurements, you can use a few different tools, including Tape Measure and Add Circumference. These tools are similar to the 3D Add Tape Measure and Add Circumference Measure tools. For example, if you want to change the bust width, you can create a new measure and then change the defaults to match the new measure.
Note: You can easily turn on/off all measurements in the avatar by clicking the Show/Hide Measurements icon. In order for the Morphs to be available, you will have to select the Static Position final pose.
To update morph measurements:
Go to the Tagged
Properties tab: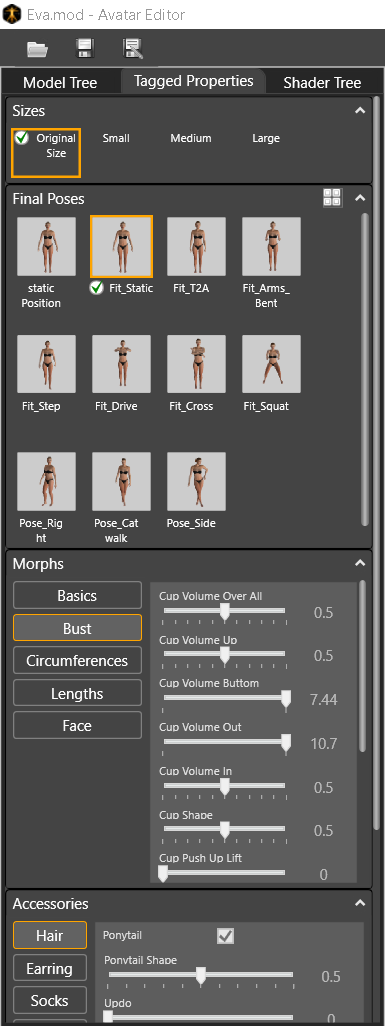
First select the
measure you want to change. For example, click on Morphs
> Bust Height.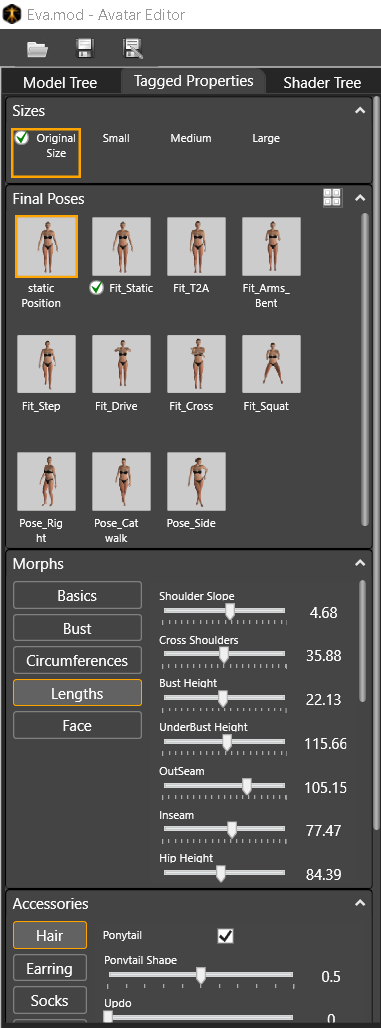
Now create a new
measure. From the toolbar, click on the tool you require; for example,
if you want to use the tape measure tool to measure height/width, click
 (Add Tape Measure).
The mouse turns into a measuring tape.
You have to click on two points in order to create a measurement.
Note:
If you want to rotate the avatar while you are measuring, press and hold
down the CTRL button on your keyboard and continue using the Measure tool.
Click on the first point and then drag with your mouse to the next point and then click again.
Drag your mouse to
the same location as the old measure.
A measurement is created in BLUEand you can
see the value: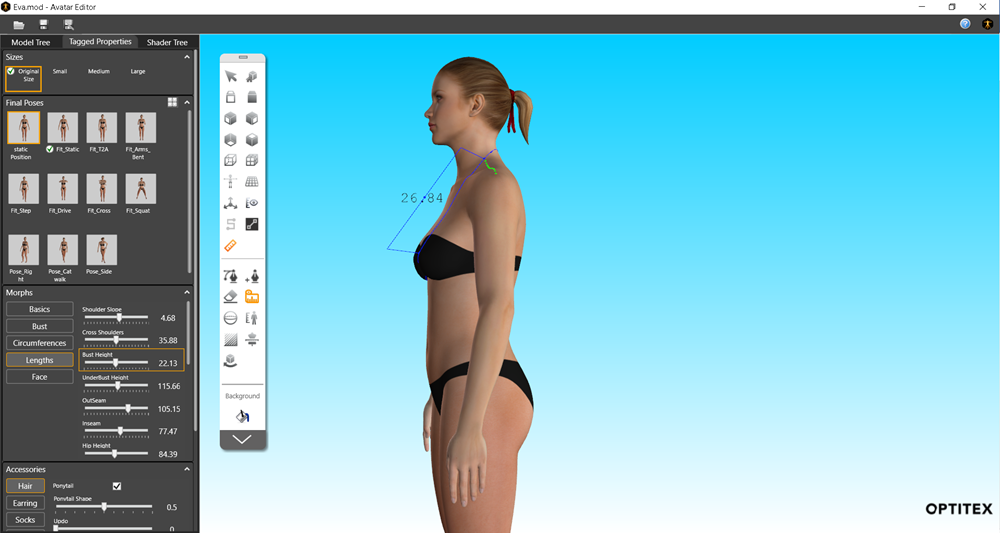
Now in order to replace the measurement, first select the new measurement by pressing Ctrl and then right click with your mouse.
Then, select the
old measurement, by going to the Tagged
Properties tab and clicking on the specific measurement you want
to change; for example, Morphs > Bust
Height.
Notice both measurements for Bust Height appear in RED
as follows. 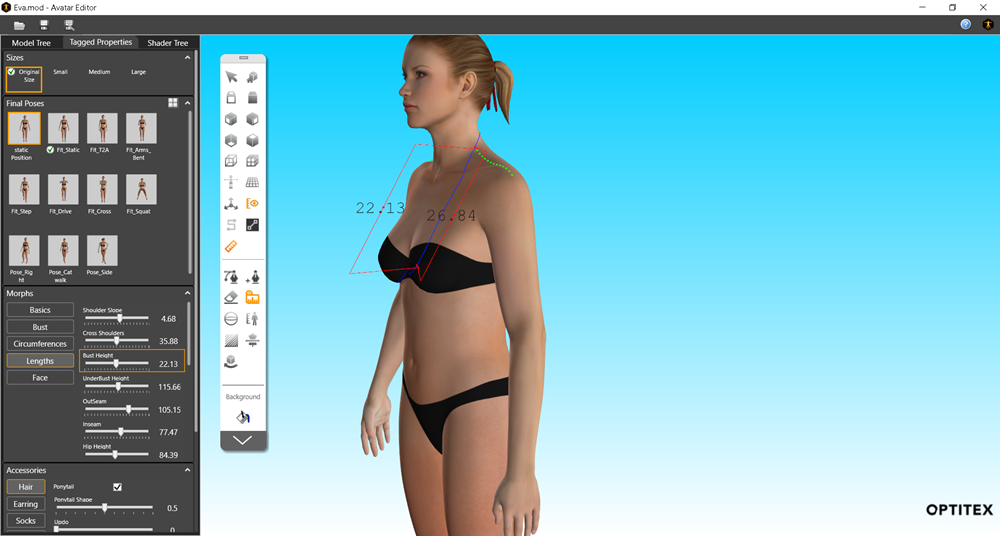
From the toolbar, click  (Place Measure).
A message appears asking you if you want to replace the measure since a
measure already exists.
Click Yes.
The new measurement is replaced and the new value appears in the Bust Height field: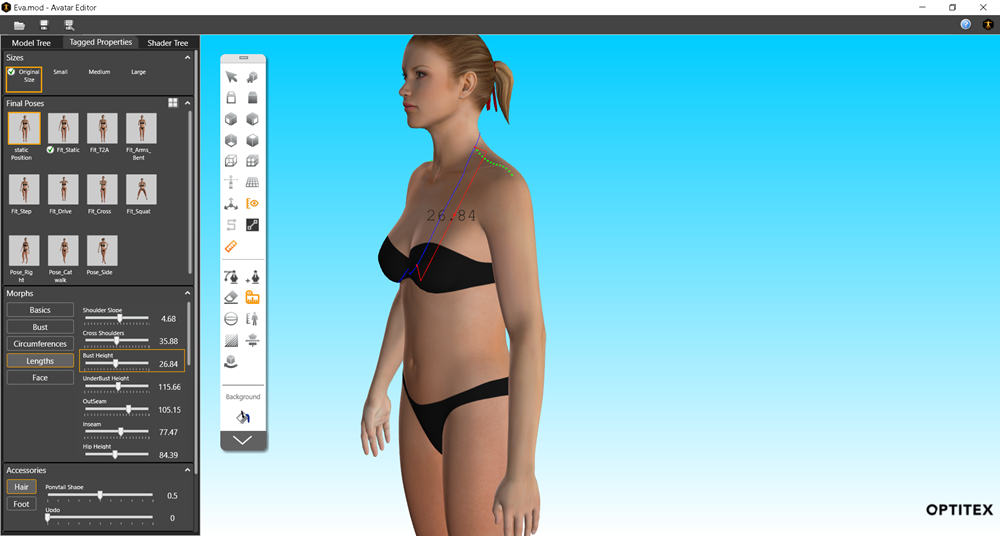
You may have to delete
the measure you added when using the Add
Tape Measure tool. To do this, select the line by pressing Ctrl and right click with your mouse,
then from the toolbar, click  .
.
You can do the same by using the Circumference Measure Tool.
First select the
circumference you want to replace, for example go to Circumferences >
Waist.
Notice the measurement appears in BLUE.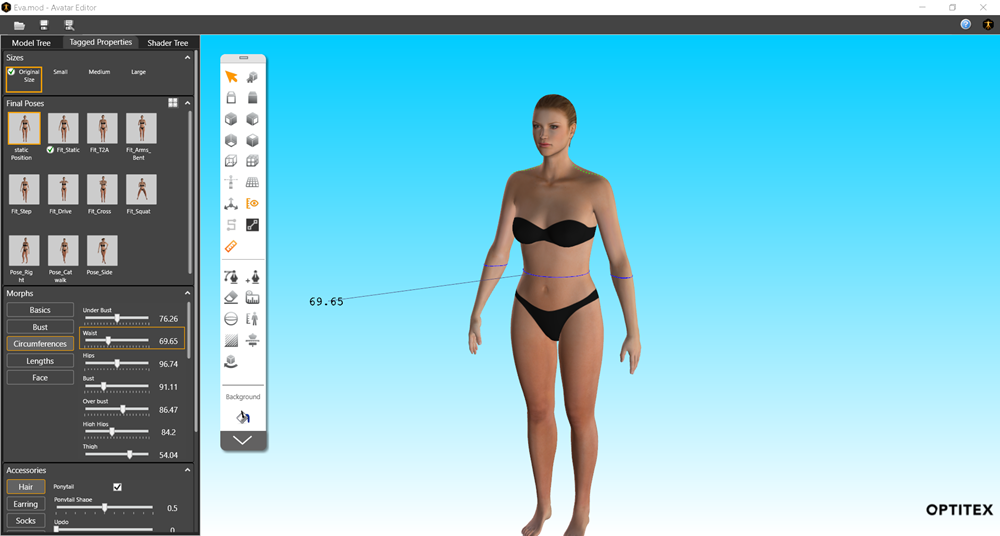
From the toolbar, click  (Add Circumference
Measure).
(Add Circumference
Measure).
A circumference disk appears around the avatar.
To move the disk,
hold down either the Shift or
Ctrl keys. and move the disk to
the required position.
A measurement is created and you can see the value.
If you want to edit
the circumference properties, while pressing down on Shift,
double-click with your mouse.
The Circumference Tape dialog appears.
For more information about the different options, see Circumference_Props.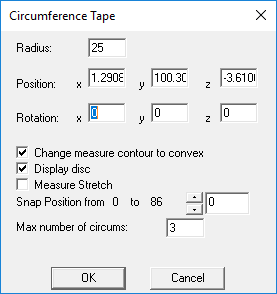
To delete a circumference, press Shift or Ctrl to select the disk, then press Delete on your keyboard.
To replace a measurement, go to the Tagged Properties tab and click on the measurement. Go to Morphs > Circumference and click on Waist.
Now select the new
measurement by pressing Ctrl and
then right click with your mouse: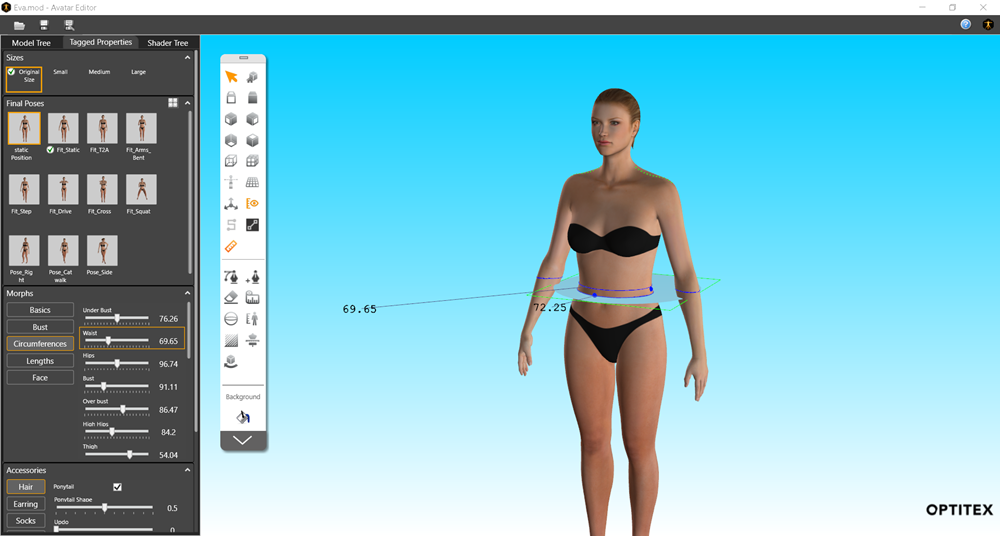
From the toolbar, click (Replace Measure).
The new measurement is replaced and the value is updated as well: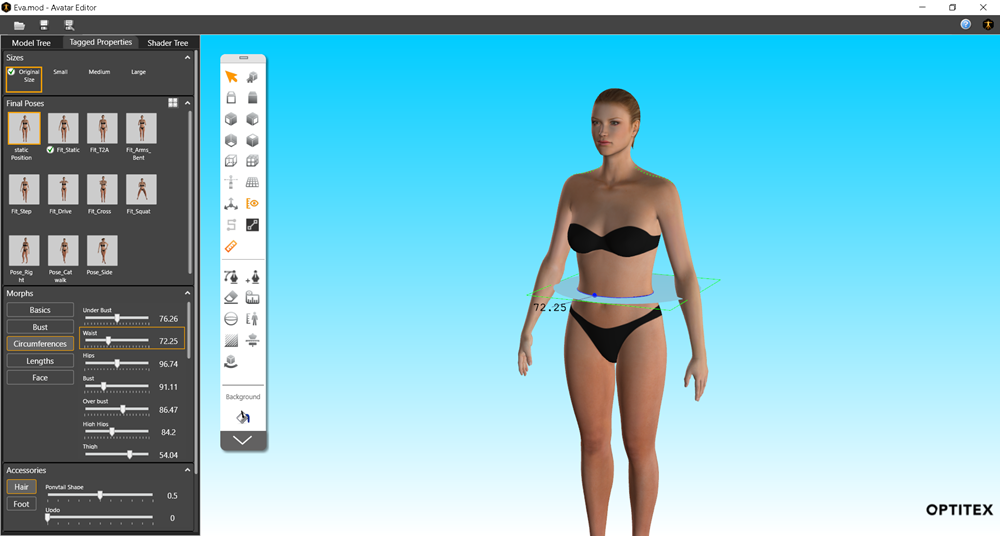
You may have to remove
the measure you added when using the Add
Circumference tool. To do this, select the line by pressing Ctrl and right click with your mouse,
then from the toolbar, click .
When you save your final avatar, all changes will be saved within the file.