Automatic Nesting For Color Shading in Markers
Automatic nesting (i.e. Nest++2) can be performed with the Autonesting To Separate Blocks command.
However, sometimes the nesting should be in unequal parts. For that, it is possible to define 'zones' in the marker on which the selected pieces will be nested.
-
Defining the zones is done with the Flaw Tool (
 ) and Clear All
Flaws (
) and Clear All
Flaws ( ).
). -
Nesting is done using the Autonest Selected Pieces (
 ).
).
To use Automatic Nesting For Color Shading in Markers:
-
Sort Piece By Piece Area
-
Place the biggest pieces on the Marker.
-
Place a flaw, where pieces should not be placed.
-
Select the pieces that should be nested.
-
Repeat operations 3-6, until all pieces were placed.

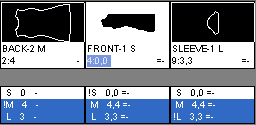
1. Piece Bar showing the pieces

2. Sort Pieces by their size
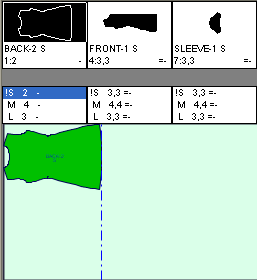
3. Place the biggest pieces on the marker, and move it to the top/ bottom according to the requirement
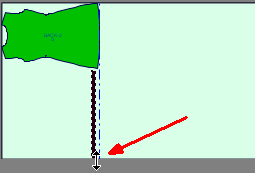
4. Place a flaw
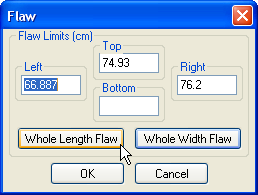
5. If needed adjust the flaw manually by changing the values. Click on 'Whole Length Flaw'
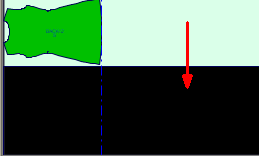
6. Flaw was placed on all the Marker's length
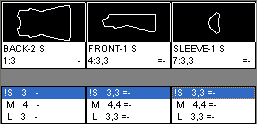
7. Select on the piece bar (while clicking the shift) all the pieces of size Small

8. Nest only the selected pieces
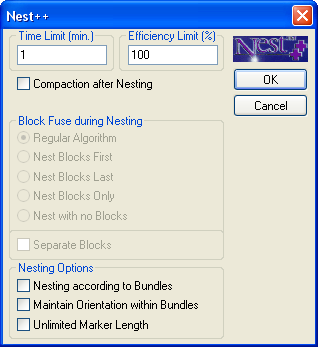
9. Set the nesting properties
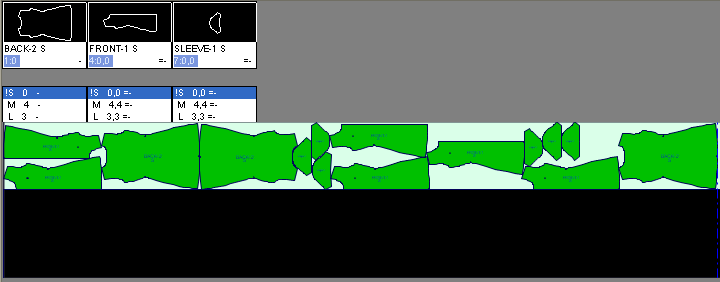
10. Size Small was placed in the designated 'zone'
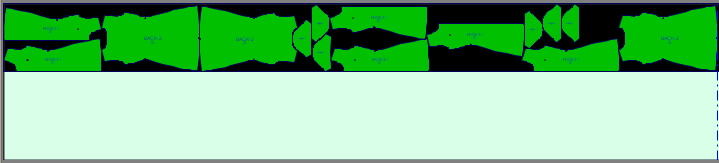
11. 2nd step - Place a flaw on top of the placed pieces
12. Select sizes Medium and Large, and Nest them

13. All pieces are placed according to the defined 'zones'