Mark Flaw On The Marker Tool
This option enables you to define a part of the marker table as a flaw area (a bad area of the cloth that needs to be ignored while nesting).
Icon & Location
-

-
Menu: Marker>Flaws>Mark Flaw on the Marker
-
Toolbar: Marker Tool
To use the Mark Flaw On The Marker tool:
-
From the main menu, go to Marker > Flaws > Mark Flaw on the Marker.
The mouse turns into a rectangle tool. -
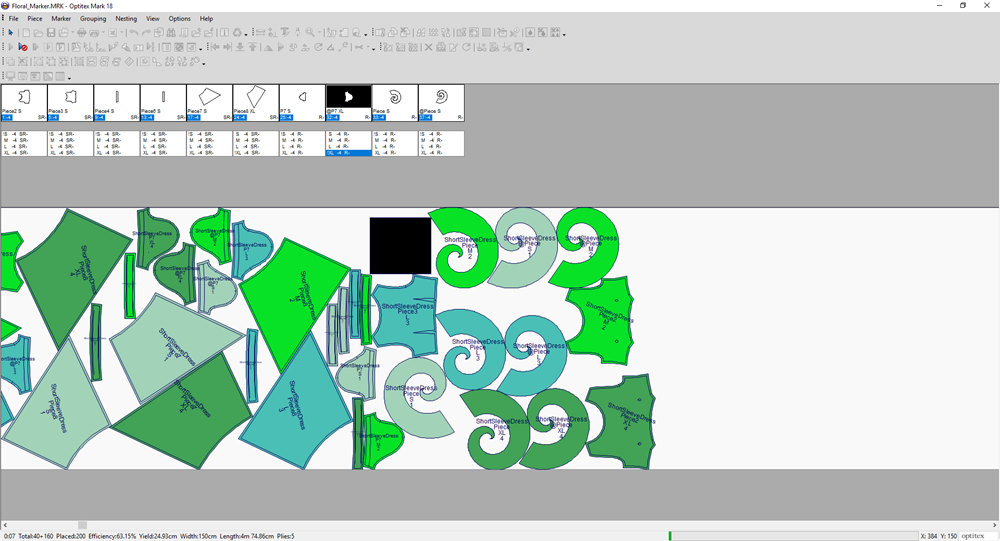
Draw a rectangle on the marker that defines the flaw area:
-
When you are done drawing the rectangle left click with your mouse and release.
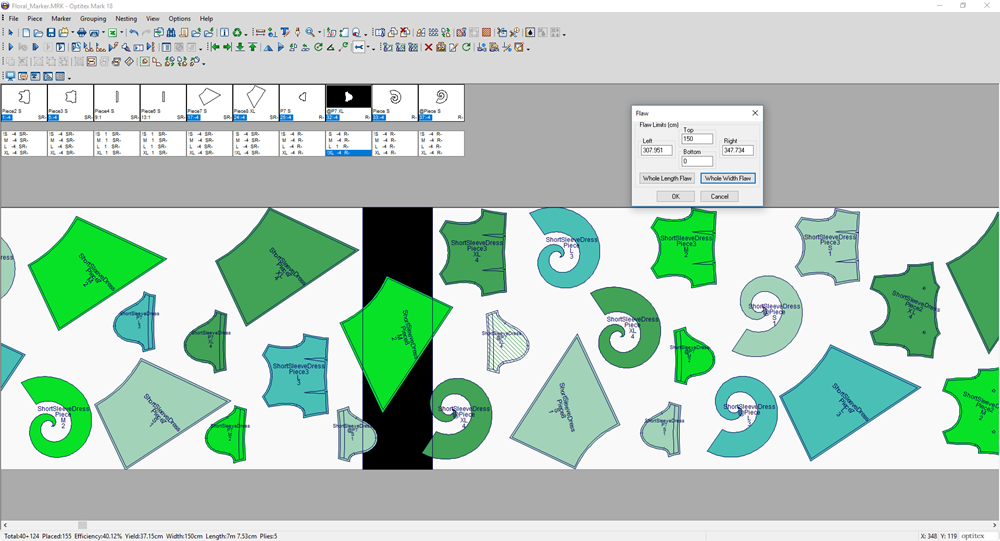
The Flaw dialog appears: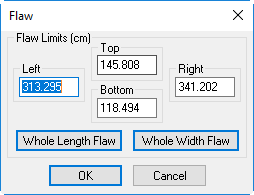
-
You can now manually define the flaw limit for Left/Right/Top/Bottom.
-
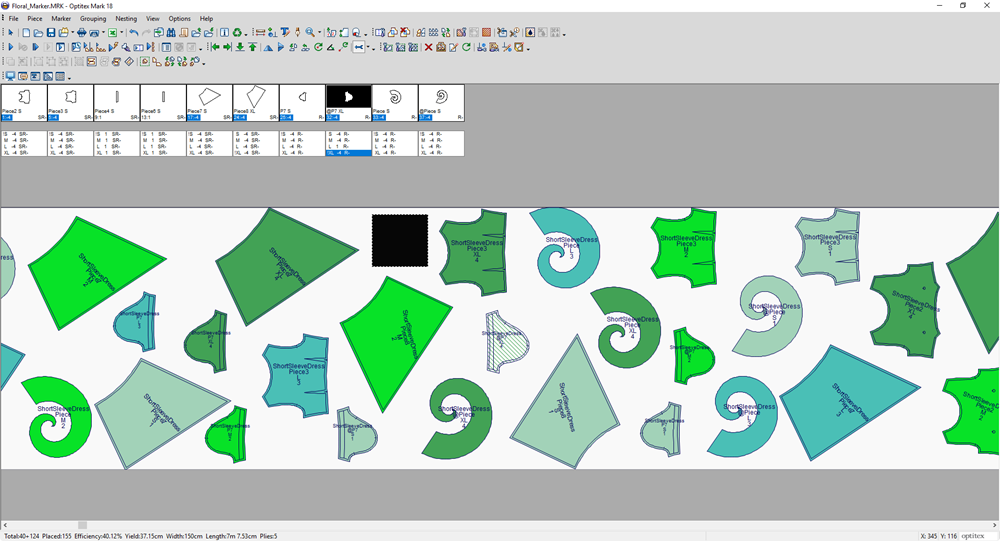
Click Whole Length Flaw, if you want the flaw to be on the entire length of the fabric.
-
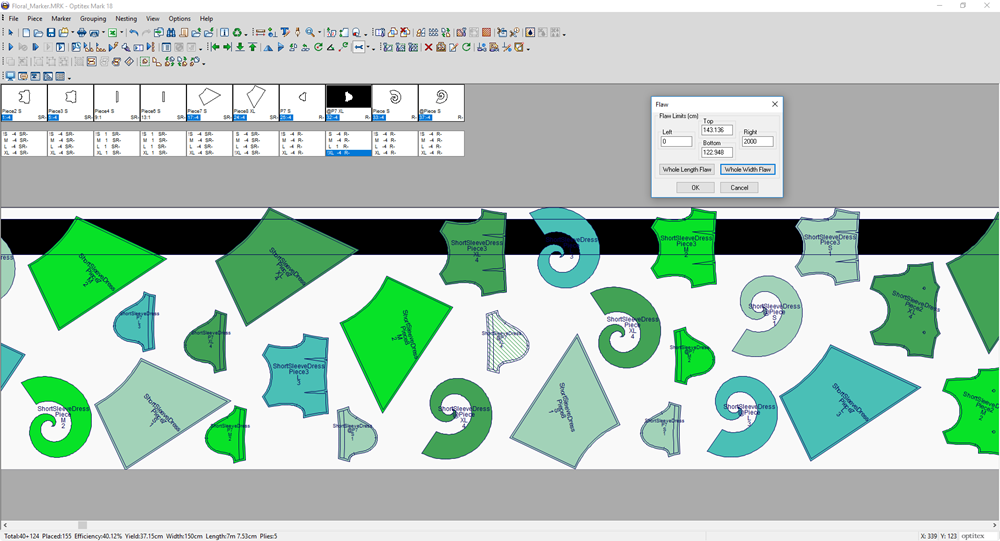
Click Whole Width Flaw, if you want the flaw to be on the entire width of the fabric:
-
Click Ok when you are done.
Now once you nest, the marked area will be ignored.