Importing Presets/Components into the Seam & Stitch Manager
You can use the import function when you want to import presets/components (stitches/accessories/trims) into the Seam & Stitch Manager.
There are three types of files that can be imported:
-
ZIP: This file contains presets (only those that were exported using the Export function)
-
PDS: These are trims that were created via the PDS. For more information about how to create your own trims, see Creating PDS Trims.
-
MOD: These are Stitches/Accessories that were created via another 3rd party software. For more information how to create Stitches/Accessories, see Creating MOD Stitches/Accessories.
Once you select a file, PDS automatically recognizes whether or not it is a preset or component and the dialog is updated accordingly.
![]() Note:
Importing Presets is a new feature available in version 15.6SP3 and later.
Note:
Importing Presets is a new feature available in version 15.6SP3 and later.
To import components into the Seam & Stitch Manager:
-
Open the Seam & Stitch Manager then click Import.
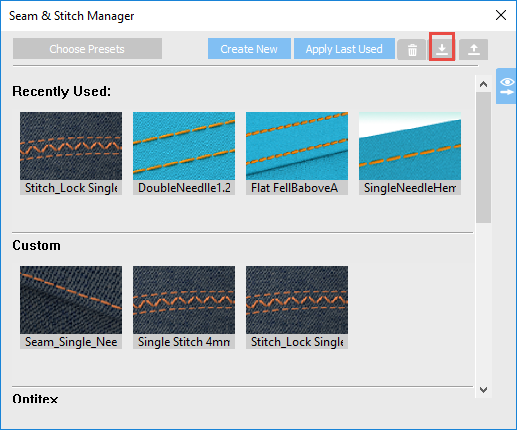
The Import dialog appears:
Click on one of the options below to see the process for the different import types:
Importing a preset
Importing a stitch/accessory component type
Importing a trim component type-
Click Browse and select the PDS file:
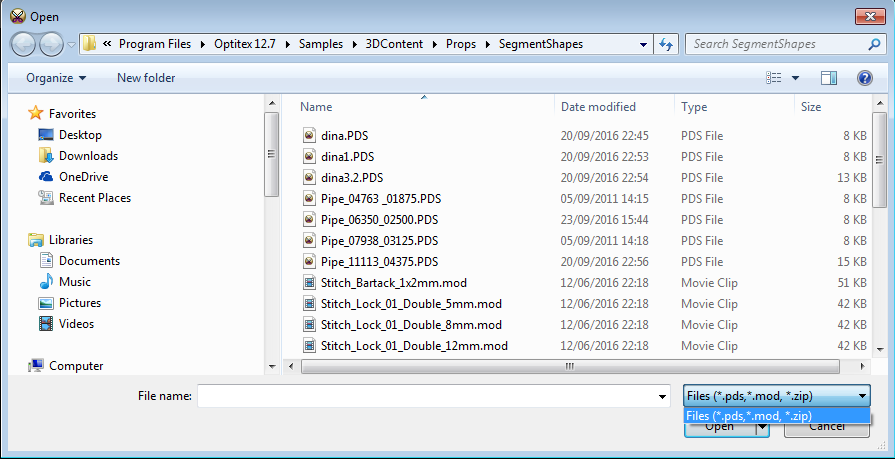
-
From the Select Type drop-down, select Trims:

-
From the Category drop-down list, select the type of category the component belongs to (all categories that exist in the library appear):

Or
If you want to define a new category, enter a name, then click Add: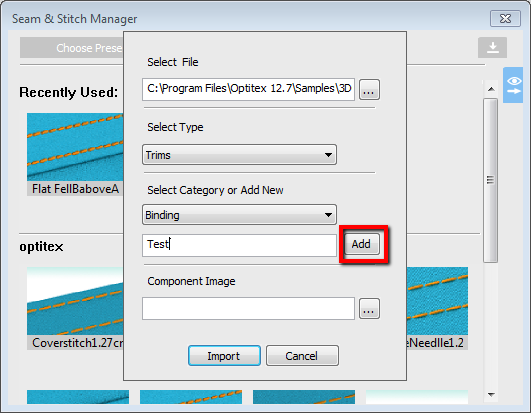
-
To add the image that appears as the component thumbnail, click Browse and select the image.
Click here to see thumbnail guidelines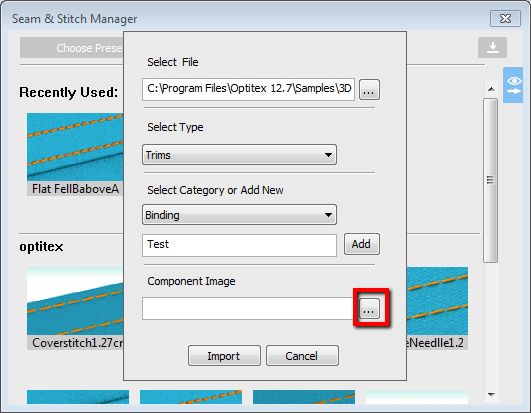
- Format: BMP
- Image Size: 102x68 pixels
- DPI: 72
-
When you are done, click Import:
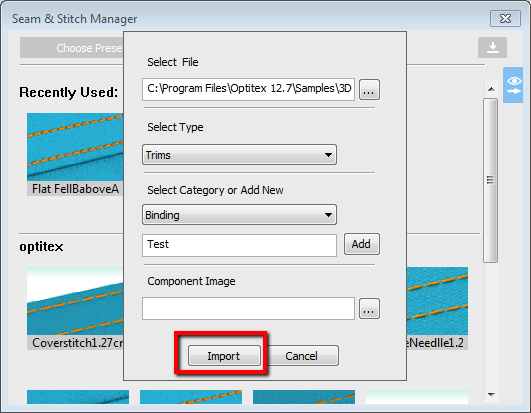
Once the component is imported, the new component will be added to the trims library.
-
Click Browse and select the MOD file.

-
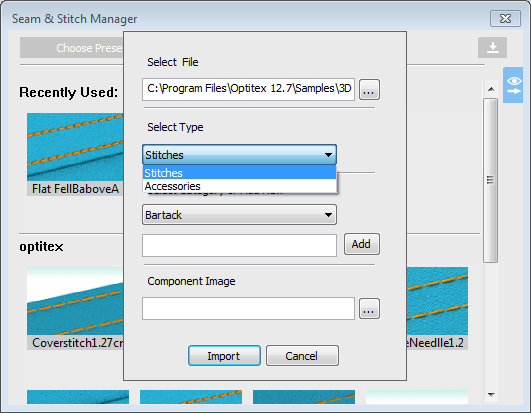
From the Select Type drop-down list, select Stitches or Accessories (depending on the type you are importing):
-
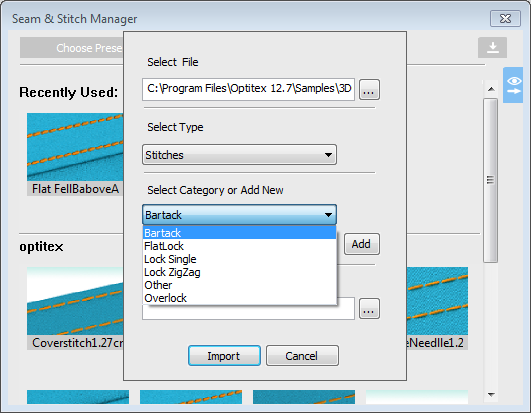
From the Category drop-down list, select the type of category the component belongs to (all categories that exist in the library appear):
Or
If you want to define a new category, enter a name, then click Add: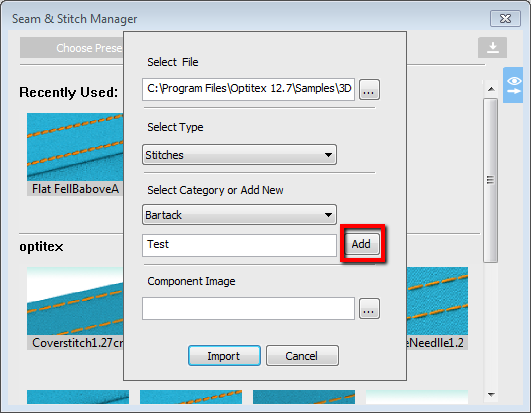
-
To add the image that appears as the component thumbnail, click Browse and select the image:
Click here to see thumbnail guidelines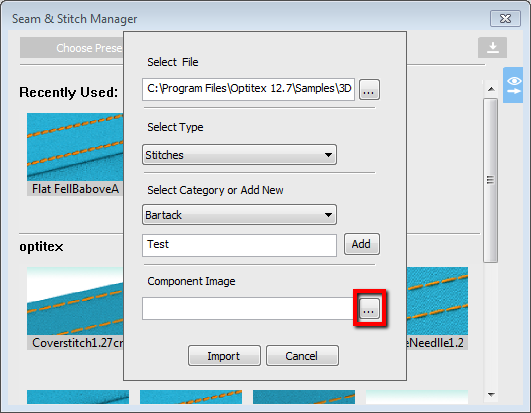
- Format: BMP
- Image Size: 102x68 pixels
- DPI: 72
-
When you are done, click Import:
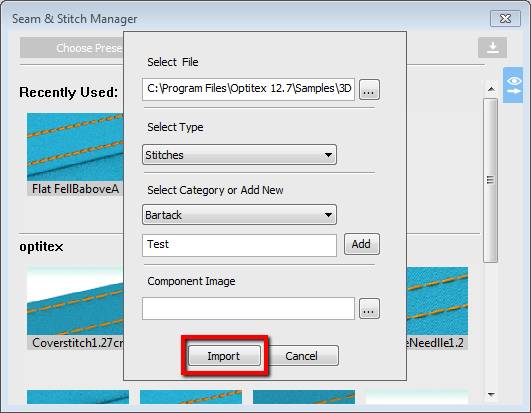
Once the component is imported, the new component will be added to the stitches/accessories library.
-
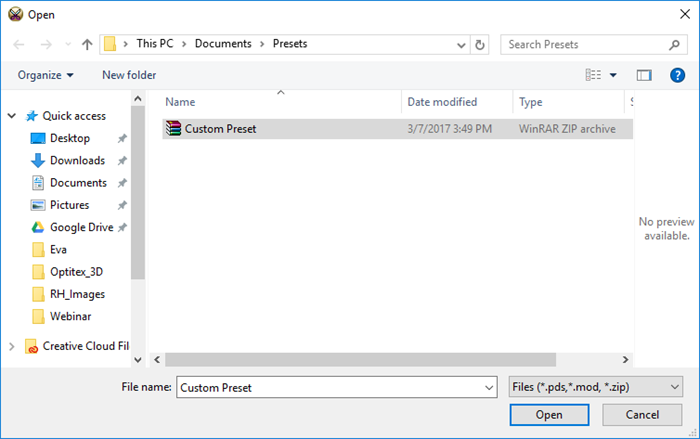
Click Browse and select the ZIP file.
-
Click Open.
Since this is a ZIP file, the system automatically recognizes this is a Preset. Notice the Select Type, Category and Component Image fields are disabled.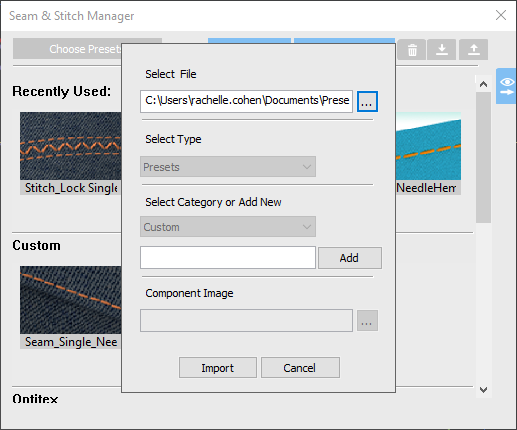
-
Click Import.
The preset is imported and appears under the Custom area as follows: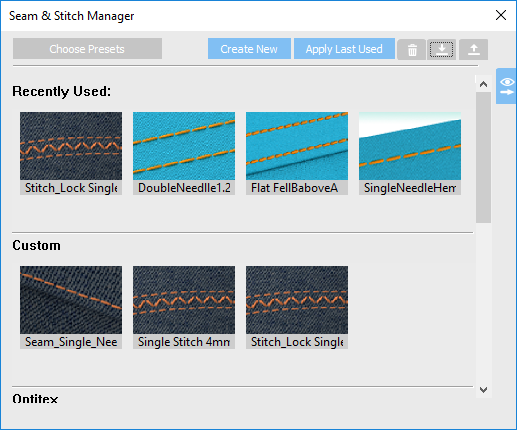
-