Importing Button Shapes
You can import a button shape that you created via another 3D software so that you can use it in your pattern in the PDS.
The following procedure describes how to import a button shape you created via Maya.
To import button shapes:
-
Create your customized button shape via any 3rd party software.
-
Open the PDS.
-
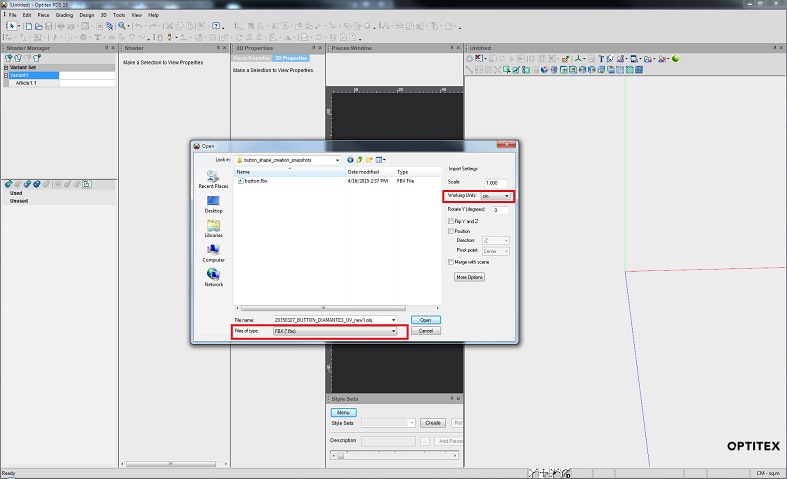
In the 3D window, from the 3D toolbar, click Open Model (
 ).
). -
From the File Type drop-down list, select FBX/OBJ, and make sure the Working Units are in centimeters (or if the FBX/OBJ file was saved in other units, you'll need to select those units), as follows:
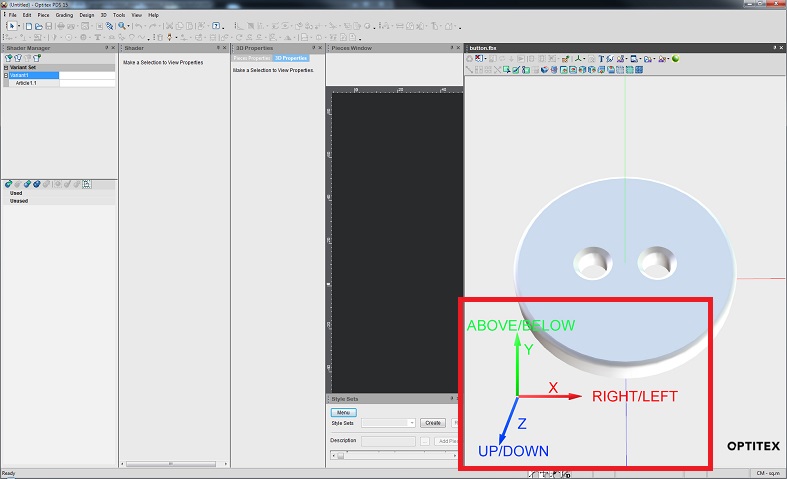
The model is loaded and the PDS axes are the same as in Maya as follows:
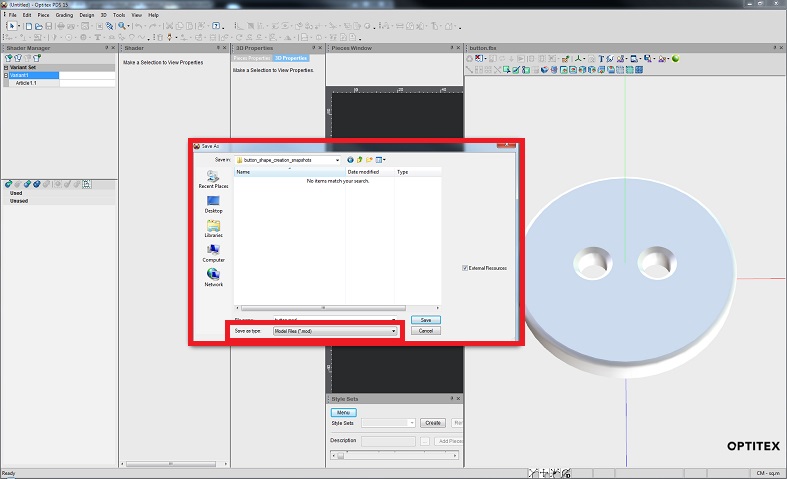
From the Open Model drop-down list, select Save Model and save as an MOD file to the directory that contains button shapes, as follows:
The following properties can be defined for button shapes:
|
Property |
Description |
|
Rotate |
Allows you to rotate the button shape on the surface. |
|
Symmetry |
Allows you to define if the rigid part requires symmetry. The following options are available: Both Sides: Implies that both sides are symmetric. Left Only: Implies that only the left side is symmetric. Right Only: Implies that only the right side is symmetric. Note: Symmetry only works with pairs or half pieces. |
|
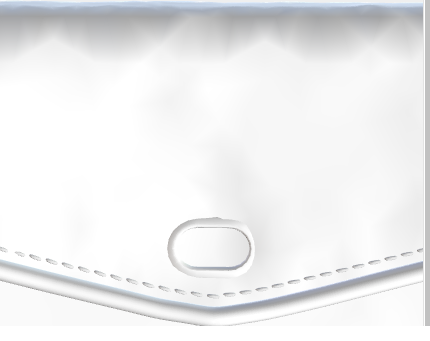
Offset |
Defines the distance between the 3D element and the cloth. Here is an example of button shape offset at 0 cm:
Here is an example of button shape offset at 1 cm:
|
|
|
|

Note: You can use the Transform tool in the 3D window to move the shape manually.
If you want to move the rigid part in the 3D window, you can use one of the Transform tools.
For example, to move the button shape, from the 3D Move tools, select 3D Move Piece.
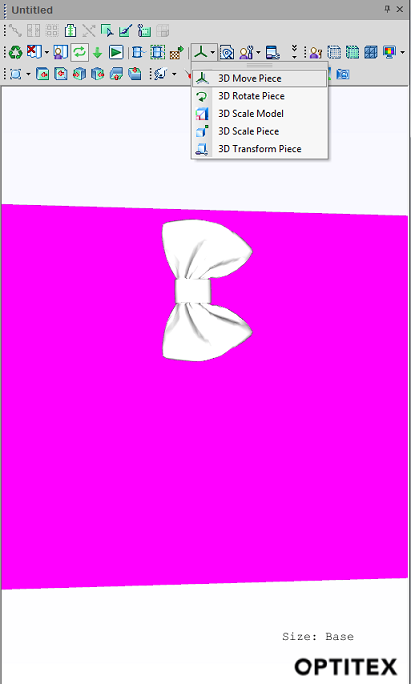
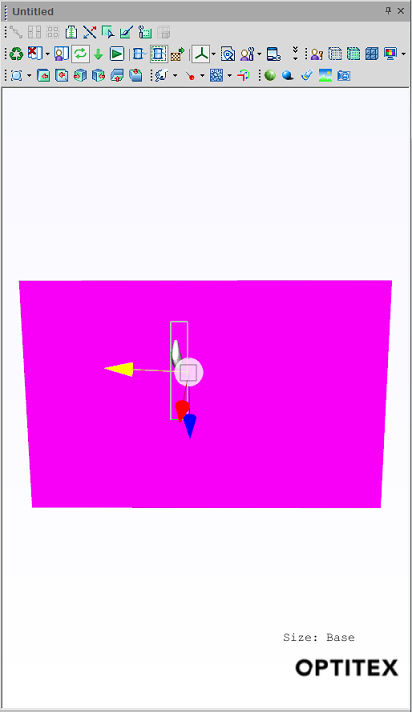
Press Ctrl and then left click with your mouse to select the button shape.
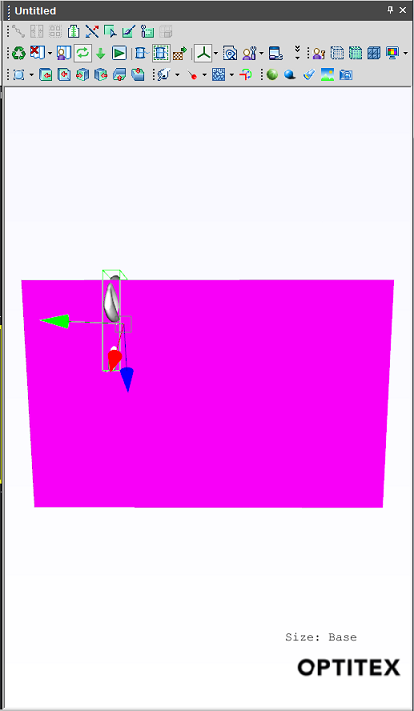
While standing on the arrows, use your mouse to move to the location you require.
Define a shader for your button via the Shader Manager. For more information see, Adding Textures to your Pattern.