Adding Textures to your Pattern
You can create and manage Shaders (Textures) via the Shader Manager. This allows you to control the texture, color, patterns, and other various attributes, so that you can create the most accurate sample of the cloth you require. The Shader Manager can be invoked in two ways, from the Shader dialog, or from the top menu View>3D Windows>Shader Manager. The shortcut is 9 on the keyboard.
When creating Shaders you can use any image that resembles cloth and then you can change that Shader’s pattern and color, and manage the look of the shader using Variants and Articles. For more information about how to edit shaders, see Editing Shaders.
The following file formats can be used for 3D textures:
-
JPG
-
PNG
-
TIF
-
BMP
To use the Shader Manager:
-
From the main menu, go to View > 3D Windows> Shader Manager:
The Shader Manager consists of two windows:
-
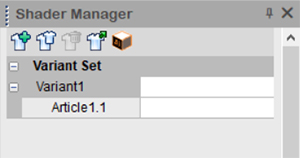
Variant Set: This part of the dialog is used to define different patterns and colors per Shader. This is done using Variants and Articles.
-
-
AVariantis used to define the different cloth for your piece. For example, leather, satin, etc.
-
AnArticleis used to define the color and/or texture. You can create a Variant and then modify it by creating Articles. For example, create a Variant for satin and then create two Articles, one for the color red and one for the color pink.
-
The following tools are available:

|
Icon |
Description |

|
Allows you to create a new Variant or Article. |

|
Allows you to create a copy of a Variant or Article. This can be helpful, for example when you want to create the same pattern with a different color. |

|
Allows you to delete an Article, Variant or Variant Set when you no longer need it. |

|
Allows you to export a Variant or Article so you can reuse it. Note: When exporting to FBX format if you notice that logos or images do not export correctly, make sure you do not use capital letters in the file extension. For example use .png not .PNG. |
-
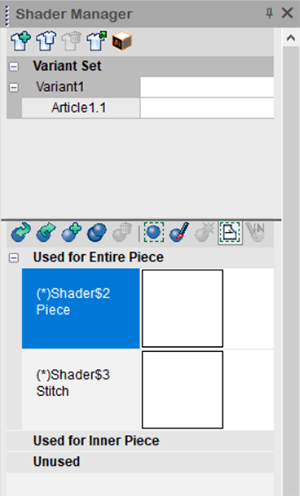
Shaders: This part of the dialog is used to define and manager the Shaders. It is divided into the following sections:
Note: Starting from version O/17 SP1, the Shader Manager has changed, and you can now assign a different shader to the inner piece and outer piece. The interface may look different to you if you are using an older version. -
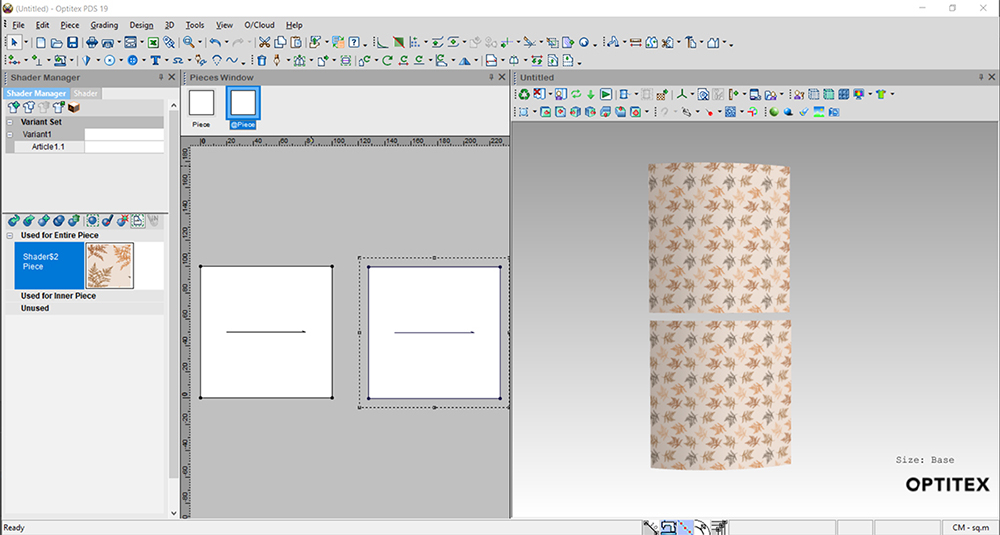
Used for Entire Piece: Contains all shaders that are assigned to the entire piece. This means, both the inner and outer piece display the same shader as follows:
-
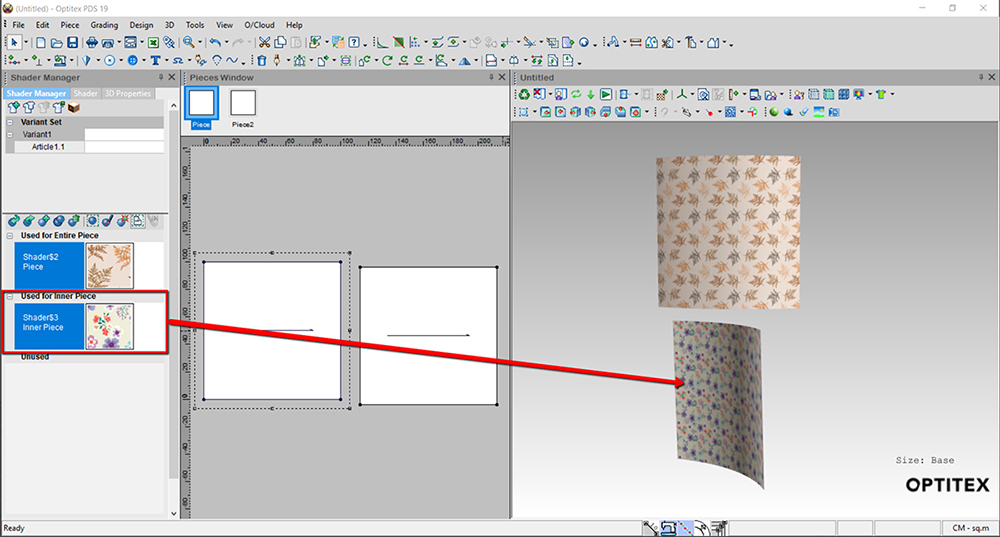
Used for Inner Piece: Contains all shaders that are assigned to the inner piece. This means the inner and outer piece contain different textures, logos, etc.
-
Unused: Contains all shaders that have not been assigned to an object.
-
Shaders: This part of the dialog is used to define and manage the Shaders. It is divided between Used and Unused Shaders.
-
-
Used: Contains all Shaders that are assigned to an object.
-
Unused: Contains all Shaders that have not been assigned to an object
-

Note: To keep the file size small, all unused Shaders are automatically removed after you close the file. If you want to keep an unused Shader, assign it to a temporary piece.
The following tools are available:

|
Icon |
Description |
|
|
Allows you to import already defined Shaders so that you can reuse them. |
|
|
Allows you to export defined Shaders so that you can import them later on for reuse. |
|
|
Allows you to create a new Shader that you can modify and assign to any objects. The new Shader will automatically be part of the unused Category. |
|
|
Allows you to create a copy of the selected Shader to further modify or to assign to another object. This can be useful when you need to assign the same Shader to different object types (like assigning a piece Shader to a stitch - which is normally not possible with a single Shader). |
|
|
Allows you to delete "unused" Shaders. This command will automatically assign a default Shader to the object to which the deleted Shader was previously assigned to. It is not advised to delete Shaders, as unused Shaders will automatically be purged when the file is closed. Note: You cannot delete multiple Shaders at once; you have to delete one at a time. |
|
|
If a Shader is assigned to a stitch or piece and the Select Assigned option is on, when clicking on the shader, the stitch or piece that is assigned to the Shader will appear in the 2D window (the stitch will be displayed) |
|
|
Allows you to assign the Shader to a stitch or piece. |
|
|
Allows you to "unassign" a Shader to a stitch or piece. |
|
|
If turned on, shows which Shader is assigned to which stitch/piece. |
|
|
Allows you to assign an "Unused" Shader to the inner piece (back mesh). This should be used when you want a different Shader for the inner and outer piece. By default the Shader appears on the entire piece, unless you define it differently. |


