Creating Mating Rules
You can create mating rules when you want to define a connection between a point or line on the avatar and a point or line on the cloth.
There are two types of mating rules:
Line to Line: Creates a connection between a mating line on the avatar and a line/ segment on the cloth. This type of rule is useful when you want the constraint close to the line, but you want the cloth to fall during simulation.
Point to Point: Creates a connection between a point on the avatar and a point on the cloth. This type of rule is useful when you want the connection fixed on the avatar, almost like a thumbtack, so that the cloth stays in place during simulation.
Once you are in Mating Rule mode, all stitches, potential mating lines, etc. appear in a color according to how you defined them in the 3D Preferences. For more information, see Mating_Colors.
All mating rules are managed in the Mating Rules Manager. For more information, see Managing Mating Rules.
If you want to create mating rules for different sizes, create the mating rules on the base size and make sure:
-
All the avatars use the same naming conventions, i.e., Shoulder 1, Shoulder 2.
-
The mating lines contain the exact same amount of points, for example if the mating line in the M sized avatar contains 15 points (that makes up the mating line) the S sized avatar must also contain 15 points, etc.
To create mating rules:
-
In the 3D Window, click
 (Load Model) and then select the avatar (MOD) with defined mating
lines.
(Load Model) and then select the avatar (MOD) with defined mating
lines.
![]()
-
Open the PDS file.
-
Click
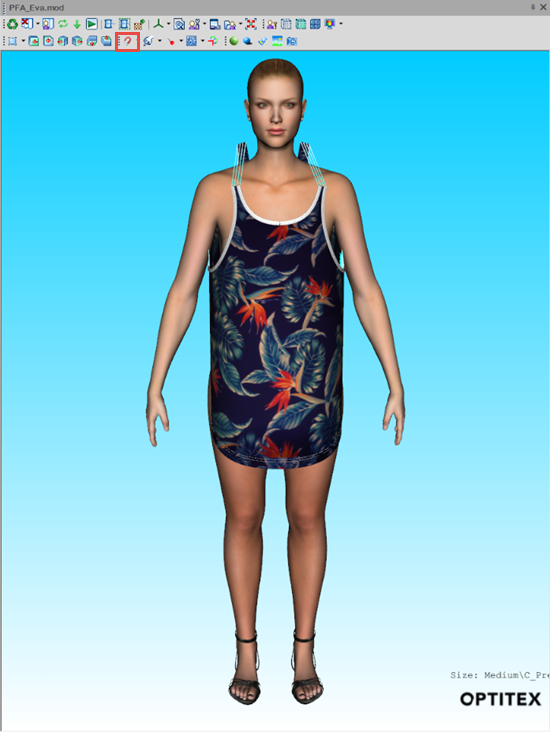
 (Place Cloth) to place the cloth on the avatar.
 -
Once you place the cloth, the Mating Rules options become enabled.
-
To create a rule, in the 3D Cloth Editing toolbar click
 (Create Mating
Rules).
(Create Mating
Rules).
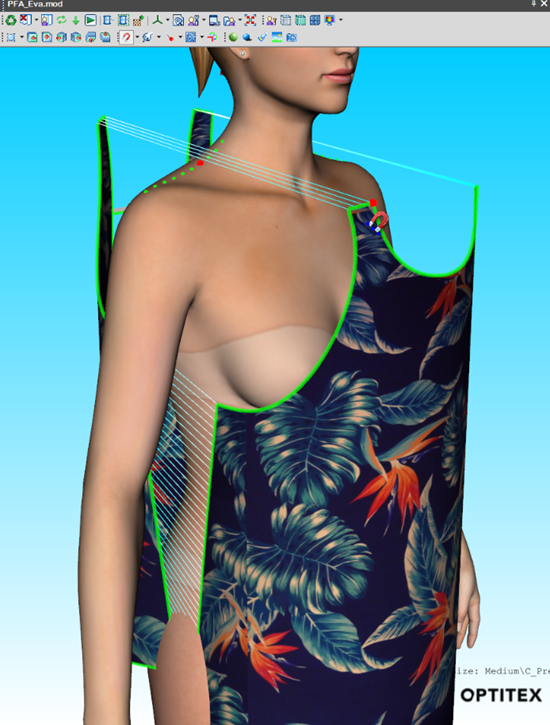
Once you have selected one of the Mating Rules tools, the cursor changes and all stitches are highlighted as follows:
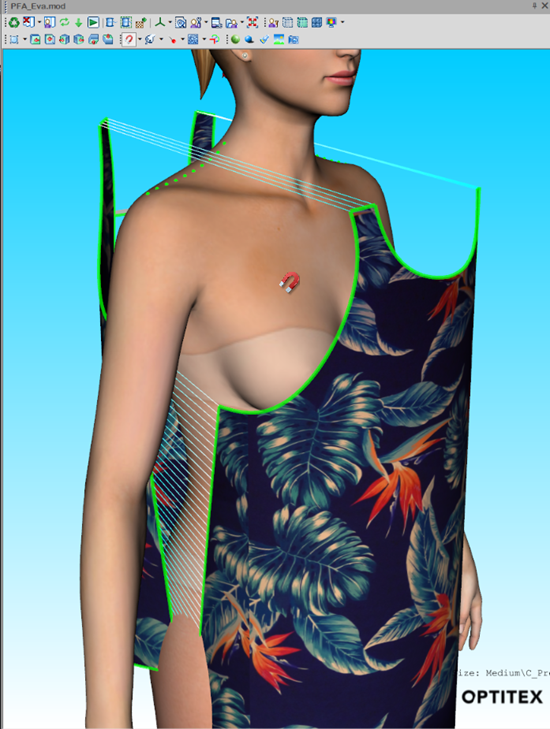
If you roll over a mating line on the avatar, the line appears as a dotted line as follows:
![]()
If you roll over a stitch with your cursor, potential mating lines appear as follows:
You have two ways to create the rule. You can either connect a line to a line, or a point to a point. The cursor changes in both cases.
Notes:
-
When you are selecting the line/point on the cloth it is recommended to select from the front of the cloth.
-
If you want to move the avatar without exiting the tool, press Ctrl+ right mouse button.
-
Press Esc to exit the tool.
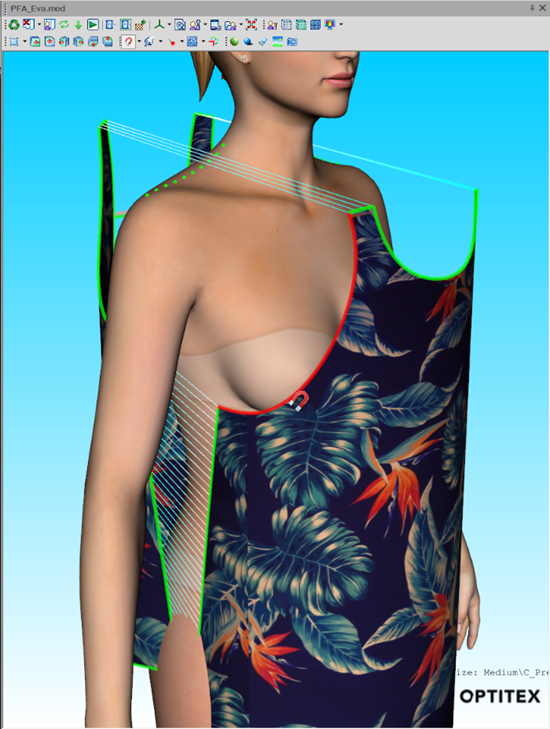
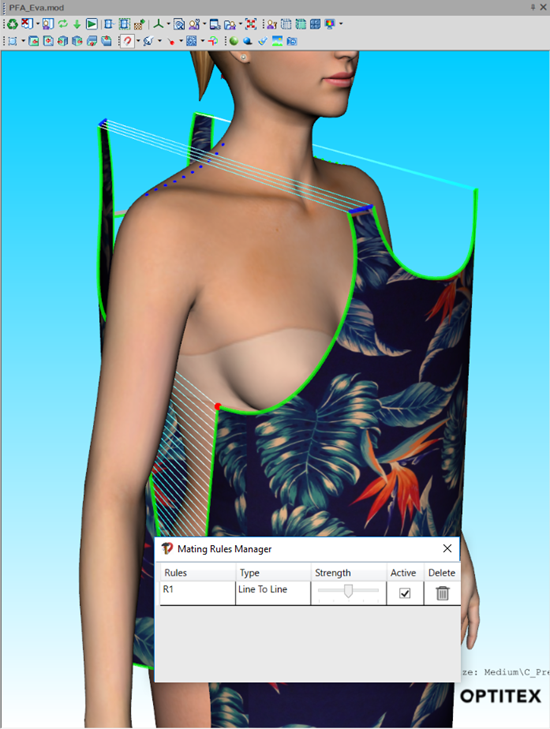
If you want to select line to line:
-
Roll your mouse over the mating line on the avatar and click (make sure you do not see an enlarged point, this indicates you are selecting a point):
![]()
-
Roll your mouse over the potential line on the cloth:
-
Click to create the connection.
The Mating Rules Manager appears with the new created rule:
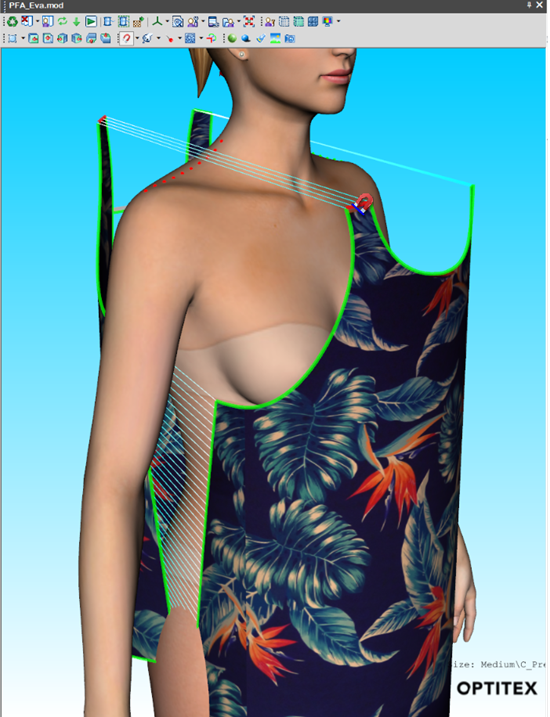
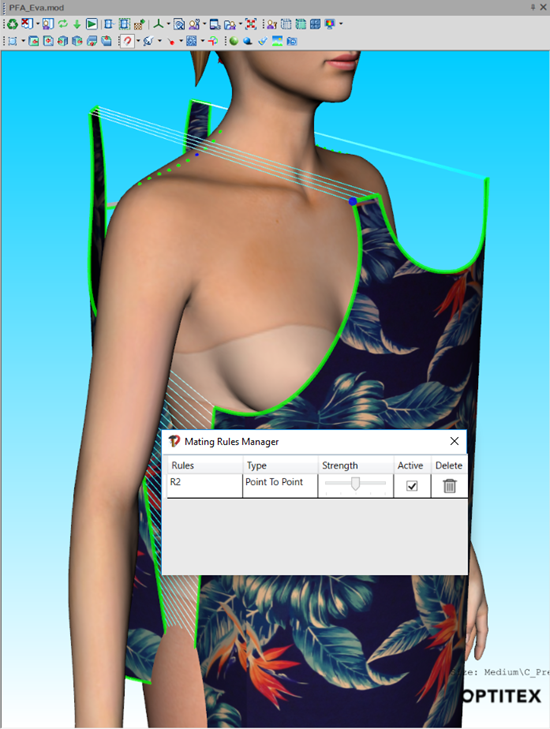
If you want to select point to point:
-
Roll your mouse over the mating point on the avatar and click. The point appears enlarged so you know you are selecting a point:
![]()
-
Roll your mouse over the potential point on the cloth:
-
Click to create the connection.
The Mating Rules Manager appears with the new created rule:
If you want to use an internal line as a potential mating line:
-
Create the internal.
-
In the Internal Contour Properties dialog, expand 3D Attributes then select the Mating Line checkbox:
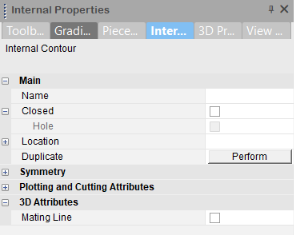
-
In the 3D Window, click
 (Update 2D to 3D) to see the internal line.
Notice the internal appears in Green as well, indicating it can be selected.
Line.png)
When you save your PDS file, the mating rules will be saved inside the file.