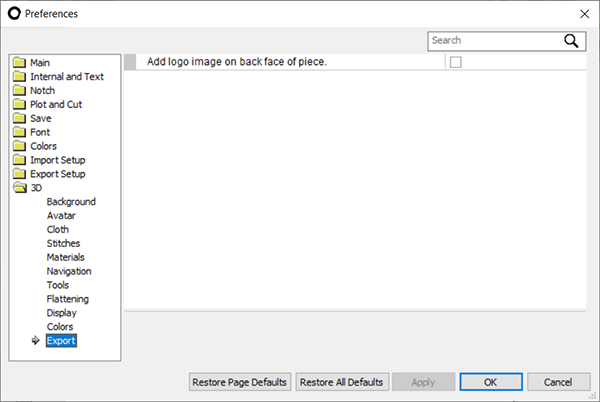
Navigating the 3D Preferences Dialog
The 3D Preferences dialog allows you to customize the look and feel of the 3D window, avatar, cloth, etc.
To navigate the 3D Preferences dialog:
Open PDS.
From the main menu, go to Tools > Preferences.
Expand
3D.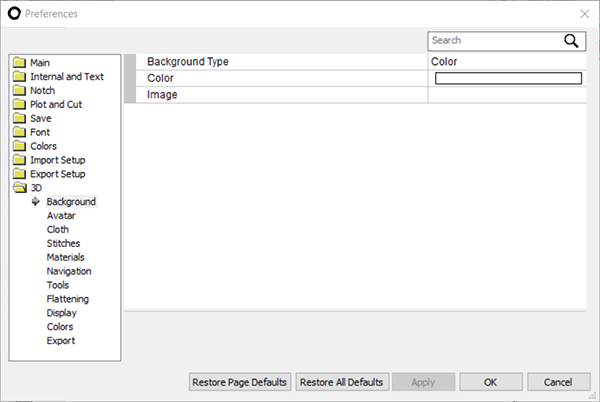
Click a category to view more information.
-
Background Type: Select the 3D window background type: uniform color, gradient color or image.
Note:You can only choose one type at a time.
-
Color: Select the color of the 3D window.
-
Image: If you are using an image as the background, select the image.
Note:If no image is selected, the background image type displays the selected color by default.
![]()
-
Load last avatar: Select this checkbox, if you want the last avatar that was loaded to display when PDS opens.
-
Use default model: Select this checkbox, if you want the default model to be loaded each time the PDS opens.
-
Default model path: Displays the path to the default model. Click to browse to a different location.
-
Model morphing according to PDS: Select this checkbox, if you want to use the model properties, measurements and pose as saved in the PDS file.
This option will keep the connection between the cloth you simulate and the avatar used during the simulation. -
It is valid when opening a PDS file that was saved with simulation data, providing Model Morphing according to PDS is selected.
-
If the checkbox is selected, when you open a PDS file, PDS will try to locate the correct avatar for this specific cloth. If the avatar cannot be found you are asked you to locate it. if found, the correct avatar we will load and you will get the saved simulation and pose.
-
If the checkbox is not selected, when you open a file, the saved avatar will not load and you will not be asked to locate it. So, if you have a different avatar loaded, or no avatar at all, the file will be opened and cloth will be simulated in these conditions.
-
Select material for avatar rendering: Select the material from the drop-down list that will be used for the avatar in Photorealistic rendering.
-
Realistic - Realistic human skin and hair appearance.
-
Regular - White plastic-like material, usually used for Alvanon avatars.
-
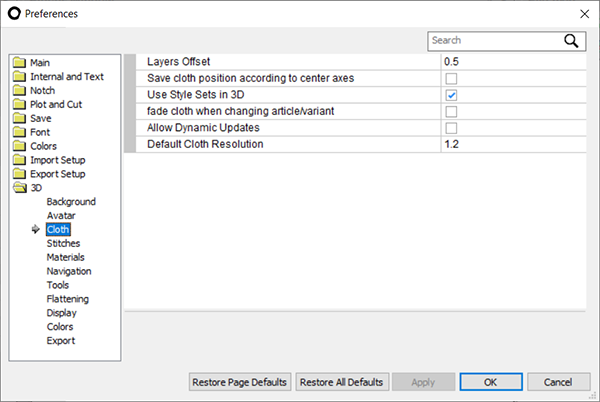
Layers Offset: Sets the default offset between layered pieces.
-
Save cloth position according to center axes: Select this checkbox, if you want the cloth to be saved in relation to the center axis so it will not follow the collision objects and models.
-
Use style sets in 3D: Select this checkbox, if you want to apply 3D actions only to pieces from the current style set.
-
Fade cloth when changing article/variant: Select this checkbox if you want the cloth to fade when changing the article or variant.
-
Allow Dynamic Updates: Select this checkbox, if you want the 3D model to automatically update each time a change is made in 2D. By default, this checkbox is turned on.
-
Default Cloth Resolution:Allows you to set the default resolution for your cloth. The default is 1.2 cm. This allows you to increase or decrease the simulation speed according to a higher or lower resolution.
-
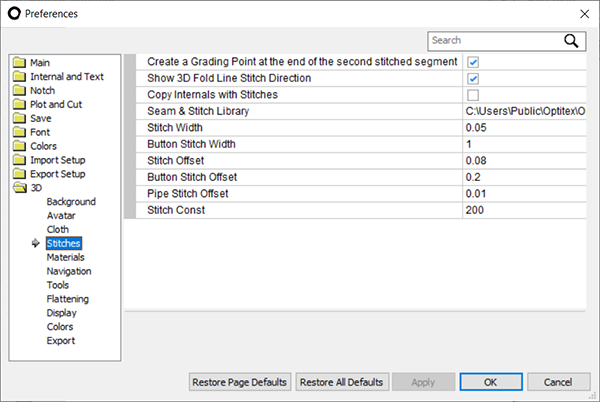
Create a grading point at the end of the second stitched segment: Select this checkbox, if you want to create a grading point at the end of the stitch.
-
Show 3D fold line stitch direction: Select this checkbox, if you want to show the folding direction arrows for 3D fold lines.
-
Copy internals with stitches: Select this checkbox, if you want to copy the internals when creating stitches.
-
Button Shapes Directory: Displays the location of the Button Shape directory. Click Load Now, to update your list from the directory.
-
Seam and Stitch Library: Displays the location where all Presets are saved created via the Seam & Stitch Manager.
-
Stitch Width: Sets the default width for stitches.
-
Button Stitch Width: Sets the default width for button stitches.
-
Stitch Offset: Sets the default distance of the visual stitch above the surface.
-
Button Stitch Offset: Sets the default stitch of the button shape above the surface.
-
Stitch Const: Sets the default stitch stretch resistance constraint for new stitches. This value is set as a Stitch Constant value in the 3D Stitch Properties panel for each newly created stitch.

-
Color Palettes Directory: Displays the location of the color palette directory. You can use this to store and search for Photoshop Color Swatch Files (.aco).
-
Texture Palettes Directory: Displays the location of the texture palette directory. You can use this to store and search for texture images.
-
Default Material Color Piece: Displays the default material color of 3D pieces.
-
Default Material Color Stitch: Displays the default material color of the stitches.
-
Default Material Color Button: Displays the default material color of buttons.
-
Use the fabric appearance setting from the Fabric Editor: Select this checkbox, if you want each fabric to update according to how it is defined in the Fabric Editor.
-
Use Resample Filter: Select this checkbox, if you want to use the Resample Filter. The Resampling Filter maintains the hard edges of the image without the blurring effect. Resampling an image often improves its quality, especially when enlarging/reducing it. Enlarging/Reducing without resampling can result in a blurry image.
-
Use working unit for scaling logos: Allows you to select the working unit (cm, in, etc.) when scaling logos.
-
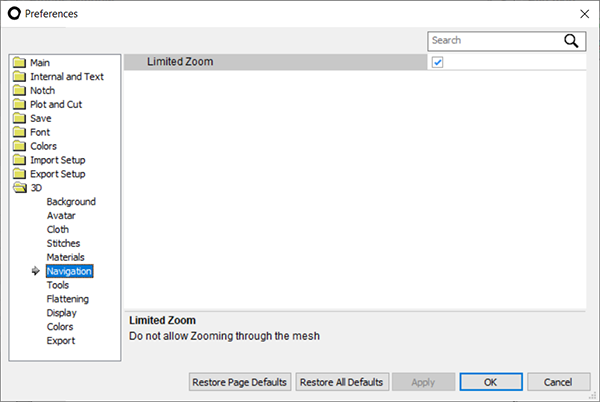
Limited Zoom: Select this checkbox, if you do want to allow zooming through the mesh.
-
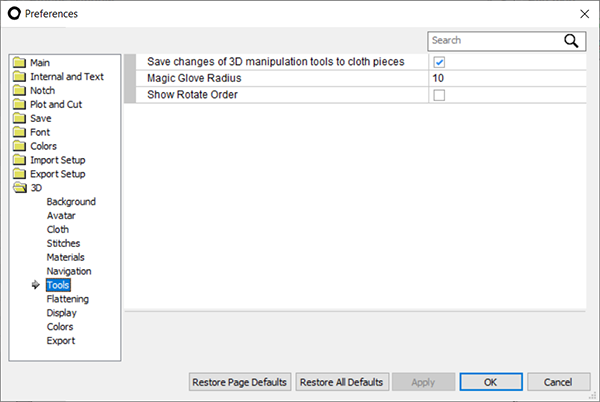
Save changes of 3D manipulation tools: Select this checkbox, if you want to save changes that are made to the cloth pieces by 3D Move, 3D rotate and 3D Scale tools. To cancel the changes, click the Synchronize button in the 3D Properties dialog.
-
Magic Glove Radius: Sets the radius of the region that is influence by the Magic Glove tool.
-
Show Rotate Order: Select this checkbox, if you want to rotate 3D pieces in a specific order (x,y,z).
-
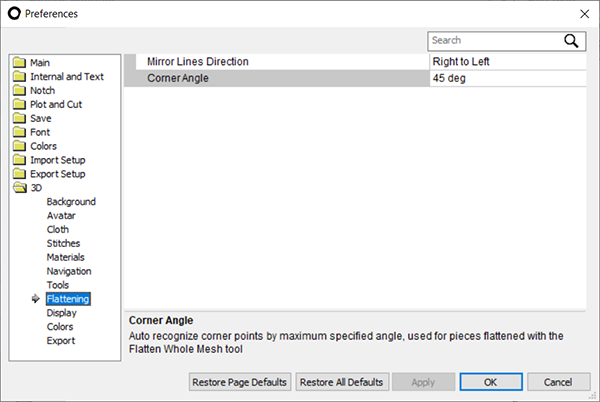
Mirror Lines Direction: Sets the direction of how Mirror Lines copy flattening lines.
-
Corner Angle: Sets the corner points by a maximum specified angle. This is used for pieces that are flattened with the Flatten Whole Mesh tool.
-
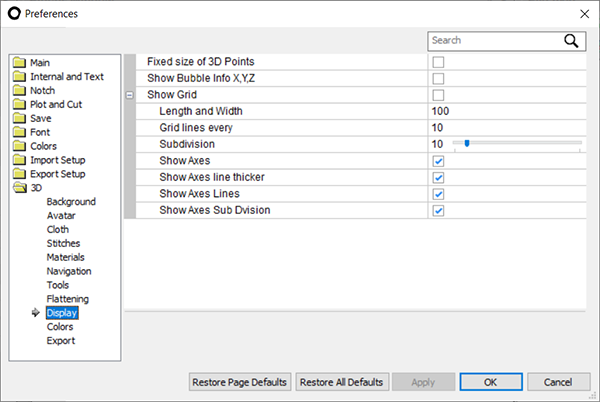
Fixed size of 3D points: Select this checkbox, if you want the 3D points to remain the same size when zooming in and out.
-
Show Bubble Info X, Y, Z: Select this checkbox, if you want the XYZ information to be displayed in the bubble info window.
-
Show Grid: Select this checkbox, if you want the grid to be displayed in the 3D window.
-
Length and Width: Sets the length and width of the grid.
-
Grid lines every: Sets the number of grid lines.
-
Subdivision: Sets the subdivision of the grid.
-
Show Axes: Select this checkbox, if you want the axes to be displayed in the grid.
-
Show Axes line Thicker: Select this checkbox, if you want the axes to be displayed with a line thicker.
-
Show Axes Lines: Select this checkbox, if you want to display the axes lines in the 3D window.
-
Show Axes Sub Division:Select this checkbox, if you want to display the subdivision of the axes in the 3D window.
-
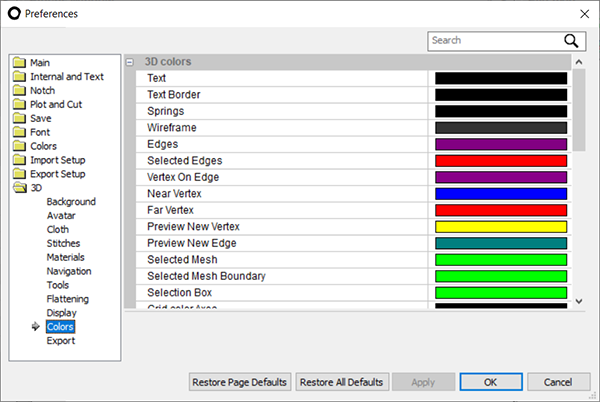
3D Colors
-
-
Text: From the drop-down list, select the color for the text that is used in the text box.

-
Text Border: From the drop-down list, select the color for the border of the text.
-
Springs: From the drop-down list, select the color for the cloth Wirefarame display (when in Spring mode).
-
Wireframe: From the drop-down list, select the color for the cloth Wirefarame display (when in Wireframe mode).
-
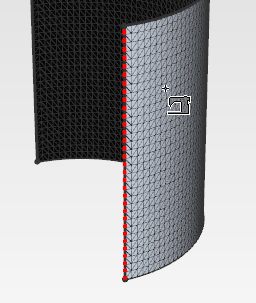
Edges: From the drop-down list, select the color for the edges of 3D surfaces. This is used when importing IGES models.
-
Selected Edges: From the drop-down list, select the color of the edges when selecting them.
-
Vertex on Edge: From the drop-down list, select the color of vertices. This is used when importing IGES models.
-
Near Vertex: From the drop-down list, select the color of the near vertex.
-
Far Vertex: From the drop-down list, select the color of the far vertex.
-
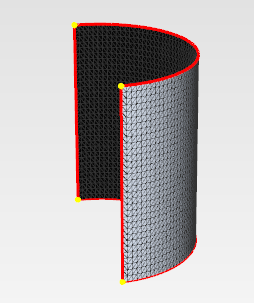
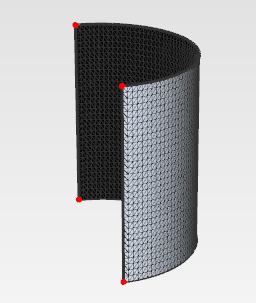
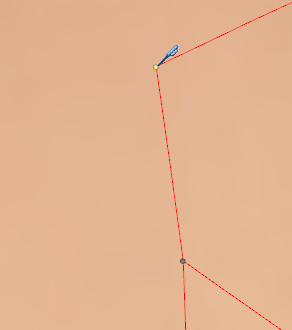
Preview New Vertex: From the drop-down list, select the color when previewing a new vertex.
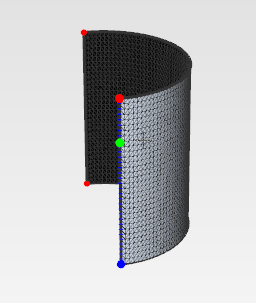
Red = Near Vertex, Blue= Far Vertex, Green= Preview New Vertex. -
Preview New Edge: From the drop-down list, select the color when previewing a new edge.
-
Selected Mesh: From the drop-down list, select the color of selected mesh.
-
Selected Mesh Boundary: From the drop-down list, select the color of the mesh's boundary lines when highlighting.
-
Selection Box: From the drop-down list, select the color of the bounding box that is shown around the selected mesh.
-
Grid color Axes: From the drop-down list, select the color of the Axes.
-
Grid Color lines: From the drop-down list, select the color of the grid lines.
-
Grid Color subdivisions: From the drop-down list, select the color of the subdivisions.

Red= Color of Axes,Black= Color of line, Green= Color of Subdivision.
-
-
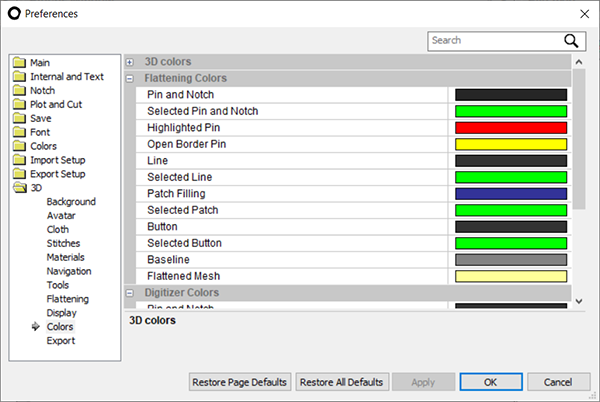
Flattening Colors
-
-
Pin and Notch: From the drop-down list, select the color of the pins and notches.
-
Selected Pin and Notch: From the drop-down list, select the color of a selected pin and notch.
-
Highlighted Pin: From the drop-down list, select the color of a highlighted pin.
-
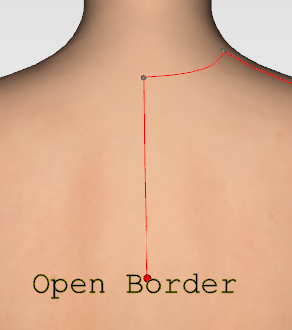
Open Border Pin: From the drop-down list, select the color of a pin when the "Open Border" message appears.
-
Line: From the drop-down list, select the color of the line.
-
Selected Line: From the drop-down list, select the color of a selected line.
-
Patch Filling: From the drop-down list, select the color of filled patches.
-
Selected Patch: From the drop-down list, select the color of selected patches.
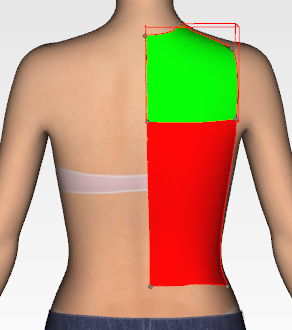
Red = Patch filled in, Green = Selected Patch. -
Button: From the drop-down list, select the color of buttons.
-
Selected Button: From the drop-down list, select the color of selected buttons.
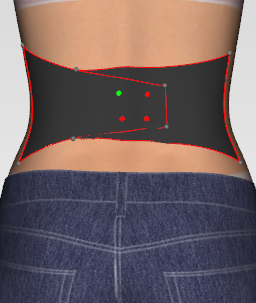
Red = Button, Green= Selected Button -
Baseline: From the drop-down list, select the color of the baseline.

-
Flattening Mesh: From the drop-down list, select the color of flattened mesh.
-
-
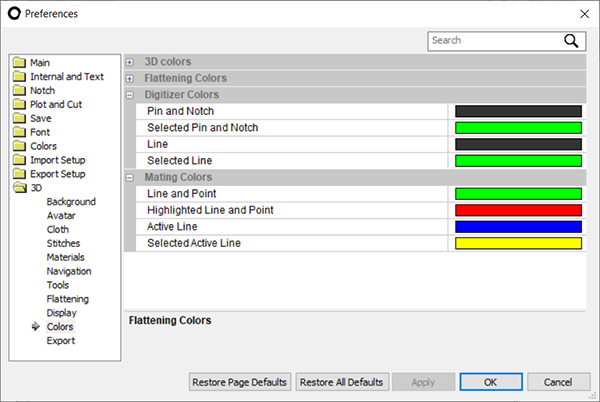
Digitizer Colors
-
-
Pin and Notch: From the drop-down list, select the color of pins and notches when using the Digitizer.
-
Selected Pin and Notch: From the drop-down list, select the color of a selected pin/notch when using the Digitizer.
-
Active Line: From the drop-down list, select the color all active mating lines (meaning they.
-
Selected Active Line: From the drop-down list, select the color of a.
-
-
-
Line and Point: From the drop-down list, select the color that is used to indicate potential mating lines and points.
-
Highlighted Line and Point: From the drop-down list, select the color that is used for selecting mating lines and points. When you roll your mouse over the line/point it appears.
-
Active Line: From the drop-down list, select the color of lines that have defined mating rules that are active.
-
Selected Line: From the drop-down list, select the color of a selected active line (that has defined mating rules that are active and has been selected).
-
-
Add logo Image on back face of piece - Select this checkbox if you want the same logo of the front piece to appear on the back piece when exporting from FBX format.