Managing Mating Rules
You can manage all mating rules in the Mating Rules Manager. Here you can view all active rules, edit a rule, delete a rule, etc. The Mating Rules Manager is a floating window that can be moved and can remain open while you are working.
To manage mating rules:
-
In the 3D Window, click
 (Load Model) and then select the avatar (MOD) with defined mating
lines.
![]()
-
Open the PDS file.
-
Click
 (Place Cloth) to place the cloth on the avatar.
Once you place the cloth, the Mating Rules options become enabled.
-
In the 3D Cloth Editing toolbar, click
 (Mating Rules Manager).
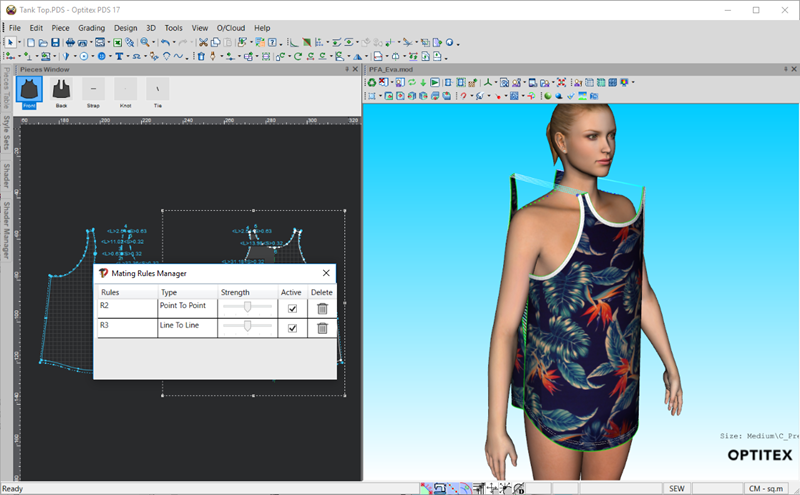
The Mating Rules Manager window appears and all rules that have already been defined are highlighted in the pattern.

-
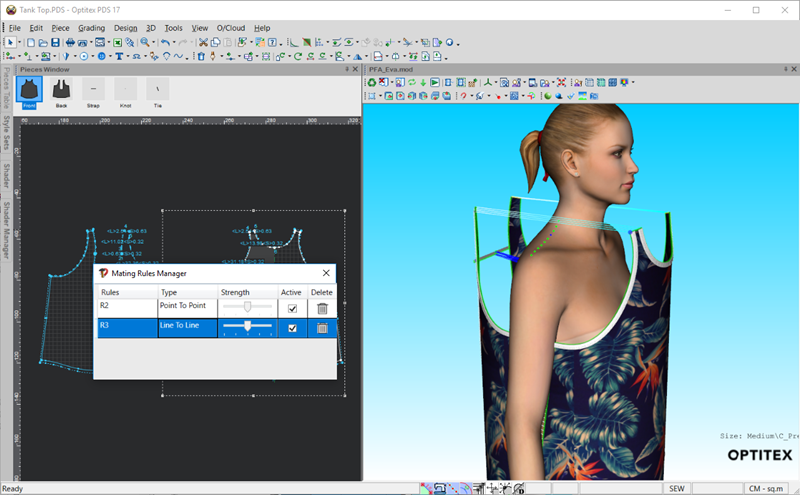
To edit a mating rule, select the line of the rule you are editing:
Notice the defined connection is highlighted in the pattern (each time you move to another rule, the selected rule appears)

-
To edit the name of the rule, double-click on the Rules column.
-
Enter the required name, for example, Shoulder 2.
-
The Type appears as it was defined (Line to Line or Point to Point). This field is read only.
-
To change the strength, the force that is used for the mating rule during simulation, in the Strength column use the scroll bar to either increase or decrease the strength.
Note: The default strength is in the middle. It is recommended to keep the strength in the middle as a higher strength can cause issues during simulation.
-
By default, the mating rule is active once it is created. If you want to deactivate a rule, for example if you do not want the rule to be applied during simulation but you do not want to delete it, un-select the Active checkbox.
-
If you no longer need the rule, click Delete and it is removed completely.
When you save your PDS file, the mating rules will be saved inside the file.