Applying Presets Via the 3D Properties Dialog
You can apply presets to your stitches without having to open the Seam & Stitch Manager. This allows you to select a preset (either custom or Optitex) via the 3D Properties (Stitch) dialog and apply it directly to your stitches.
 Note: This feature is available in version 15.6SP3 and later.
To apply presets using the 3D Properties Dialog:
-
While in stitch mode (either during stitching or after turning on Show Stitch mode), open the 3D Properties dialog.

-
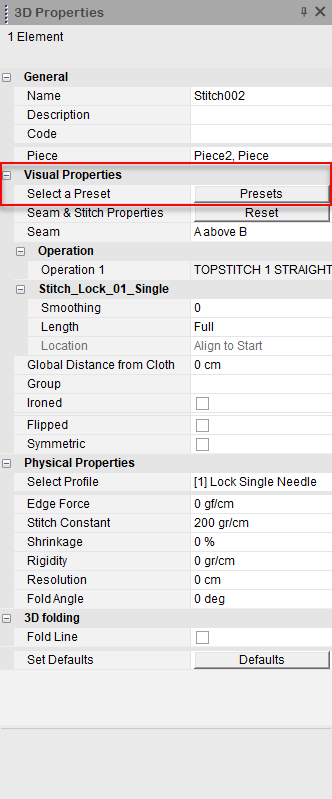
In the Visual Properties area, click Presets.
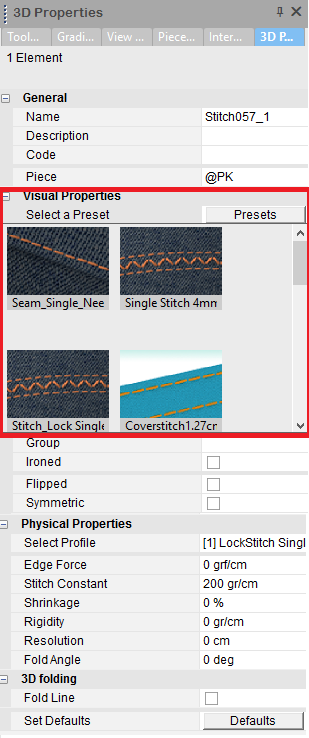
All customized presets and/or Optitex presets are displayed:
-
Select a preset.
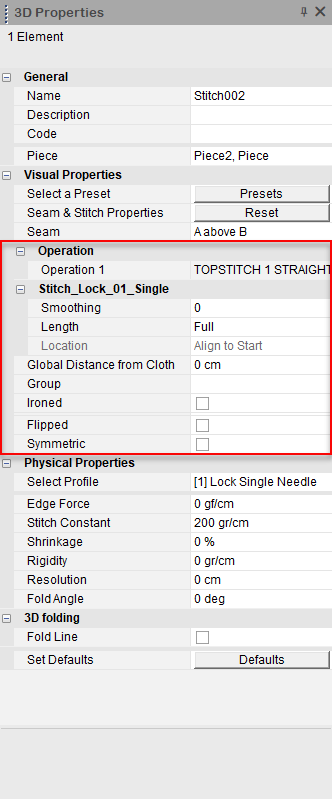
The preset is automatically applied to the stitch.
For example, in the example below, the Seam_Single_Needle preset was selected. You can see it was applied as an element as follows:
Starting from version O/17 SP1, once you apply a preset to the stitch, the stitch name appears as the preset name in the Stitches dialog.
Stitch without preset
Stitch with preset
 See also: