Create Dart
You can use the Create Dart tool, when you want to add a dart along the contour. If editing is needed, it is best to perform the edits via the Close Dart and Edit Dart tools.
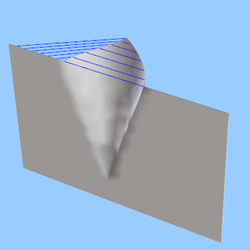
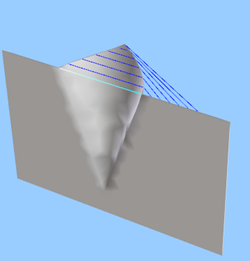
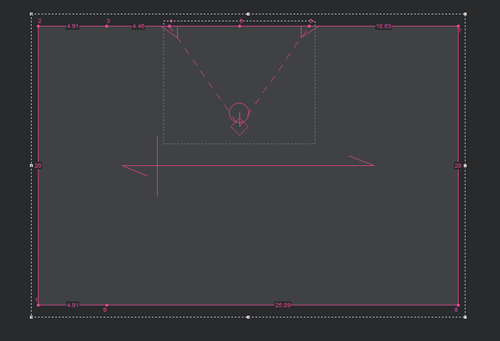
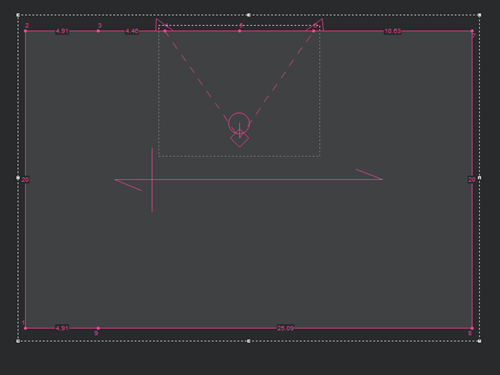
The following diagram describes the different parts of a dart and can help you understand which attributes you are modifying when modifying the dart.
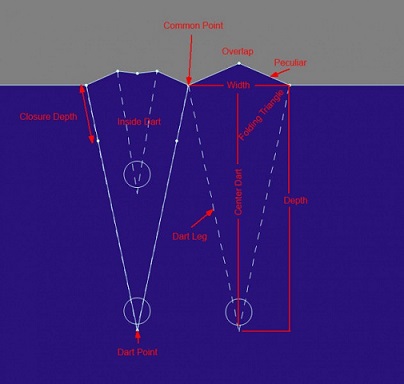
Icon & Location
-

-
Toolbar:Insert
-
Toolbox: Darts & Pleats
To create a dart:
-
Create your piece.
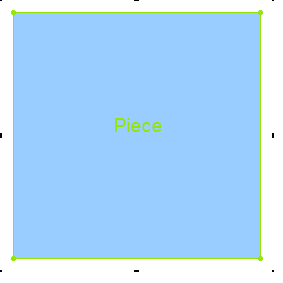
-
From the toolbar, click
 to create your dart (or press Ctrl
Alt D on your keyboard).
 -
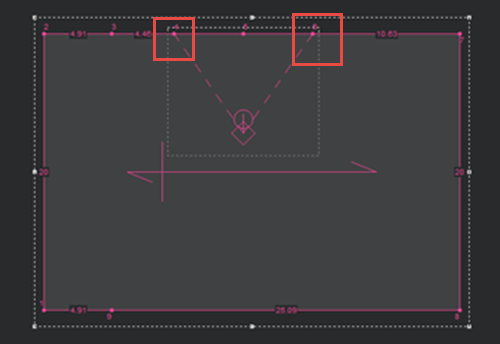
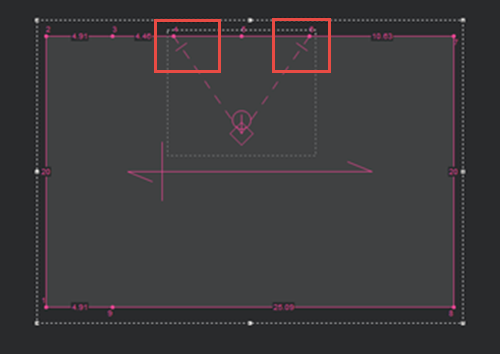
Create your first dart point by clicking on the contour as follows:
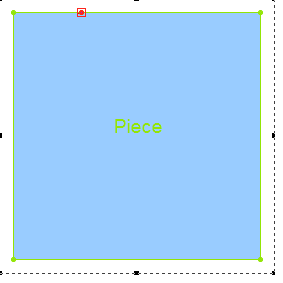
-
Create your second dart point by clicking on the contour as follows:
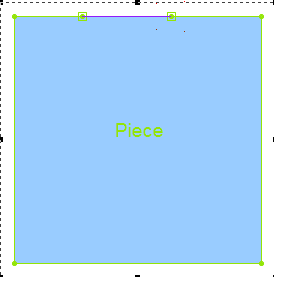
-
While dragging with your mouse, create the dart tip as follows:
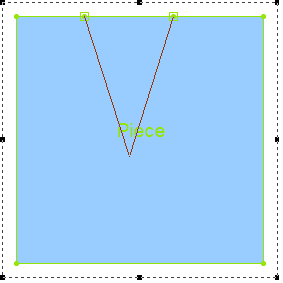
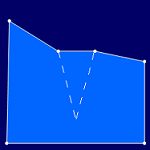
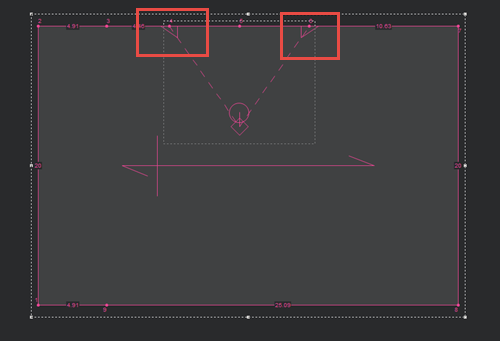
When you are done, your dart should look like this: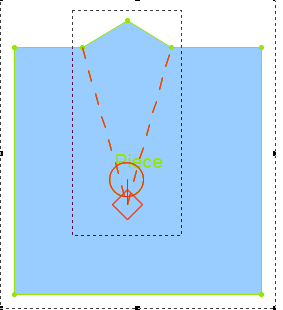
The Dart Properties dialog is displayed:
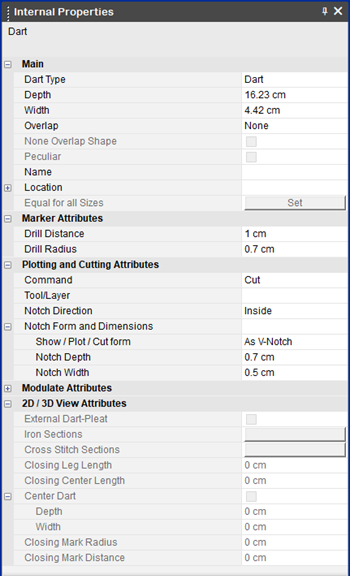
|
Field |
Description |
|
Main |
|
|
Dart Type |
Displays the type of dart: dart or dart-pleat. |
|
Depth |
Sets the distance between the dart tip and the point between the dart legs. |
|
Dart Stitch Length |
This is used in dart-pleats only. |
|
Width |
Sets the distance between the first and second dart legs. If the width is 0, the dart will be closed. |
|
Overlap |
Sets the behavior of the dart's cap. None:The contour does not change.
CW:The dart cap moves in a clockwise direction.
CCW: The dart's cap moves in a counterclockwise direction.
|
|
None Overlap Shape |
This is used for dart-pleats only. |
|
Peculiar |
Select this checkbox, if you want to set the overlapping cap of the dart. |
|
Name |
Displays the name of the dart. You can show/hide the name in the View and Selection window. |
|
Location |
Sets the location of the dart tip. |
|
Equal for all Sizes |
Click if you want to set the width and depth to be equal for all sizes according the base size. |
|
Inside Stitch |
This is used for dart-pleats only. |
|
Marker Attributes |
|
|
Drill Distance |
Sets the distance of the dart's drill from the dart tip. |
|
Drill Radius |
Sets the radius of the dart's drill. |
|
Plotting and Cutting Attributes |
|
|
Command |
Enter the command of the dart's drill. This defines the tool that will be used on the object when the file is sent to a cutter or plotter machine, like Draw for a pen, Cut for a knife, etc. |
|
Tool/Layer |
Sets the tool/layer name. This is mainly used for plotting, cutting, and exporting pieces. |
|
Notch Direction |
From the drop-down list, select the direction in which you want the form to appear: Note: This field is only available for V notches. If you are creating/editing an I or T notch, this field is disabled. Inside: Select if you want the notch to appear inside the cloth.
Outside: Select if you want the notch to appear outside the cloth.
|
|
Note: By default, the dimensions are according to how you defined the notch dimensions in the Preferences; however you can change the dimensions using these parameters (this overrides the default attributes). |
|
|
Show/Plot/Cut form |
From the drop-down list, select the type of notch form you want to use when sending to the plotter/cutter. The following options are available: I Notch
T Notch
V Notch
|
|
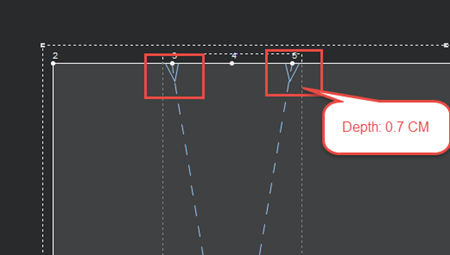
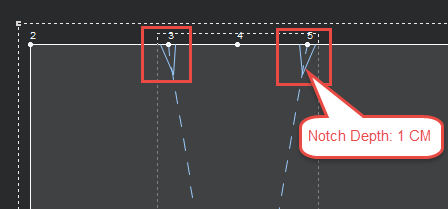
Notch Depth |
Sets the notch depth. This changes according to the notch form type. Example: V-Notch with default depth (0.7 CM)
Example: V-Notch with depth (1CM)
|
|
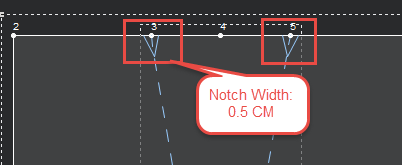
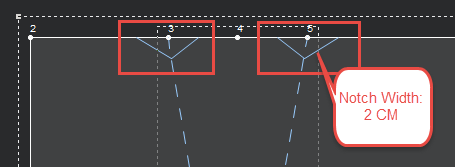
Notch Width |
Sets the notch width. This changes according to the notch form type. Example: V-Notch with default width (0.5 CM)
Example: V-Notch with width (2 CM)
Note: This field is only available for T-Notch and V-Notch types. If you are editing an I-Notch, this field is disabled. |
|
Modulate Attributes |
|
|
Fixed |
Select the checkbox if you want to set the point as fixed in the Optitex Modulate. |
|
Anchor |
Select this checkbox, if you want to set the point as fixed. |
