Creating a Presentation Board
Using the Presentation Board you can collect images into a single view, and organize them as preparation for presenting you collections or inspiration boards.
The board contains tools that will help you organize your images easily as well as add textual annotations when needed.
The Presentation Board can contain JPG, PNG and BMP formats, and currently it is limited to contain up to 100 images.
Any user that has Admin or Edit permissions can create the board. Users with View permissions will be allowed to open the board, and organize the images in the board but they can't save those changes.
Create Board
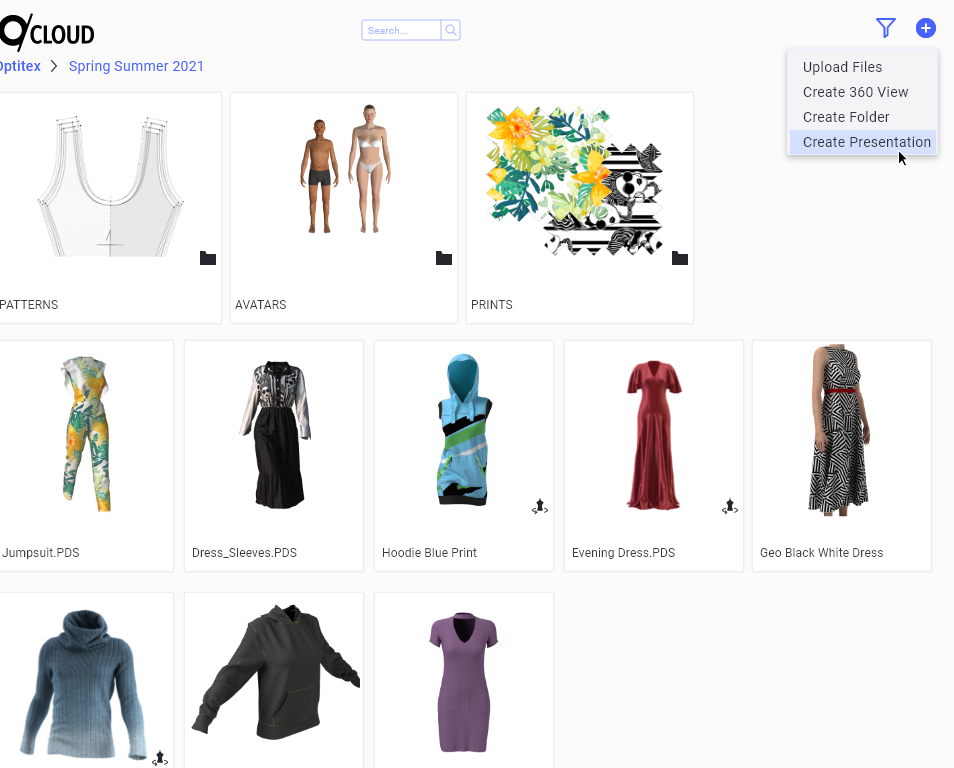
To create a new board click on the Create button on the top right side of the screen, select "Create Presentation"
The Create Presentation dialog will open on the right side of the screen, you will enter the following details:
Name- The board name, this field is mandatory
Description- Any text required to add additional information about the board. This field is not mandatory
Thumbnail- Any image file of up to 3MB can be used as the board thumbnail

Selecting Images for the board
To quickly add images to the board we provide you with 2 options:
-
All Images in current location- When you select this option, all the image files you have in the current folder will be automatically selected. If you applied Filters to find specific styles, these styles will be automatically added to the board
-
Select Images or Folders- When this option is selected, check-boxes will be added to all Folders and Image Files (PNG, JPG, BMP) that can be added to the board, and will allow you to select specific files or folders. When you select a Folder it will add all the images located in that folder. Note: when you are using this option, you will not be able to Open or perform any operations on the files and folders (i.e. you will not be able to Move, Download, Delete, Edit etc. any of the files and folders)
Once you selected the images you want to add to the board, the counter image counter will be updated and will show you how many images you have selected. The current board has limitation of 100 images.

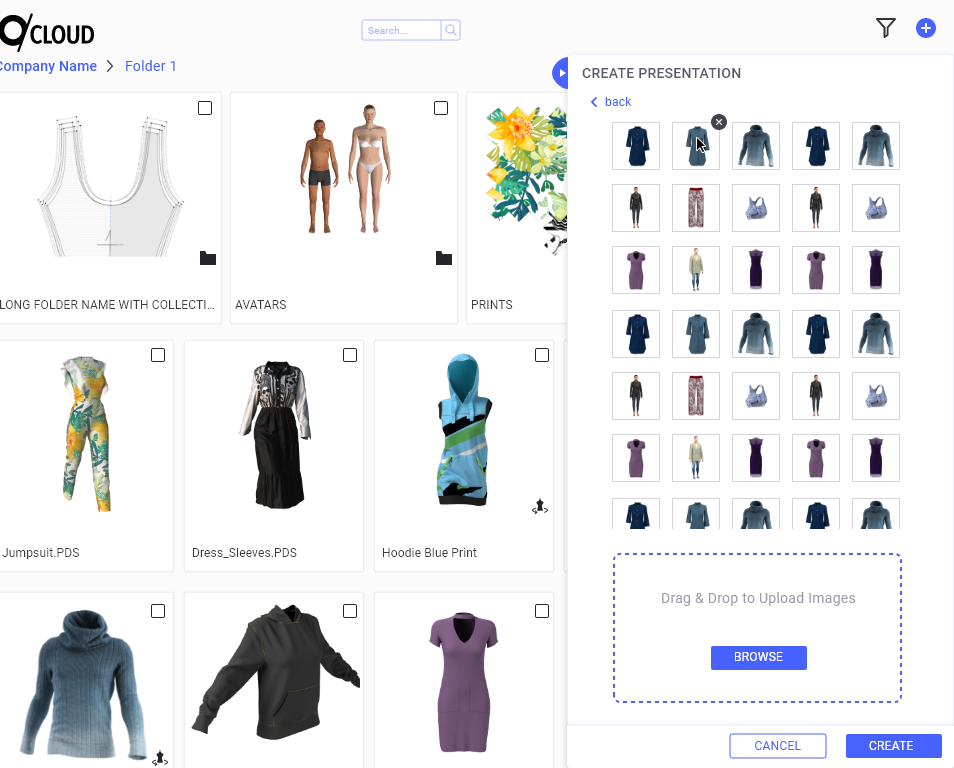
Review Images Added to the Board
After selecting images you can review them by clicking on "View Images" next to the image counter.
In the View Images section, you can see the images you already selected.
When hovering with the mouse cursor over a thumbnail- you will see a small "X" button which will allow you to remove the image from the board.
In addition, you can upload additional images which will be added to the board once they were uploaded to your account.
Once you've selected the images, you can click on Create button and you will be taken to your new board.
Note: It is recommended to upload all images before you start creating a new board. If you choose to upload new images to the board while creating the board, you will have to wait until they finish upload and then refresh the board to see them.
Related Topics: