Apply Graphics to Pieces Using Adobe Illustrator
Before you can create print and cut files, you need to apply and adjust graphics to be printed to piece geometry, and then make the appropriate output to PDF format.
The print graphics preparation is performed as follows:
Load this file into Adobe Illustrator, import textures and logo graphics and load the required color palettes.
Apply colors, textures, and logos to pieces and adjust the texture/logo position if needed. Graphics applied to pieces can vary from size to size; i.e., different textures or logos can be used for different sizes as well as different positions/scale.
Once the graphics are finalized, use the script to automatically generate multiple PDF files containing the piece geometry and graphics - for further use of Print & Cut functionality.
These steps are discussed in more detail below.
 Note:
You must create one separate PDF file for each piece and size in your
file. For example, if you have 6 pieces and 4 sizes in your PDS file,
then you have to create 24 separate PDF files.
Note:
You must create one separate PDF file for each piece and size in your
file. For example, if you have 6 pieces and 4 sizes in your PDS file,
then you have to create 24 separate PDF files.
To apply graphics to pieces using Illustrator:
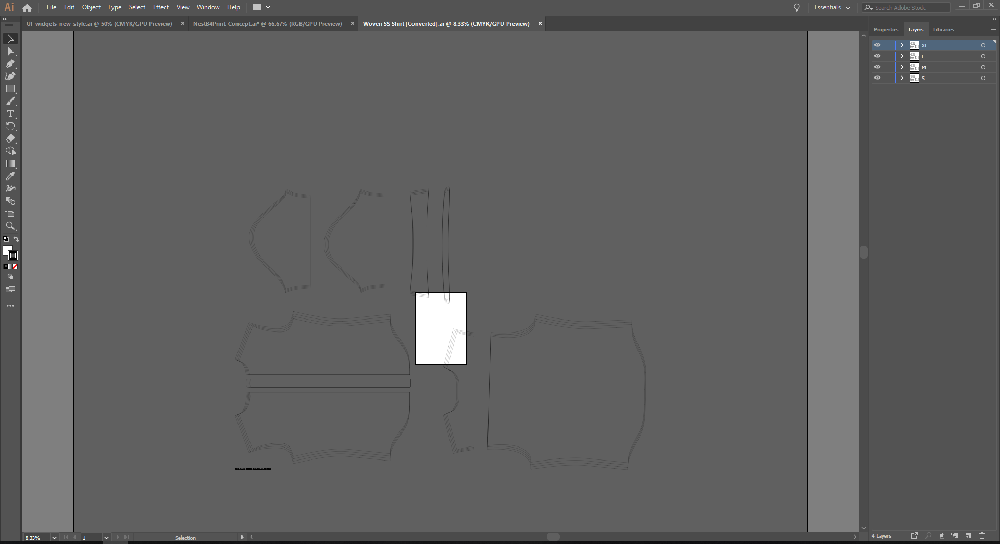
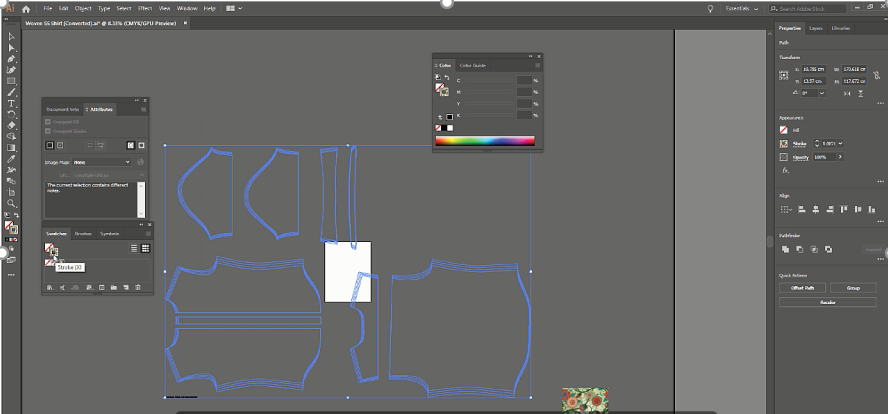
In Illustrator, open the .ai file that you exported from the PDS.
Make a note that the artwork contains the geometry of all pieces distributed by layers created for each size.
Add a texture bitmap to the artwork and embed it.
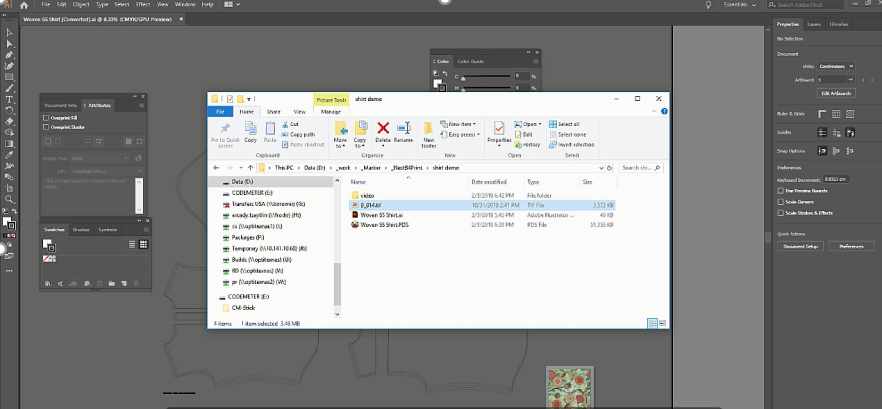
Create a swatch from the bitmap.
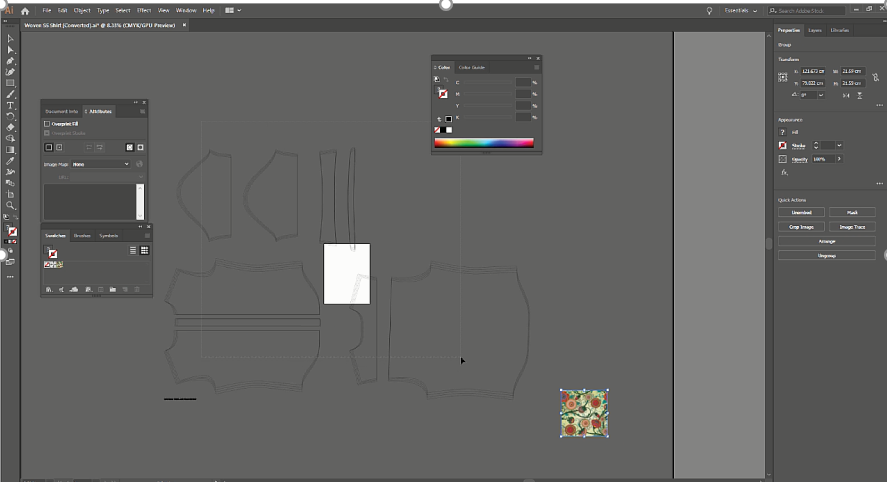
Select all pieces and apply the swatch to their stroke and fill.
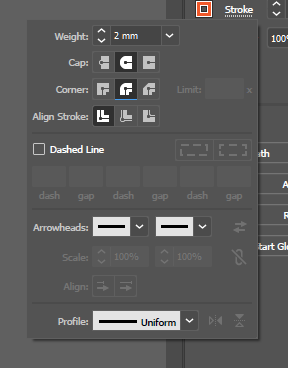
Set the stroke weight for bleeds, and select the
corner rounding options. Note that the stroke weight should be double
bleed value, since the stroke weight is applied at both sides of the geometry.
So if you need 1 mm of bleed, you will need to specify 2 mm of stroke
weight.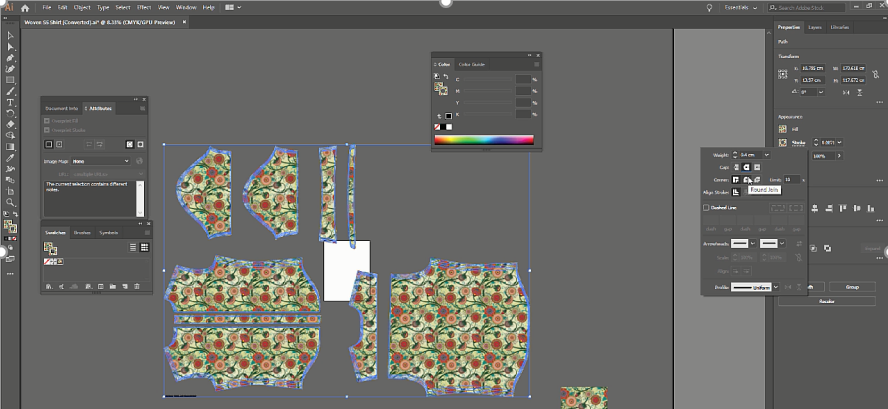
Make sure to set the Round option for Corners, as shown below. This allows
you to get a smoother print, and also affects the precision of further
calculations.
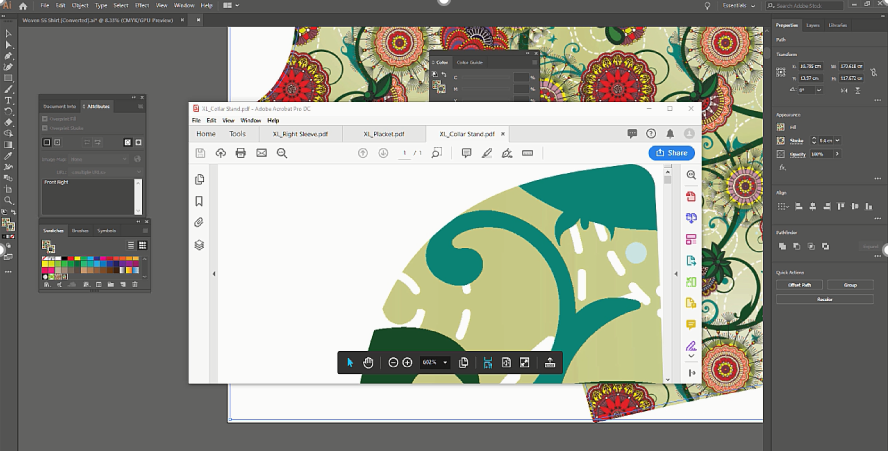
Save you pieces to PDF:
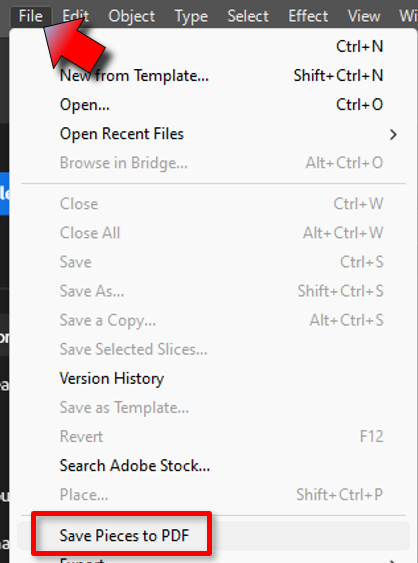
The Plugin creates a separate PDF file for every piece instance (of a certain
size). The resulting file can be opened by a PDF Reader.
Now you can move on to the next step, Creating the Marker File.
 See also: Print & Cut