Preparing Your PDS File
Before you can create your cut files, you have to first prepare your pattern. This is performed using the PDS in a normal manner.
To prepare a PDS file:
Open your PDS file.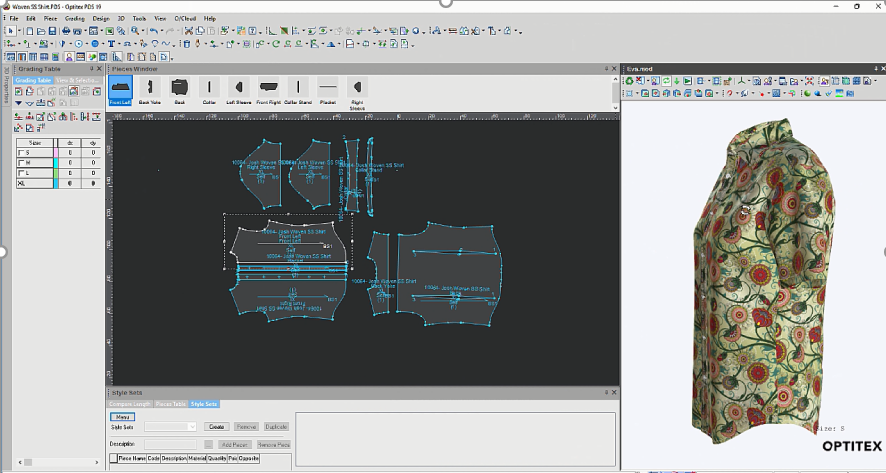
The pattern that you load can (optionally) have sizes defined. Make sure that the sizes you want to export to Illustrator are visible.
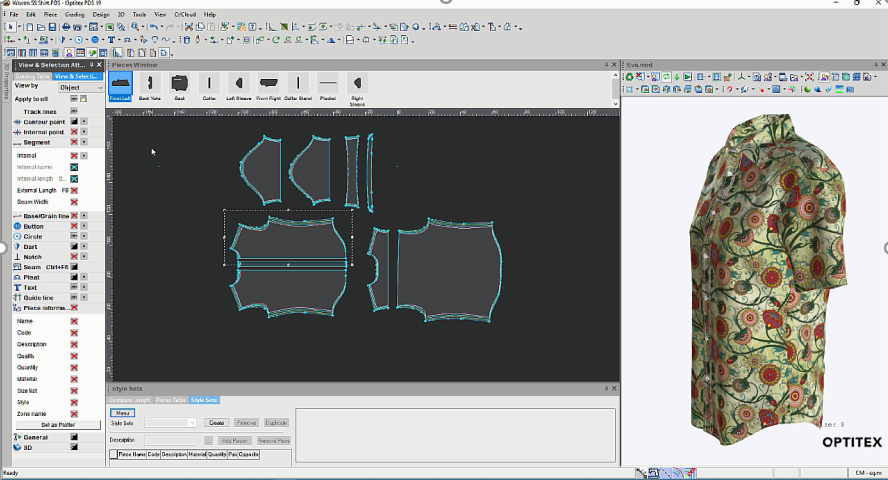
Remove from the display
any information that is unnecessary for the digital print - such as unnecessary
internals, baselines, etc.
Next, export your pattern into Adobe Illustrator format, making sure that all required options are selected, and that you export all pieces into a single file.
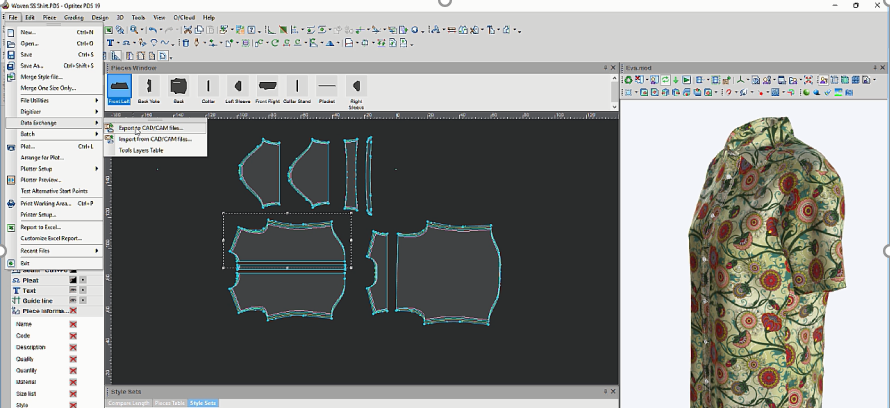
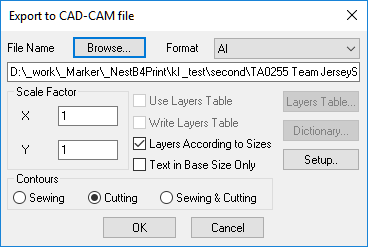
In the Export dialog, select:
-
Cutting - to get only the cut geometry.
-
Layers According to Sizes - to get each size in a separate layer with Illustrator, to simplify further display and control over sizes geometry.
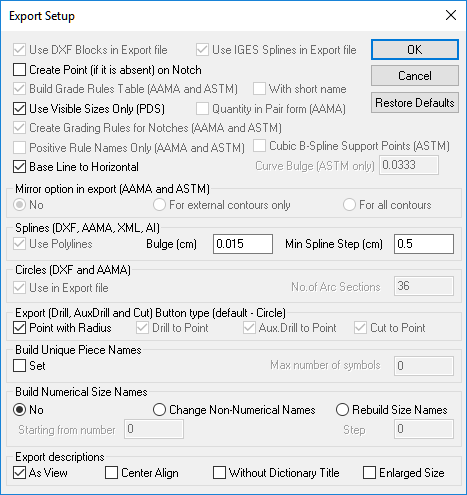
In the Export Setup dialog, select:
-
Base Line to Horizontal - to automatically rotate all pieces to the horizontal orientation of the baseline, like they would be located on the fabric roll.
-
Export descriptions As View - to get all the descriptions appearing in the Illustrator file to be exactly as they will be in the PDS.
 Note:
Before exporting, you should give unique names to pieces. The name
will be passed to Illustrator and will be used for the intermediate
PDF file naming.
Note:
Before exporting, you should give unique names to pieces. The name
will be passed to Illustrator and will be used for the intermediate
PDF file naming.
Now you can move on to the next step, Installing the Optitex AI Plugin to save Pieces to PDF See also: Print & Cut