Viewing/Adjusting Your Fabric Pattern on the Simulated Model
After you have defined your fabric pattern and setup the transparency or opacity for the overall image and/or pieces, you can now view your fabric pattern on your simulated model and then adjust it. This allows you to make changes to the texture in 2D and automatically update the pattern in 3D and vice versa.
To view/adjust the fabric pattern:
-
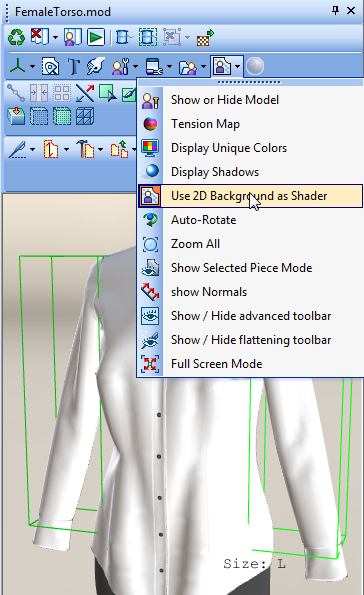
From the 3D window toolbar, go to the Show/Hide Model drop-down list and select Use 2D Background as Shader as follows:
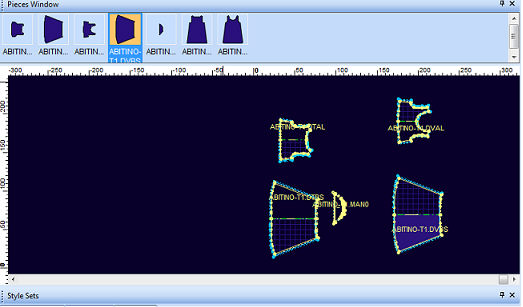
Note: If you do not see the fabric, go to View > View Fabric as follows:
|
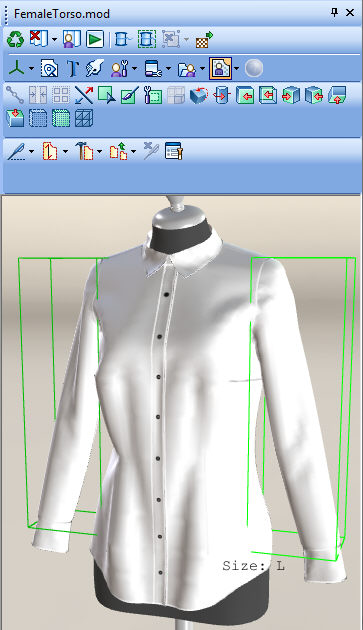
Without Fabric |
With Fabric |
|
|
|
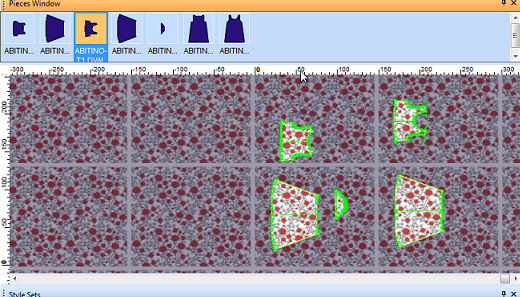
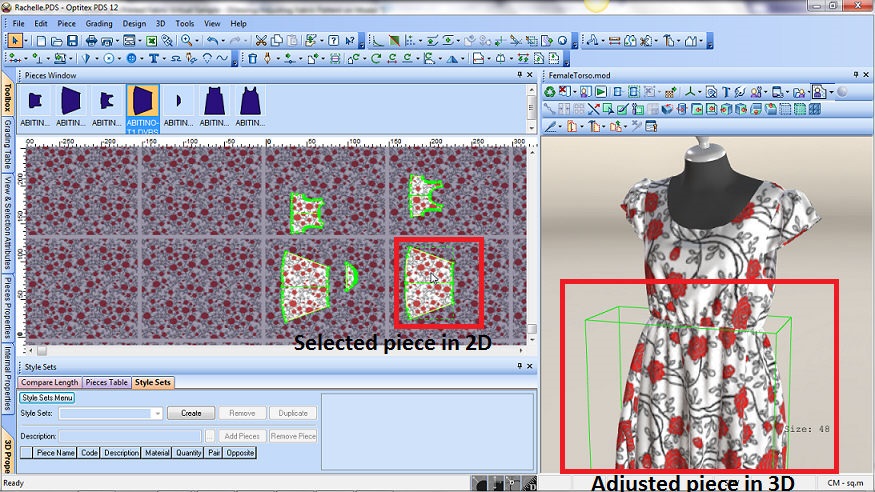
Once you activate this mode, the 3D view shows the background image as a piece shader. This is done according to the location of the pieces in 2D:
-
In 2D, move the pieces to the desired location on your fabric.
The 3D pattern is automatically adjusted as follows:
-
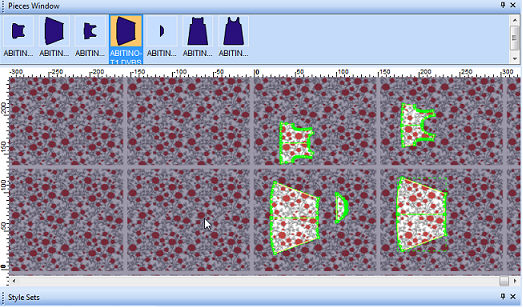
In 3D, use the Move Texture tool to move a piece.
Each piece in the 2D window moves according to the piece's texture in the 3D window as follows: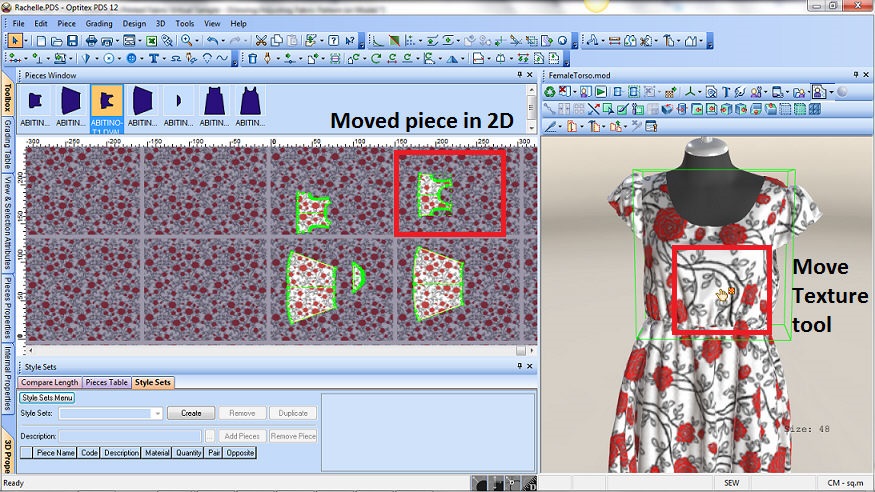
When you are done adjusting your pattern, move on to the next step, Setting Up Your Plotter.