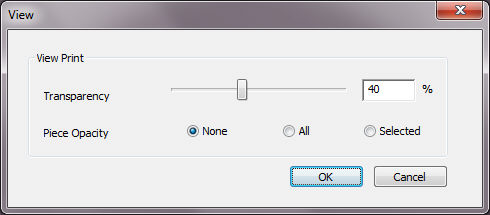
Defining Transparency/Opacity
Once you have defined your fabric pattern, you can now define transparency and/or opacity of your image in the defined 2D background. This allows you to decide which pieces will contain the fabric pattern, how the rest of the background will look, etc.
To define transparency/opacity:
-
In the View Print area, in the Transparency area, adjust the transparency of the image on the 2D PDS background. You can either use the slider or enter a percentage.
Note: By default the value is 40%.
-
In the Piece Opacity area, select the radio button of one of the options to define the opacity of the piece in relation to the background image:
None: Select if you want the image within the piece area to be transparent just like the rest of the image as follows: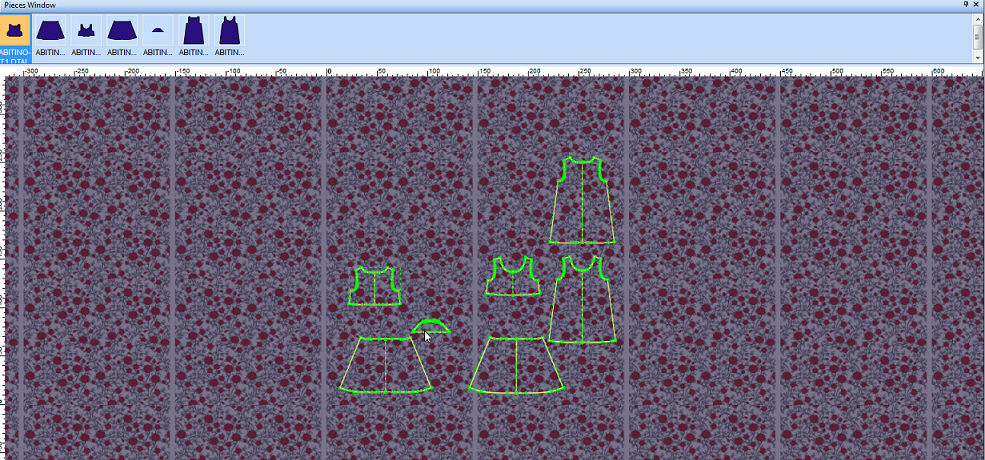
All: Select this option if you want all of the pieces in the area to be opaque (not transparent). This means that they will appear with the printed fabric as follows: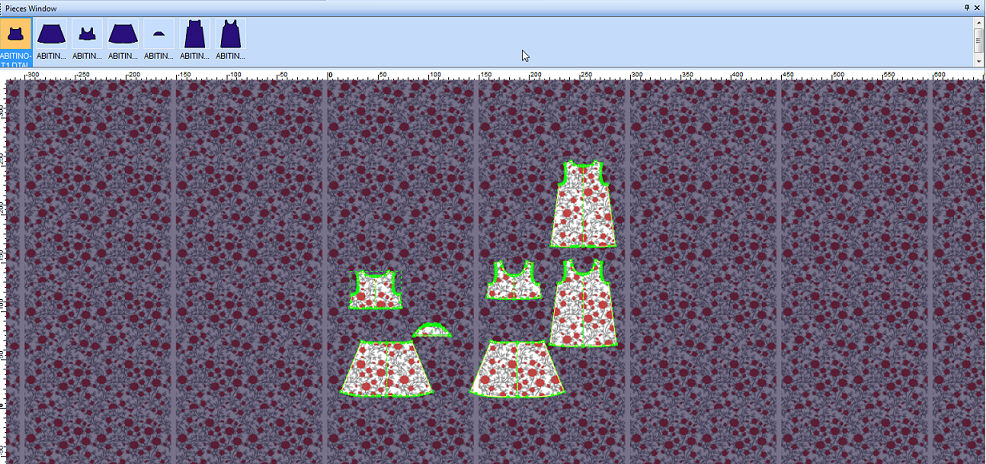
Selected: Select this option if you want the image within the selected piece area to be opaque, not transparent as follows: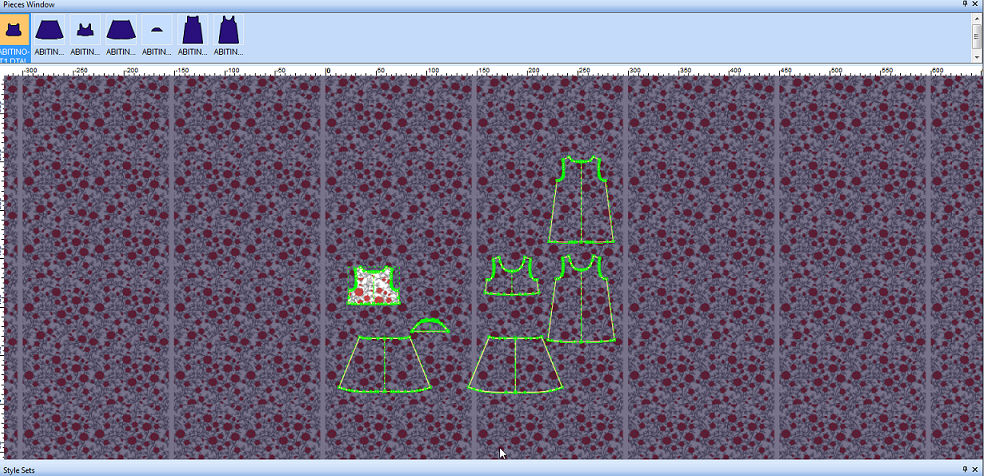
-
When you are done, click Ok.
Move on to the next step, Viewing/Adjusting the Fabric Pattern.