Creating a Folded Collar
You can create a folded collar when you need to add a collar that is folded to a shirt or dress.
If you are creating a collar that stands up, for example for a man's dress shirt, see Creating a Standing Collar.
To create a folded collar:
-
Create a piece. In this example we will create a trapezoid to represent the collar shape.
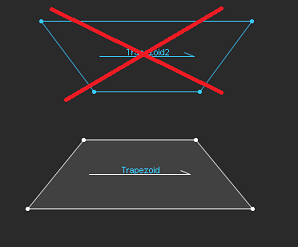
Note: The collar must be facing down with the neck area facing up:
-
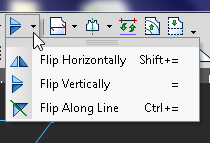
Flip the shape. Select Flip Vertically:
-
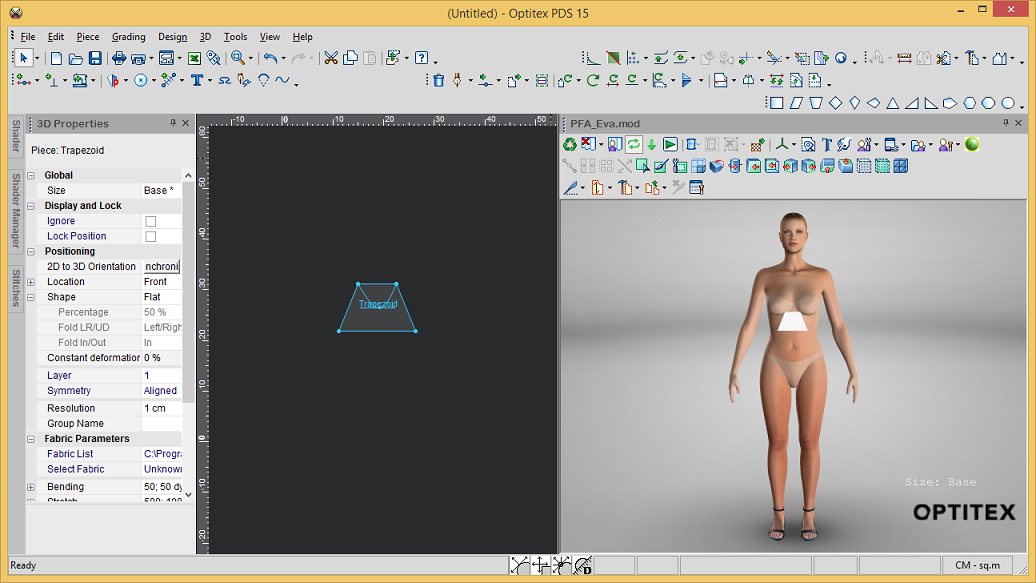
In the 3D window, click
 to place the piece on the model (so you can see the changes that take
place).
to place the piece on the model (so you can see the changes that take
place).
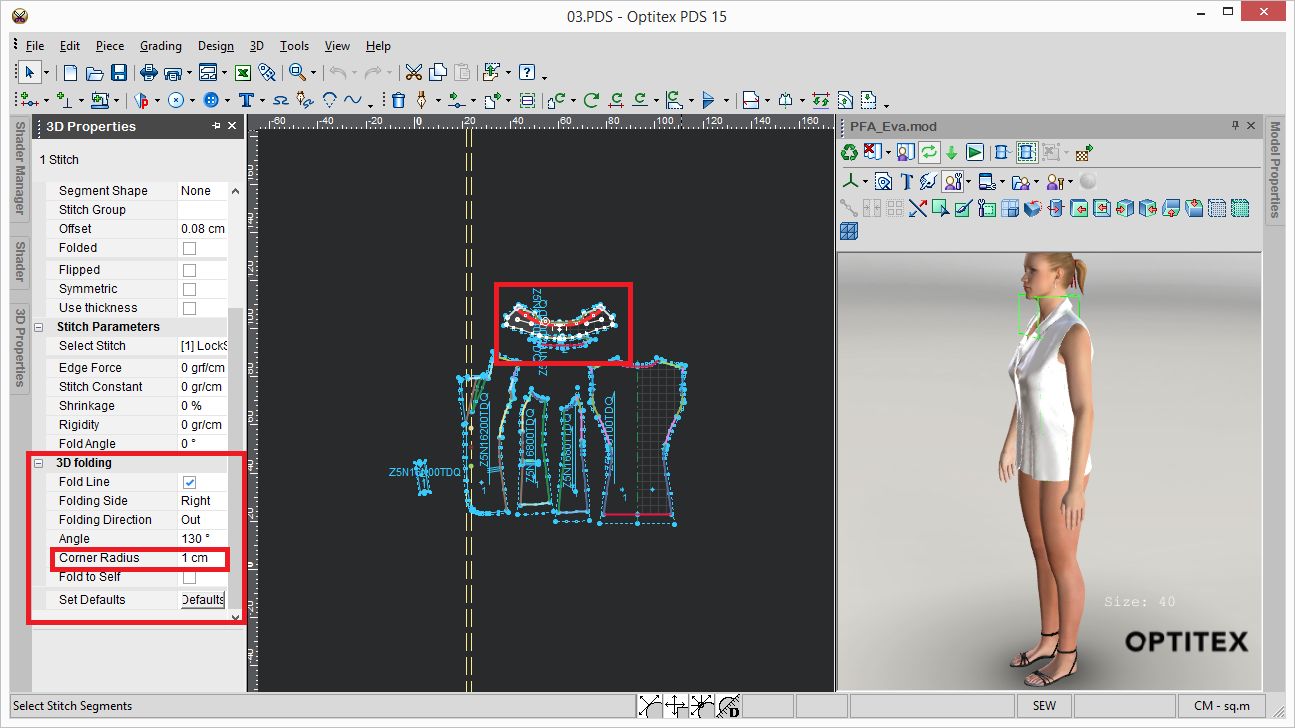
Note: You cannot create a collar without an internal segment. The internal segment shows how to fold the collar.
-
Draw an internal segment. In this example we used the Draft tool.
The internal segment represents the fold/roll of the top edge of the collar as follows. Make sure the segment connects one external to the other.
Note: Make sure the internal segment is selected before defining the location. If you have more than one internal segment, make sure you select the segment you want to fold.
-
Open up the 3D Properties dialog and from the Location drop-down list, select CollarFolded.
A confirmation message appears asking you if you want to fold the 3D collar along the segment you created in 2D.
-
Click Ok.
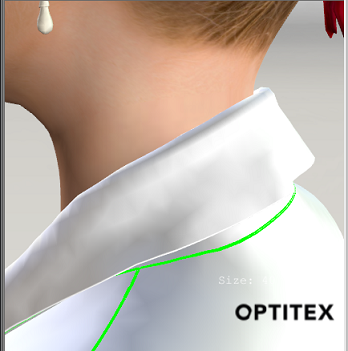
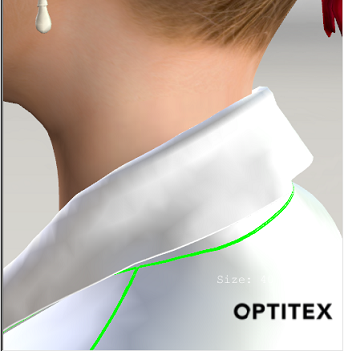
Once you select collar, the piece is automatically placed on the neck of the model.
![]() Click
here to see how to customize the collar.
Click
here to see how to customize the collar.
 ).
).
-
When you are done, click
 to simulate your pattern.
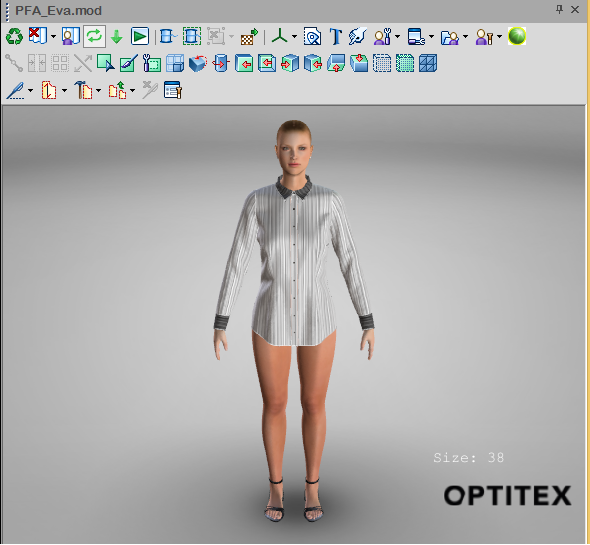
Here is an example of a collar that was made on a woman's shirt: