Creating a Standing Collar
You can create a standing up collar (otherwise known as collar stand, collar base, etc.) when you need to create a collar for example for men's dress shirts.
You can create a standing collar with our without symmetry. We will demonstrate how to create both in the process below.
To create a standing up collar in 3D:
-
Create a piece. In this example we will create a trapezoid to represent the collar shape.
Note: The collar must be facing down:
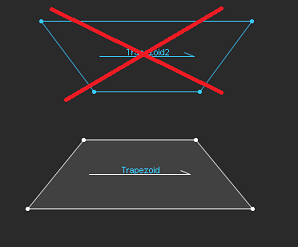
-
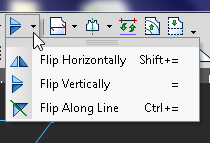
Flip the shape. Select Flip Vertically:
-
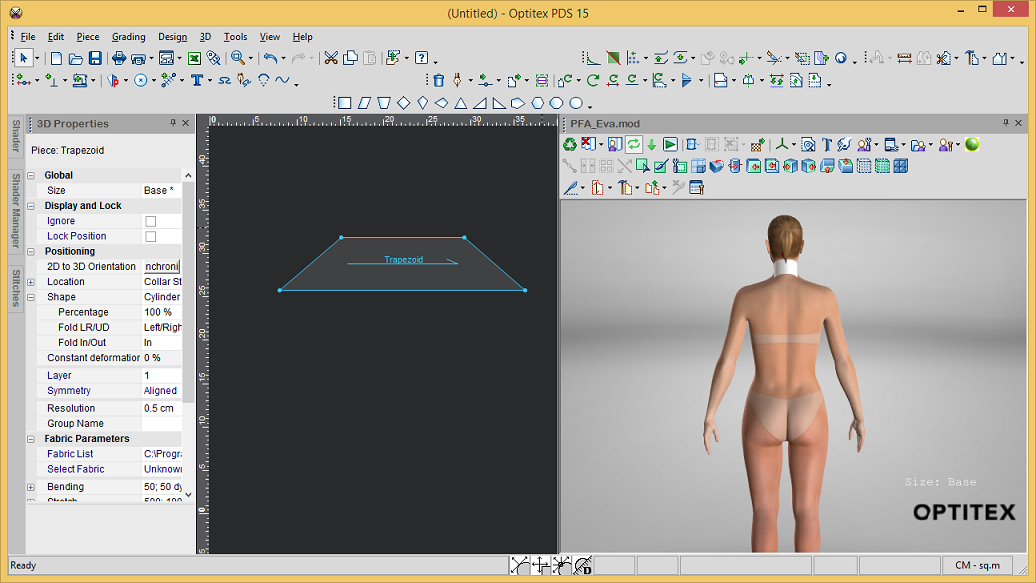
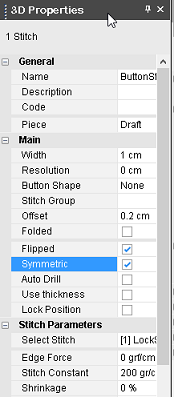
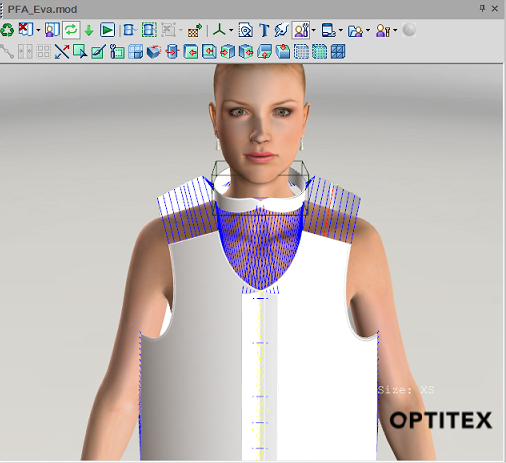
Open up the 3D Properties dialog and from the Location drop-down list, select CollarStand.
The piece is automatically placed on the neck of the model in the 3D window and you will see that the collar stands up.
![]() If
you want to add symmetry, click here
If
you want to add symmetry, click here
 to prepare your collar for symmetry.
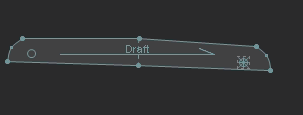

-
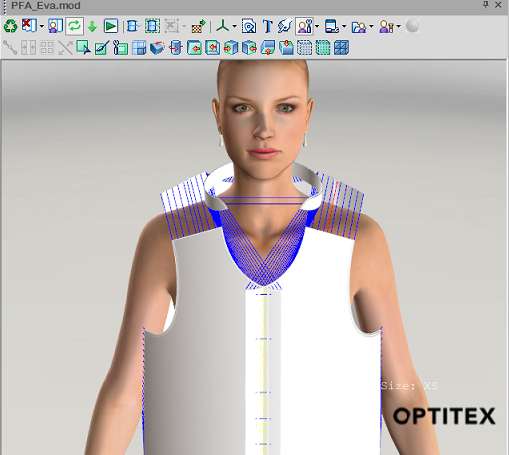
When you are done, click Simulate to see your finished product.
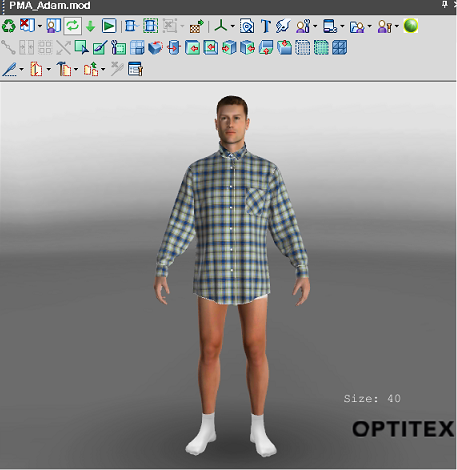
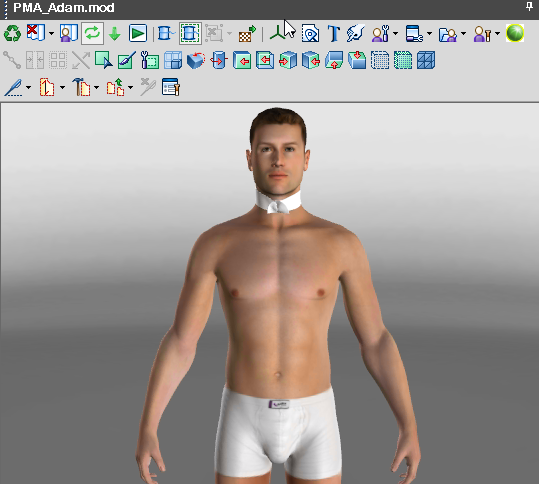
Here is an example of a man's dress shirt with a standing collar: