Assigning Piece Location
Once the pattern is loaded, you can now define the location of pieces so they are located correctly on the avatar. In this step, you can define the piece location, setup layers, as well as define physical fabric properties. For further detailed information about the different attributes available under the 3D Properties dialog, see Piece 3D Properties.
Note: Starting from version O/19, if the avatar contains a skeleton, the initial positioning of the pieces in 3D will depend on the location and avatar skeleton. This means that if for example you assign a front location and your avatar is taller, the piece will adjust itself according to the skeleton's height and vice versa.
To assign piece location:
Open the 3D Properties
dialog (press 8 on your keyboard).
Location is defined under Positioning.
Note:
By default, all pieces are assigned as Front.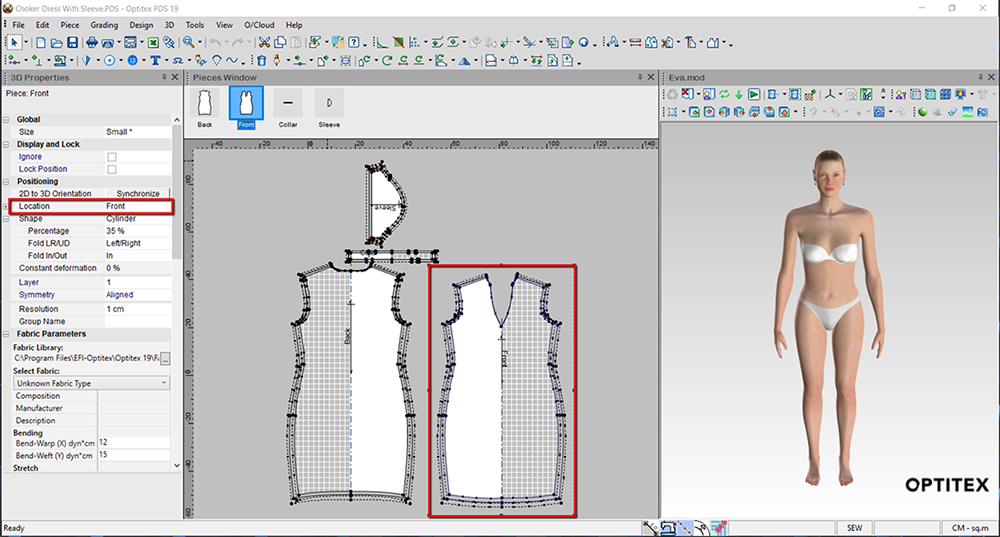
To change the default location, first select the piece. For example, select the back piece.
Under
Location, select Back.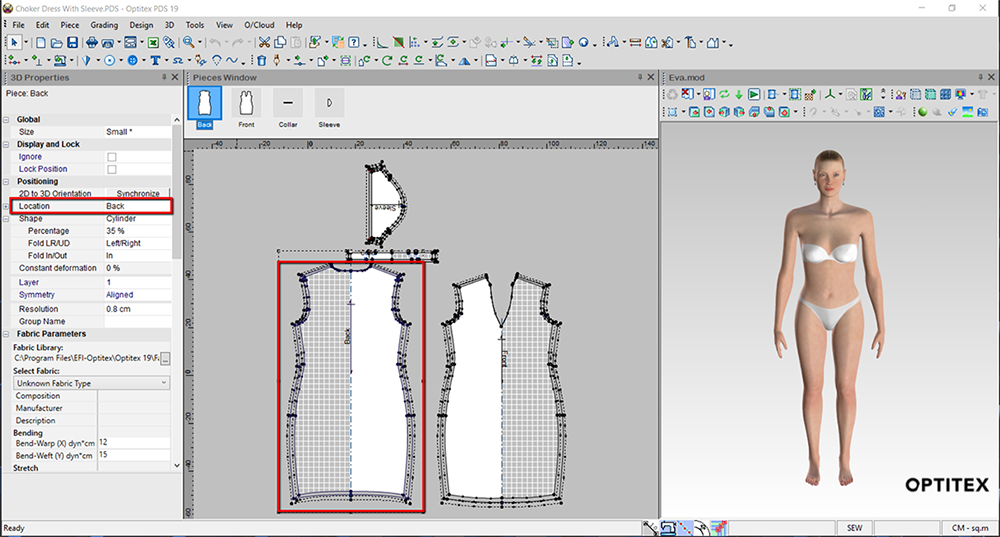
Do the same for all the pieces in your pattern.
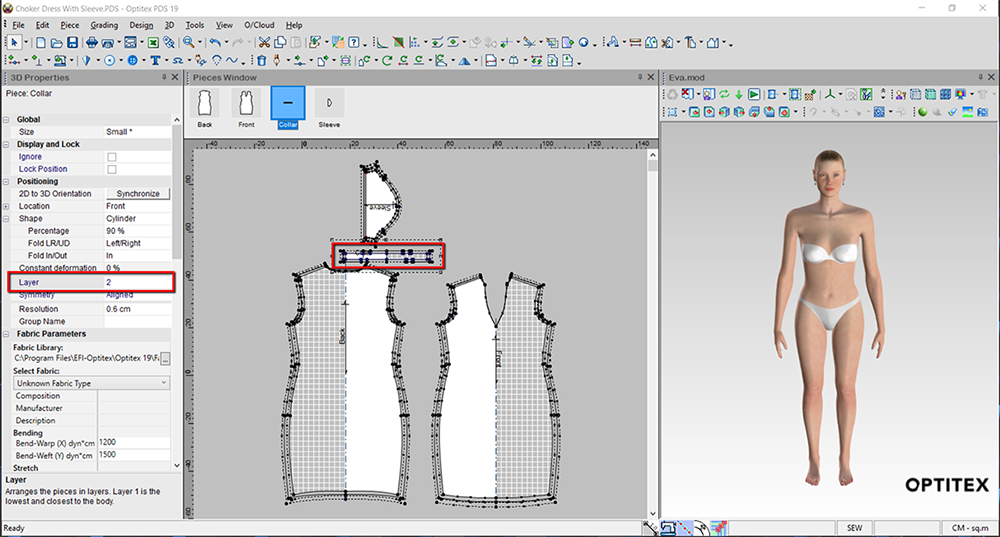
If you need to change
a layer, for example you want the collar to simulate after the rest of
the pattern, you can do so in the Layer
field. For example, in this pattern, all the pieces except for the collar
are defined as layer 1 and the collar is defined as layer 2
You can also adjust the symmetry of the pieces. The symmetry varies according to the piece and who the pattern is for. The rule of thumb is when creating women's patterns, the right side of the piece should be defined as Above and when creating men's patterns, the right side of the piece should be defined as Below. Applicable for pair pieces.
If you want to select
a fabric for your pattern, you can do so under the Fabric
Parameters area.
You can also define a different fabric parameters for each piece according
to the desired fabric.