Using the Set Grading Tool
You can use the Set Grading tool when you are adding grading to your pattern and you need to have equal increment for all your sizes. This allows you to easily add sizes either per segment or piece without having to manually define the grading per size. For example, let's say you want to define sizes for the length of a skirt and you do not want to add too much of an increment. Using the Set Grading tool you can quickly add the segment length and apply to all sizes at the same time.
To use the Set Grading tool:
-
Create your pattern or piece.
-
While standing on the piece, right-click then go to Grading > Sizes as follows:
The Sizes Table dialog appears: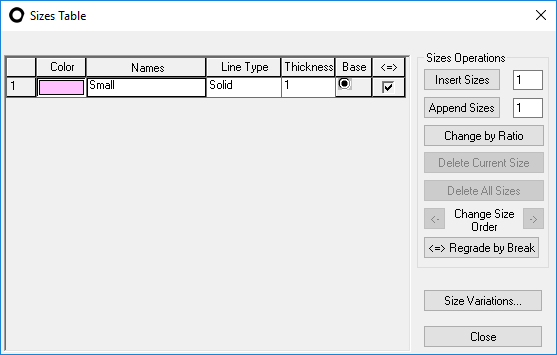
-
To add sizes, in the Insert Sizes field, enter the number of sizes you want to appear before the Base size and then press Insert Sizes.
-
In the Append Sizes field, enter the number of sizes you want to appear after the Base size, then press Append Sizes.
Your table should look like this when you are done: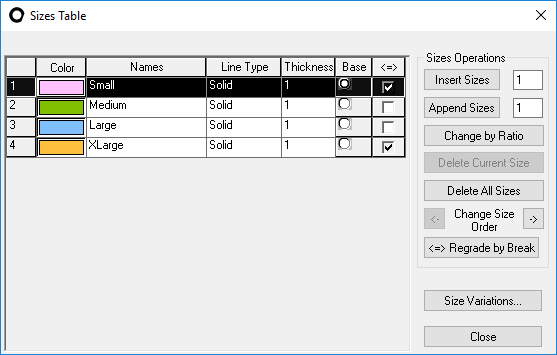
-
Click Close.
-
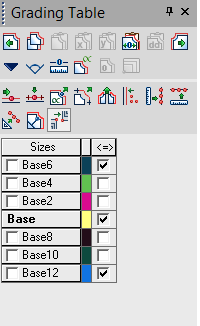
Open up the Grading Table (go to View > Grading Table or press 2 on your keyboard.)
-
To use the Set Grading tool, click the
 icon.
icon. -
Select a grading point, segment or piece (using the select tool). Let's select the segment for the length of the skirt.
-
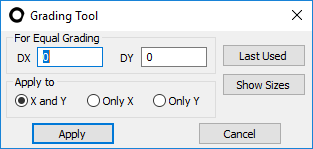
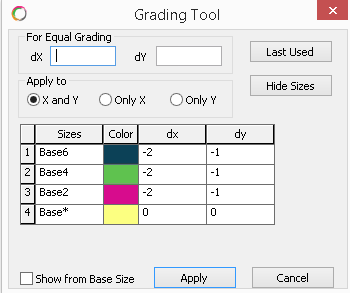
The Grading Tool dialog is displayed:
Click to expand one of the options below: To apply equal
grading values to all sizes:
To apply equal
grading values to all sizes:
-
Click Apply when you are done.
Your pattern is graded as follows: (Each color represents a different size).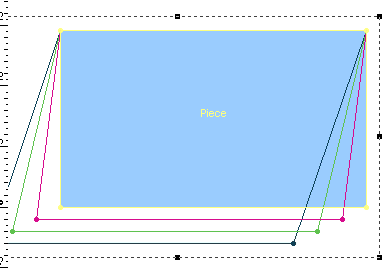
-
If you do not see the grading, press F4.
 See also: