Select Pleats
This option allows you to select more than one pleat, when you want to edit the properties of multiple pleats at once. Using the selection box, you can select the pleats. You do not have to select the entire pleat, if part of the pleat is selected it will be included in the multiple pleat selection.
Note: This feature is available in version 15.6SP3 and later.
Icon & Location
-

-
Toolbar: Pleats
-
Toolbox: Darts & Pleats
-
Shortcut: Ctrl +Shift + L
To use the Select Pleats tool:
-
Open a pattern with multiple pleats:
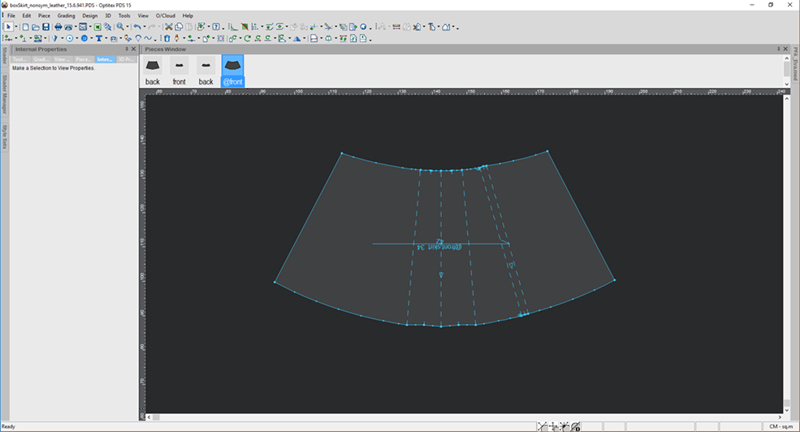
-
Select the Select Pleats tool.
-
Using the rectangle box select the pleats.
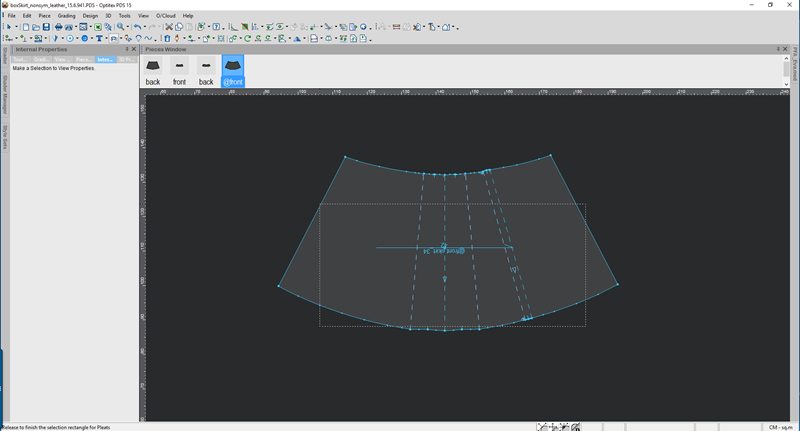
You do not need to select the entire pleat, it can also be a part of a pleat. -
To add another pleat to the selection, press Shift on your keyboard.
Once the pleats are selected the Internal Properties dialog indicates multiple selection:
Now all changes you make to the pleat properties will affect all the pleats. For more information about the pleat properties, see Creating and Defining Pleats.
If properties were defined on the pleats, the dialog appears with the word "Different" in any field that is different: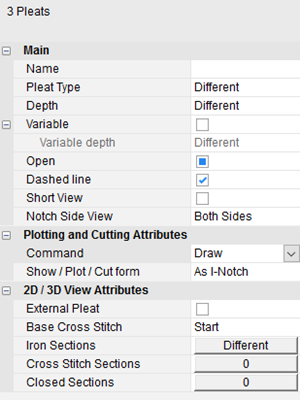
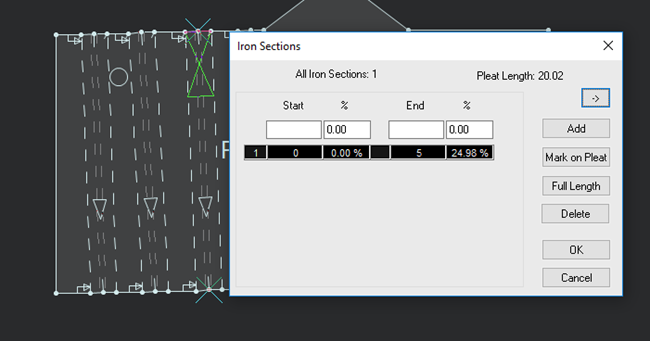
If the pleats were defined with iron, cross-stitch or closed sections and the values are different, click on the Different button to view the value: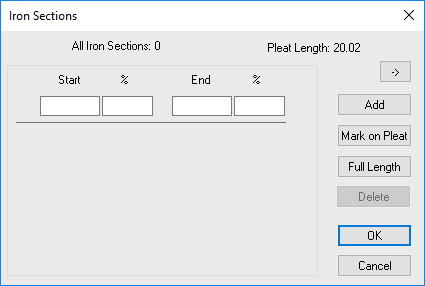
-
The properties that appear reflect one pleat. To move onto the next pleat, click the
 .
.
-
To view the details of a specific pleat, press Shift and hold down the mouse button while clicking on the
arrow.
For example, if the selected pleat has a defined iron section, the dialog will show the iron information of the selected pleat as follows: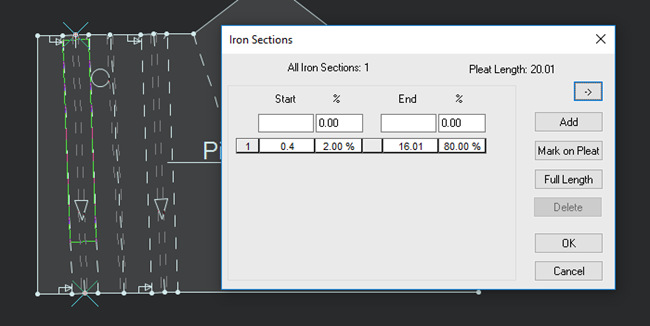
-
To change the value for all the pleats, enter a value then click Add.
The value is applied to all the pleats.
Now when you move between pleats the value is the same. Notice the next selected pleat now has a new value: