Customize
Location
-
PDS Menu: Tools> Customize
-
Marker Menu: View> Customize
-
The dialog can also be accessed by right clicking anywhere in the toolbar area.
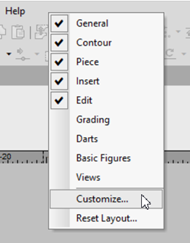
Dialog Explanation
Toolbars Tab
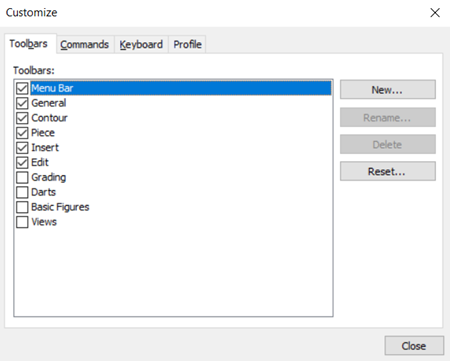
On the Toolbars tab you can hide any of the toolbars that you do not use, to have more screen space available.
When you want to return to the default settings you can click the Reset button to clear any customization.
Toolbars List
Check the boxes near the desired toolbars to be displayed. Uncheck the box next to those that you wish to hide.
New Toolbar
Optitex allows you to create new toolbars and to customize them to yours needs. Click this button to create a new toolbar.
Reset
Click this button to reset the selected toolbar. The toolbar will get back to the original form.
Commands Tab
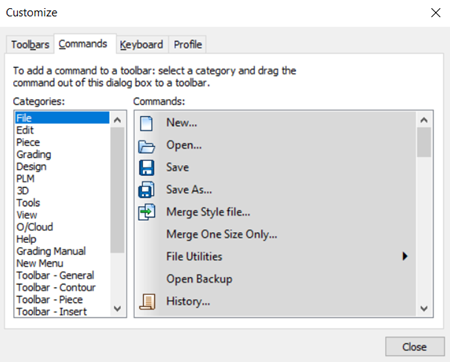
On the Commands tab you can select any command and add it to any toolbar.
On the left panel, the Categories: represent menus and toolbars. Clicking a category name opens the list of included commands on the right.
To add a command to a toolbar, drag the command from this dialog onto a toolbar dispalyed in the interface.
Keyboard Tab
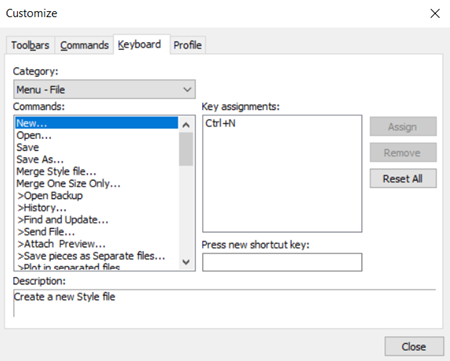
The Keyboard tab is used to set shortcut keys for commands.
You can quickly accomplish tasks you perform frequently by using shortcut keys: one or more keys you press on the keyboard to execute a command.
Optitex already has many shortcut keys assigned by default. You can set new shortcuts or change the existing ones as you like.
Category:
The commands are organized in categories. The categories represent menus and toolbars.
Selecting a category will show the available commands.
Commands:
In this list you will find the available commands depending on the selected category.
Click the commands to view the assigned shortcut, to edit it , to create a new one or to reset to the default keyboard shortcut.
Key Assignments:
Displays the shortcut assigned to the selected command.
The field appears empty if there is no shortcut assigned to that command.
Assign
Assign the new shortcut entered in the press new short key box to the selected command.
Remove
Remove the assigned shortcut to the selected command.
Reset All
The Reset All button restores the built-in short keys to the original stage.
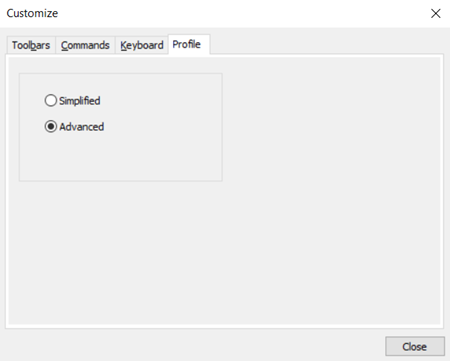
Profile (Available in PDS only)
Customizing actions:
Create a custom Toolbar
-
Click the Toolbars tab
-
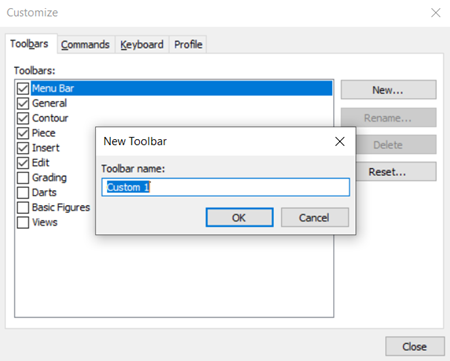
Click New.
-
In the Toolbar name box, type the name you want.
-
Click OK. the new tool bar is added to the currently displayed tool bars.
-
To add a button to the new toolbar:
-
On the Commands tab, under Categories:, click a category.
- On the Commands: panel, drag the command you want onto the displayed toolbar.
-
When you have added all the buttons you want, click Close.
Adding Tool Or Command to an Existing Toolbar
-
Click the Commands tab to view the available tools and commands.
-
Under Categories: click a category.
-
Under Commands: click to select an item and drag it onto the displayed toolbar.
-
The new command is added to the toolbar.
Assigning a Keyboard Shortcut Key
-
Click the Keyboard tab
-
Under Category, select the required element in the drop down menu.
-
Under Commands, click an item. If a keyboard shortcut exist for this item, it shows under Key assignments.
-
In the Press new shortcut key box enter the keyboard shortcut combination you want to assign. For example, Ctrl plus the desired key.
-
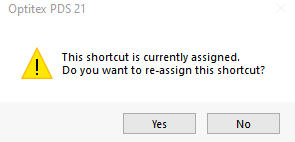
Click the Assign button. If this combination is already assigned you will get this message:
-
Click Yes to use this combination and remove it from the current assignment.
-
Click No to leave this combination at its current assignment.
-
You can always go back to the original settings by clicking the Reset All button.
Creating a Custom Menu
-
Click the Commands tab.
-
Under Categories:, scroll down and select New Menu.
-
Under Commands:, drag the menu onto the Menu Bar.
-
Select the newly added menu, then right click and select the name box to rename it.
-
To add commands to the Menu:
-
On the Commands tab, under Categories: select an item.
-
Under Commands:, drag the item you want onto the new menu. The Item is added to the menu.