Creating Arcs while Drafting
You can create an arc while drafting when you want to add an arced curve
to your pattern, for example for an armhole, crotch, neck, shoulder, etc.
To create an arc while drafting:
-
Start the Draft tool.
-
Start drafting (move with your mouse and click
to create the next line).
-
When you reach the point
where you want an arc, right click with your mouse.
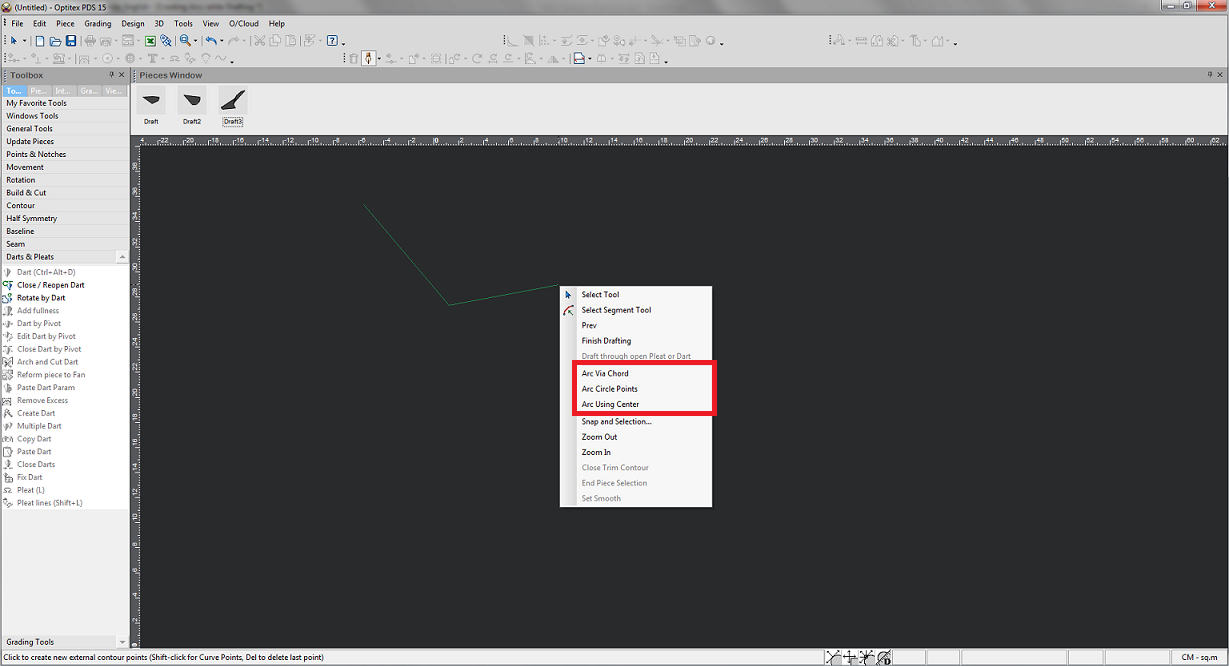
There are three options for creating arcs.
 Arc
Via Chord, click here
Arc
Via Chord, click here
Allows you to create the arc from point to
point via a chord.
-
Select Arc
Via Chord.
The Draft Arc Segment on Chord
dialog appears:
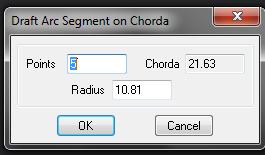
Here you can design the arc according to the points on the segment
and the radius between the arc and the center.
For example, enter 6 Points (these are the points of the arc) and
define a radius of 12 (you can enter a positive or negative number):

-
Click Ok.

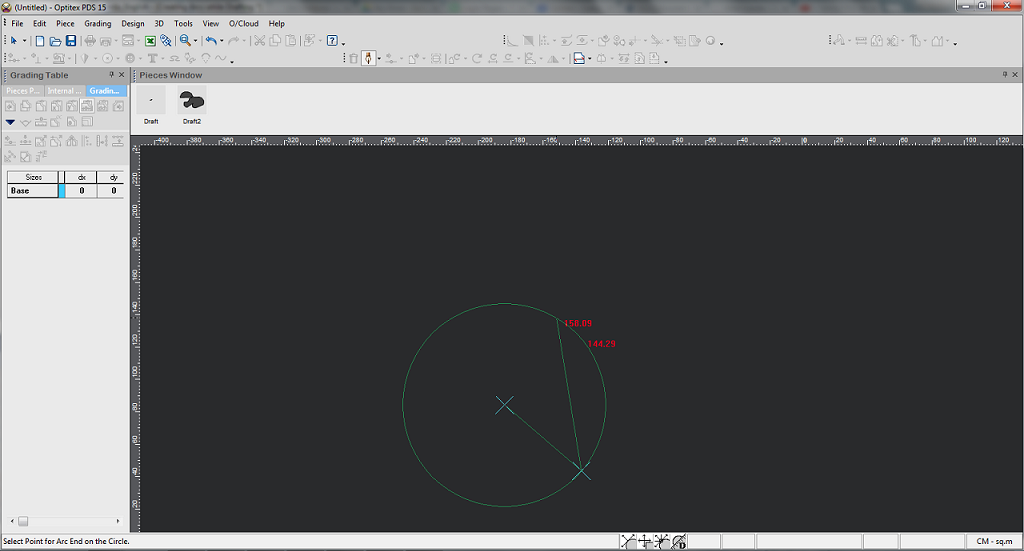
Arc
Circle Points, click here
Allows you to create the arc using points
around a circle.
-
Select Arc
Circle Points.
A preview appears allowing you to draw the arc you require.
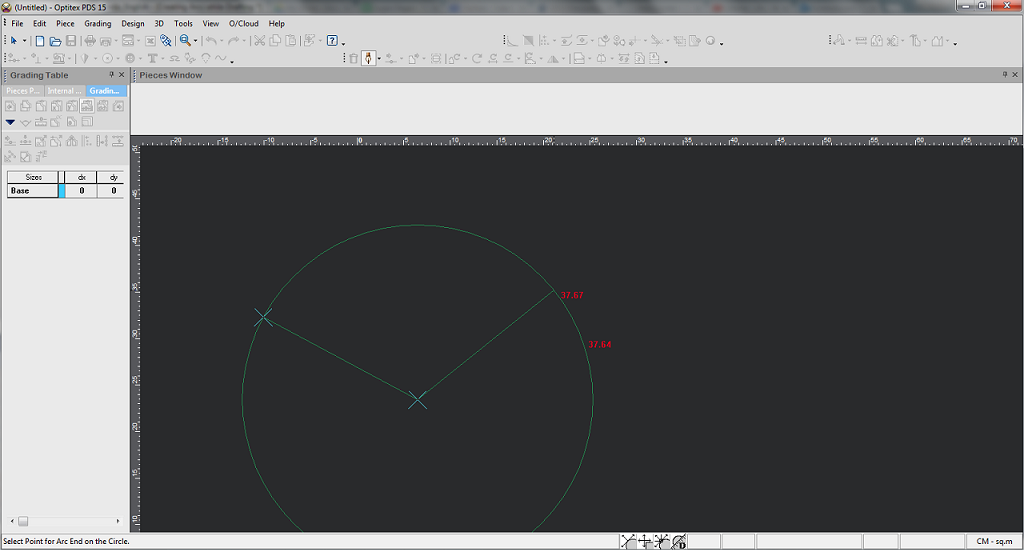
-
Using your mouse move to the point where
you want to create your arc, for example make your end point at
37.52 centimeters on the circle:

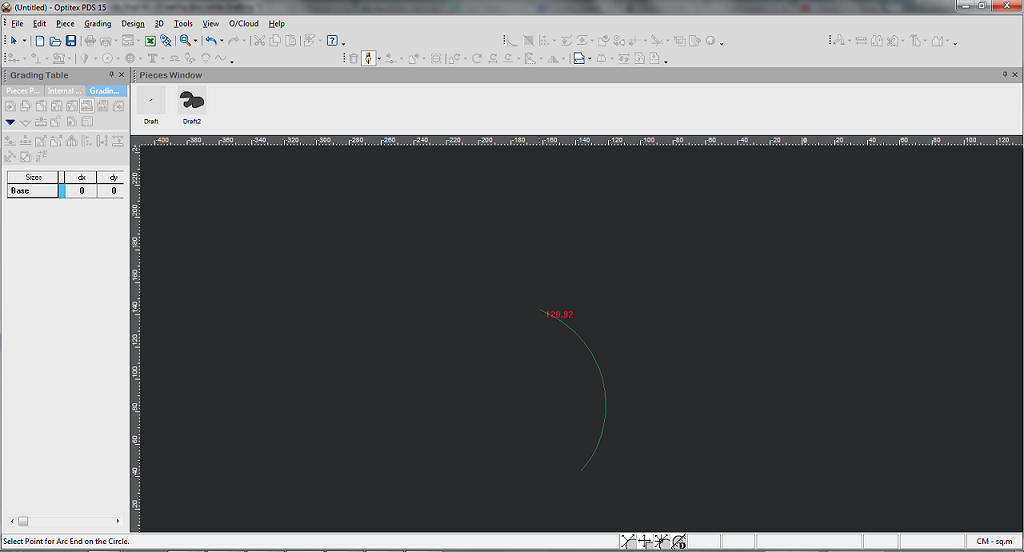
-
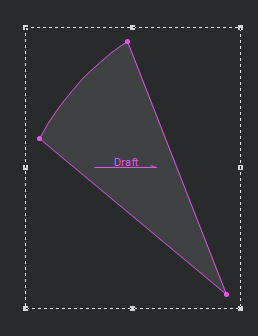
Click with your mouse to create the arc
and then finish drafting.
Your arc is created as follows:
Arc
using Center, click here
Allows you to create the arc by starting at
the center and defining an end point.
-
Select Arc
using Center.
A preview appears allowing you to move around the circle by a defined
point.
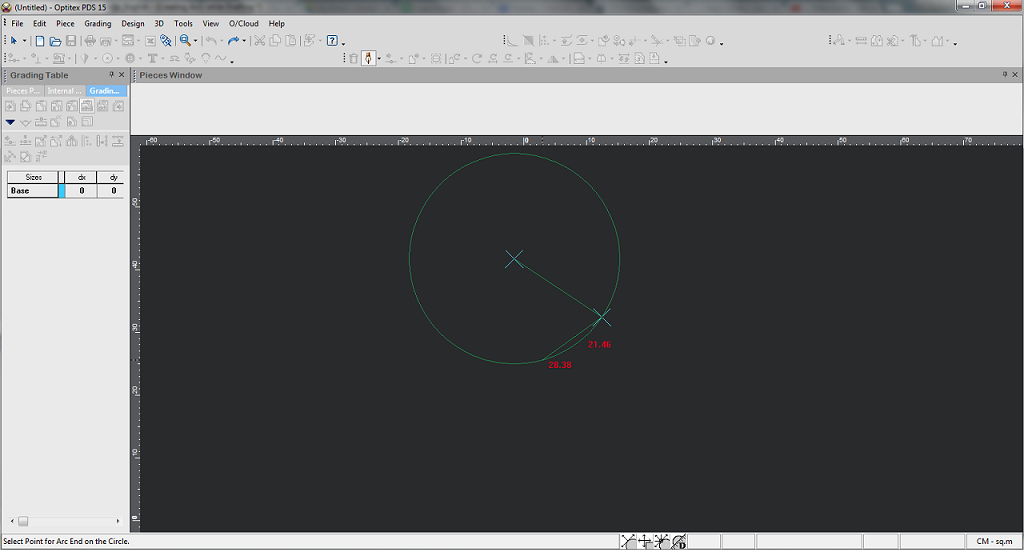
-
Move your mouse to a location on the circle
to define the end point of the arc.
Once you select a defined radius the segment becomes an arc according
to the location you selected.
 See also: Draft tools